This post may contain affiliate links. Please read our disclosure policy.
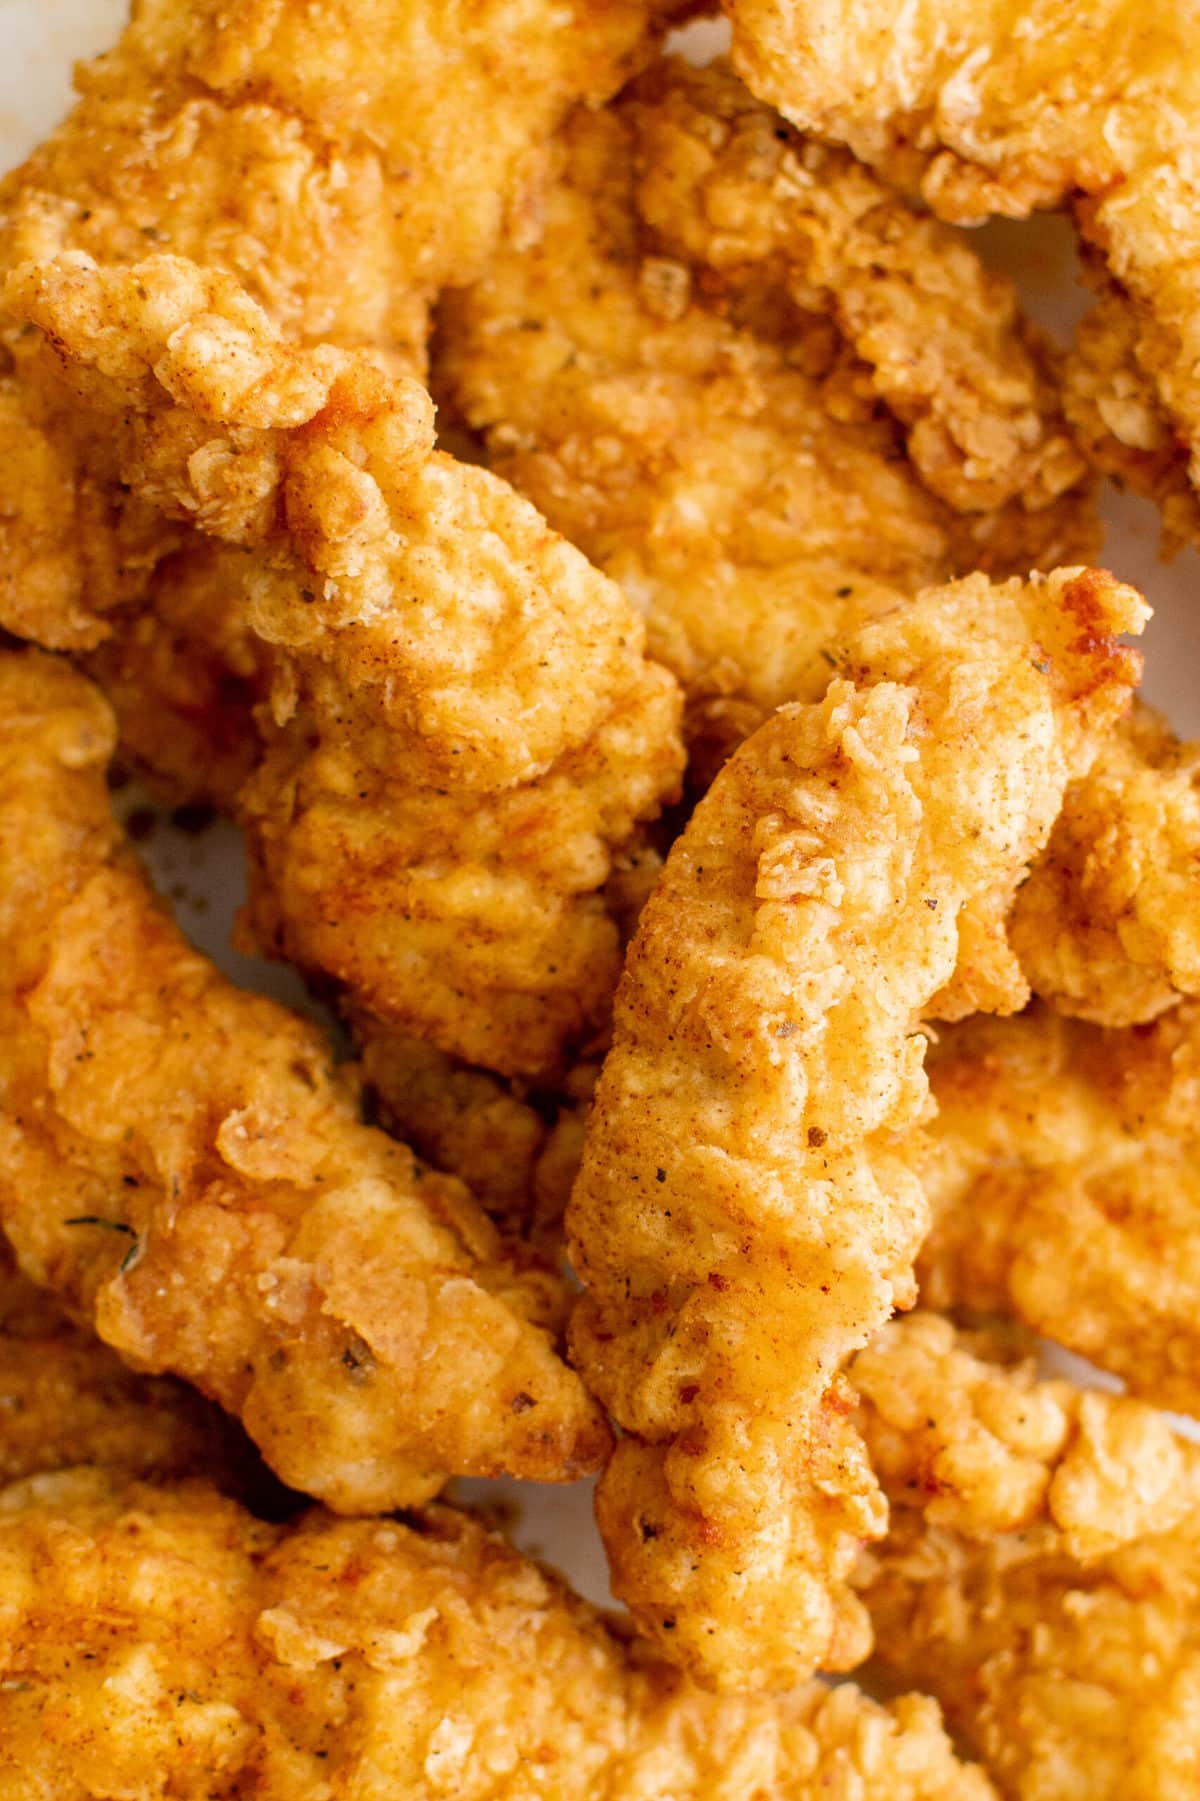
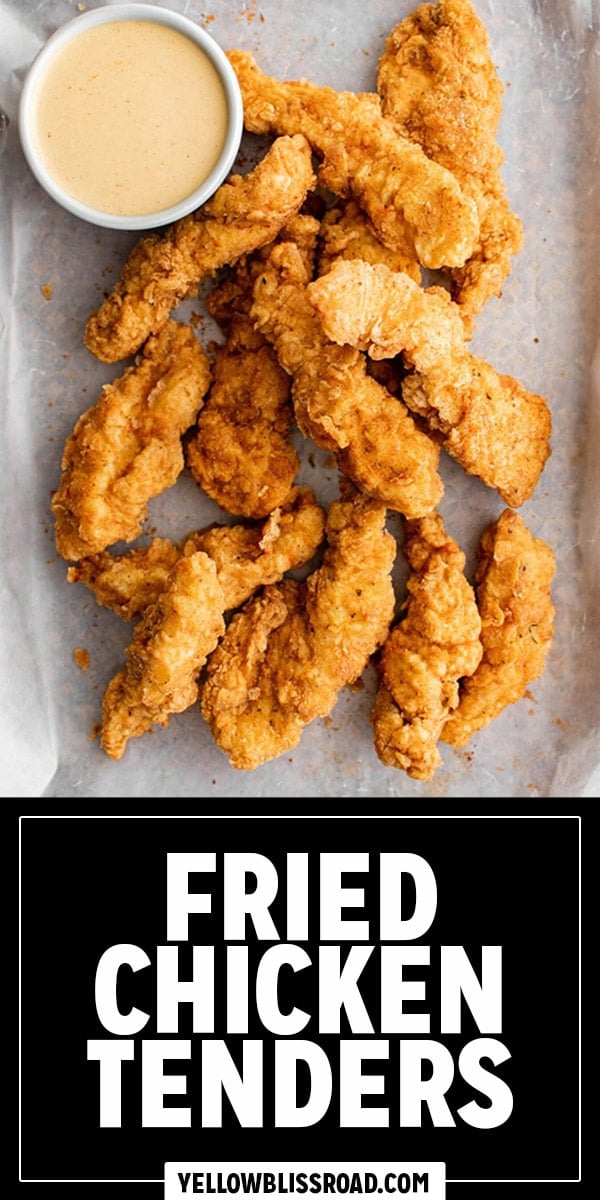
Crispy fried chicken tenders don’t just come from a freezer or drive through window. They are easy to make, and a dinnertime favorite with kids and adults alike. Add in customizable seasoning that lets you crank up the heat as much as you want and you’ve got an instant hit!
Make it a classic, kid-friendly meal and serve with creamy Slow Cooker Mac and Cheese and Garlic Green Beans.
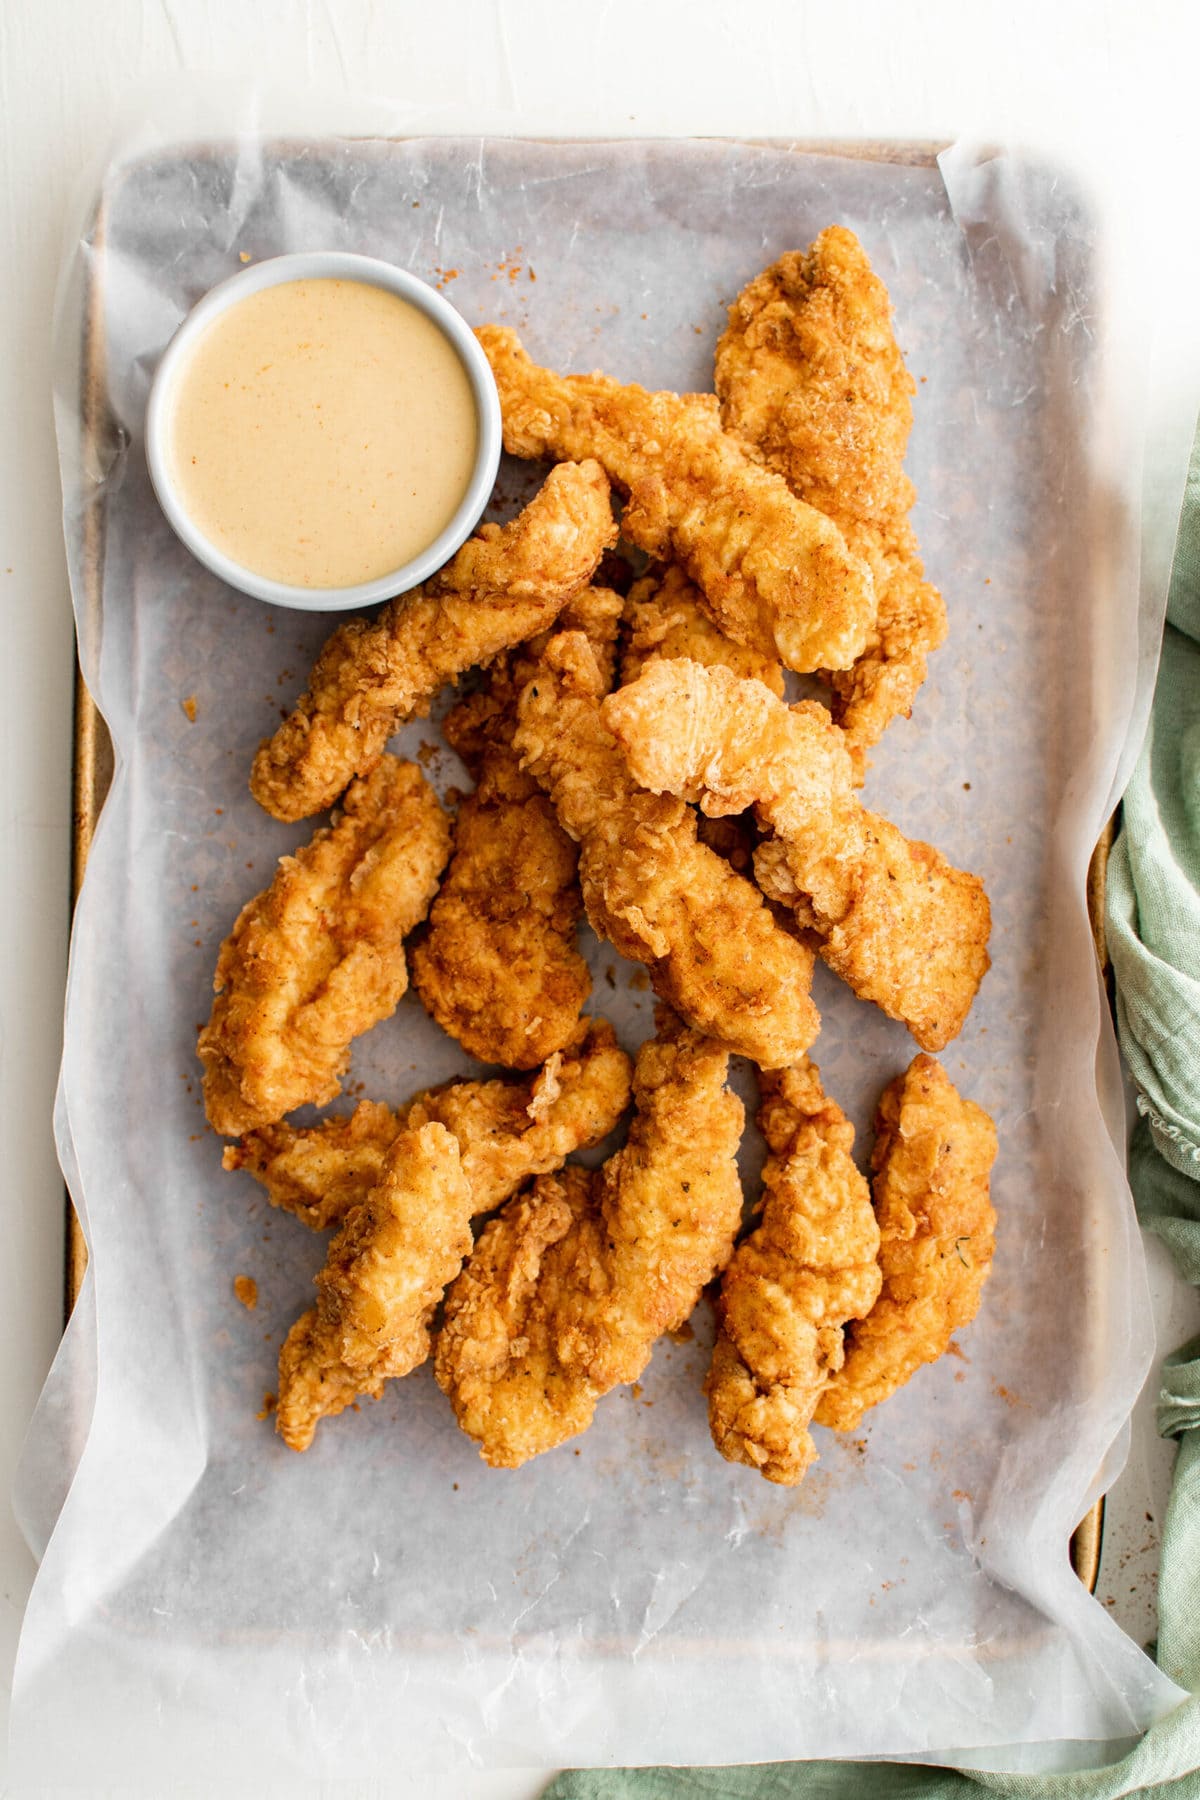
Pan-fried chicken tenders are easier to make than you might think, super versatile, and they are always a hit. You can make a big batch and freeze them to eat later, send them in school lunches, add them to salads or take them on a picnic.
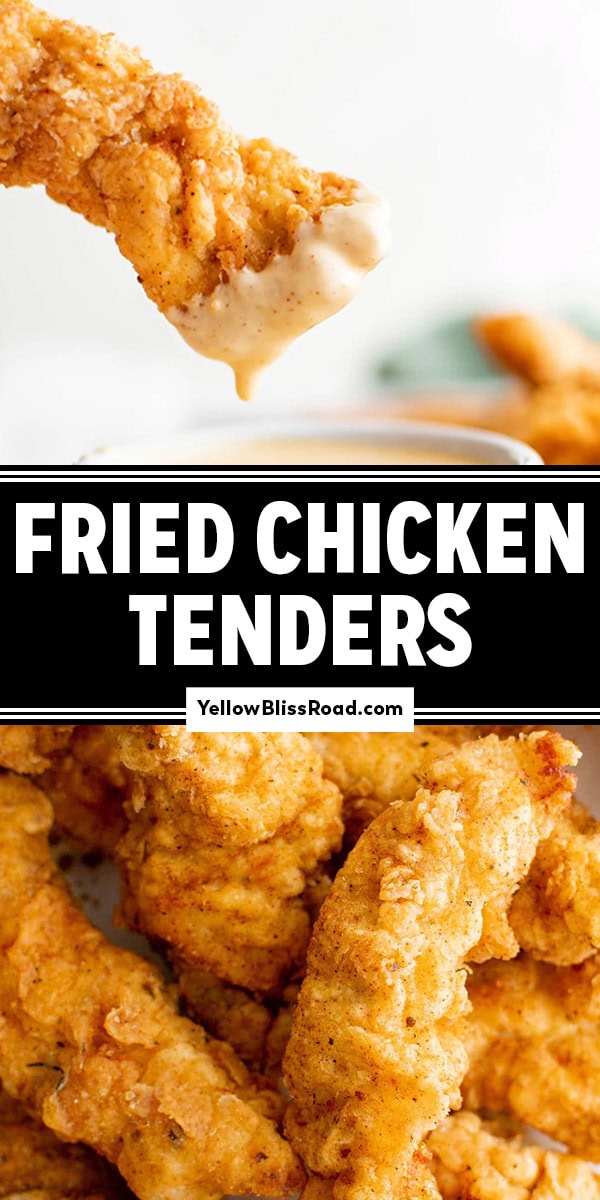
Since it’s such a hands-on recipe, I usually serve them with simple sides, like a Cabbage Salad, Air Fryer Tater Tots, or Sweet Potato Wedges. For dipping, we love Homemade Ranch Dressing and Honey Mustard Dip.
Best Fried Chicken Tenders Recipe
I’m not afraid to feed my family a drive-thru dinner once in a while, but I’ve noticed that my favorite chicken places often pass me out a box of heavily coated, way too crunchy and super salty chicken. That’s why my restaurant quality fried chicken tenders are so perfect!
I’ve been making fried chicken thighs for a long time and we love them, but working with chicken tenders is so much easier and I love that I can customize the seasoning however I want. I’ve added some heat with my homemade cajun seasoning, but my all-purpose Chicken Seasoning is also a great fit.
It really is the best chicken tenders recipe – plus, who doesn’t love a meal that’s ready in 30 minutes or less?
What you need
Ingredients and Substitutions
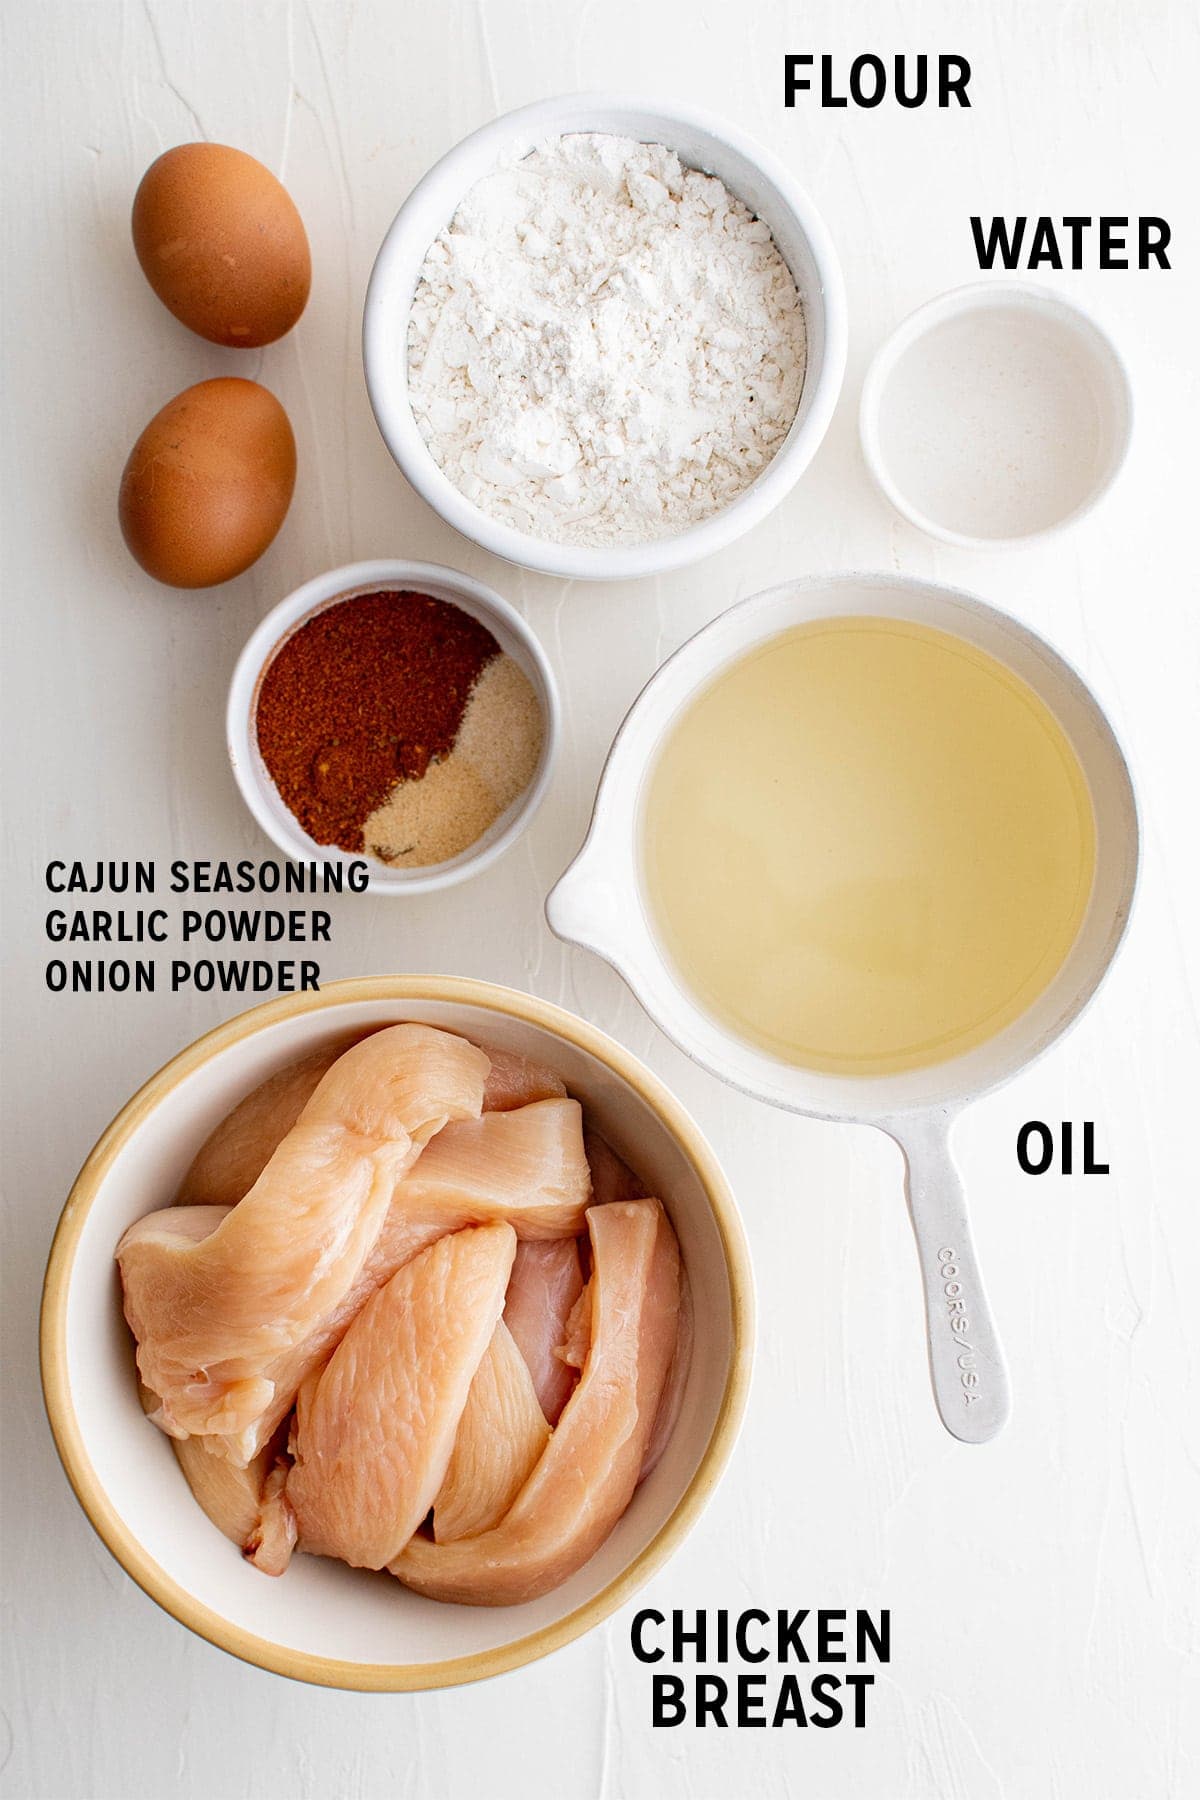
- Chicken – Skip the actual “chicken tenderloins” at the grocery store and slice chicken breasts instead. Chicken tenders have a large tendon that runs right through the middle, which is difficult to chew. Either cut that out or forgo the actual tenders altogether.
- All-purpose flour – The flour plays a few roles in fried chicken. It coats the chicken evenly and helps to infuse the flavors of the seasoning. It helps to seal in moisture to help keep the chicken juicy, and it also provides a crispy coating.
- Seasonings – You’ve got a few options here. I used cajun seasoning but you can also use whatever your go-to flavors are. Simple salt and flour are great, but I recommend adding at least a little garlic powder. You can never have too much garlic!
- Egg – The egg provides structure and helps to bind the coating together.
- Oil – for frying. You want an oil with a high smoke point like canola, corn oil, vegetable oil, or avocado oil.
How To Fry Crispy Chicken Tenders
See the recipe card below for full, detailed instructions
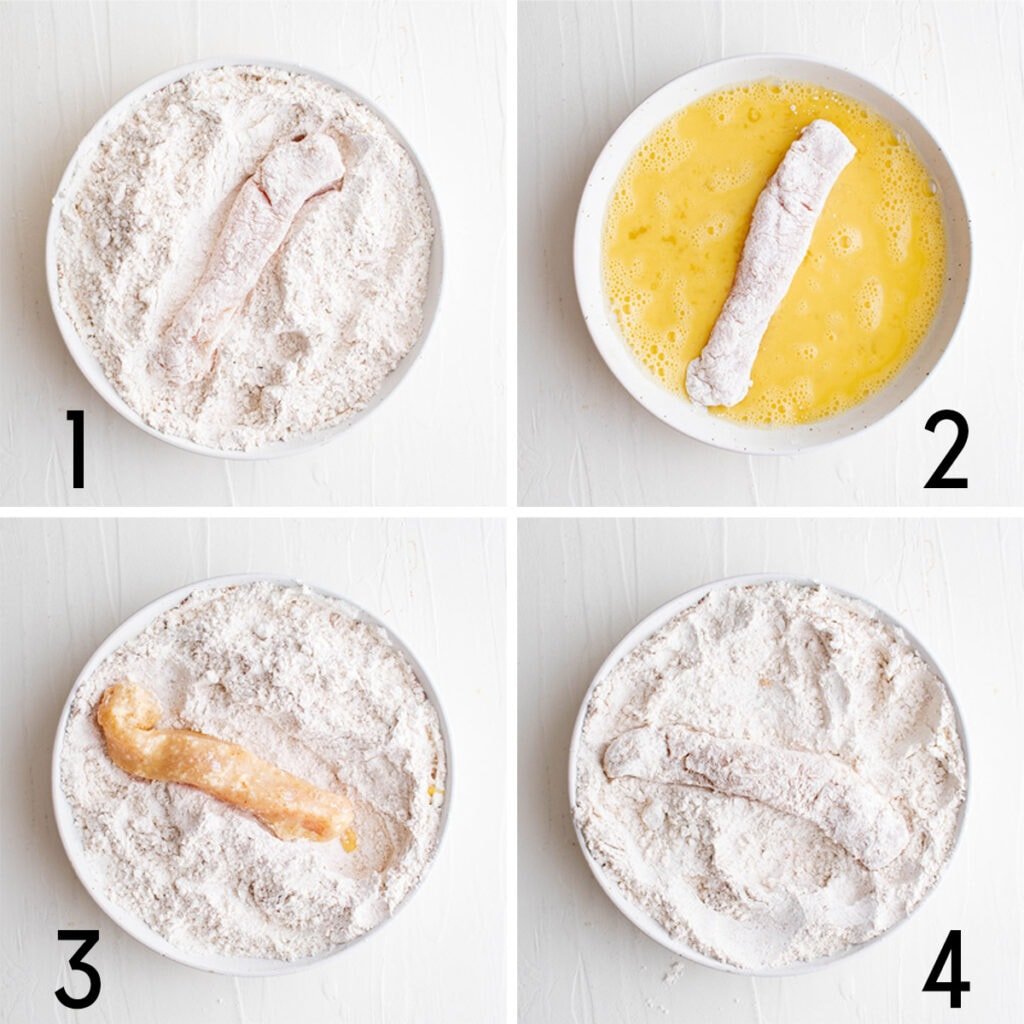
Start by coating the chicken. Mix together the flour and seasonings in one bowl and whisk eggs in another. Then dip the chicken pieces in the flour, then the egg, then dip in the flour again. As you work, place the coated chicken on a wire rack to rest while you continue the process.
To get the breading to stick to the chicken tenders, make sure to dry them really well before dipping them into the flour.
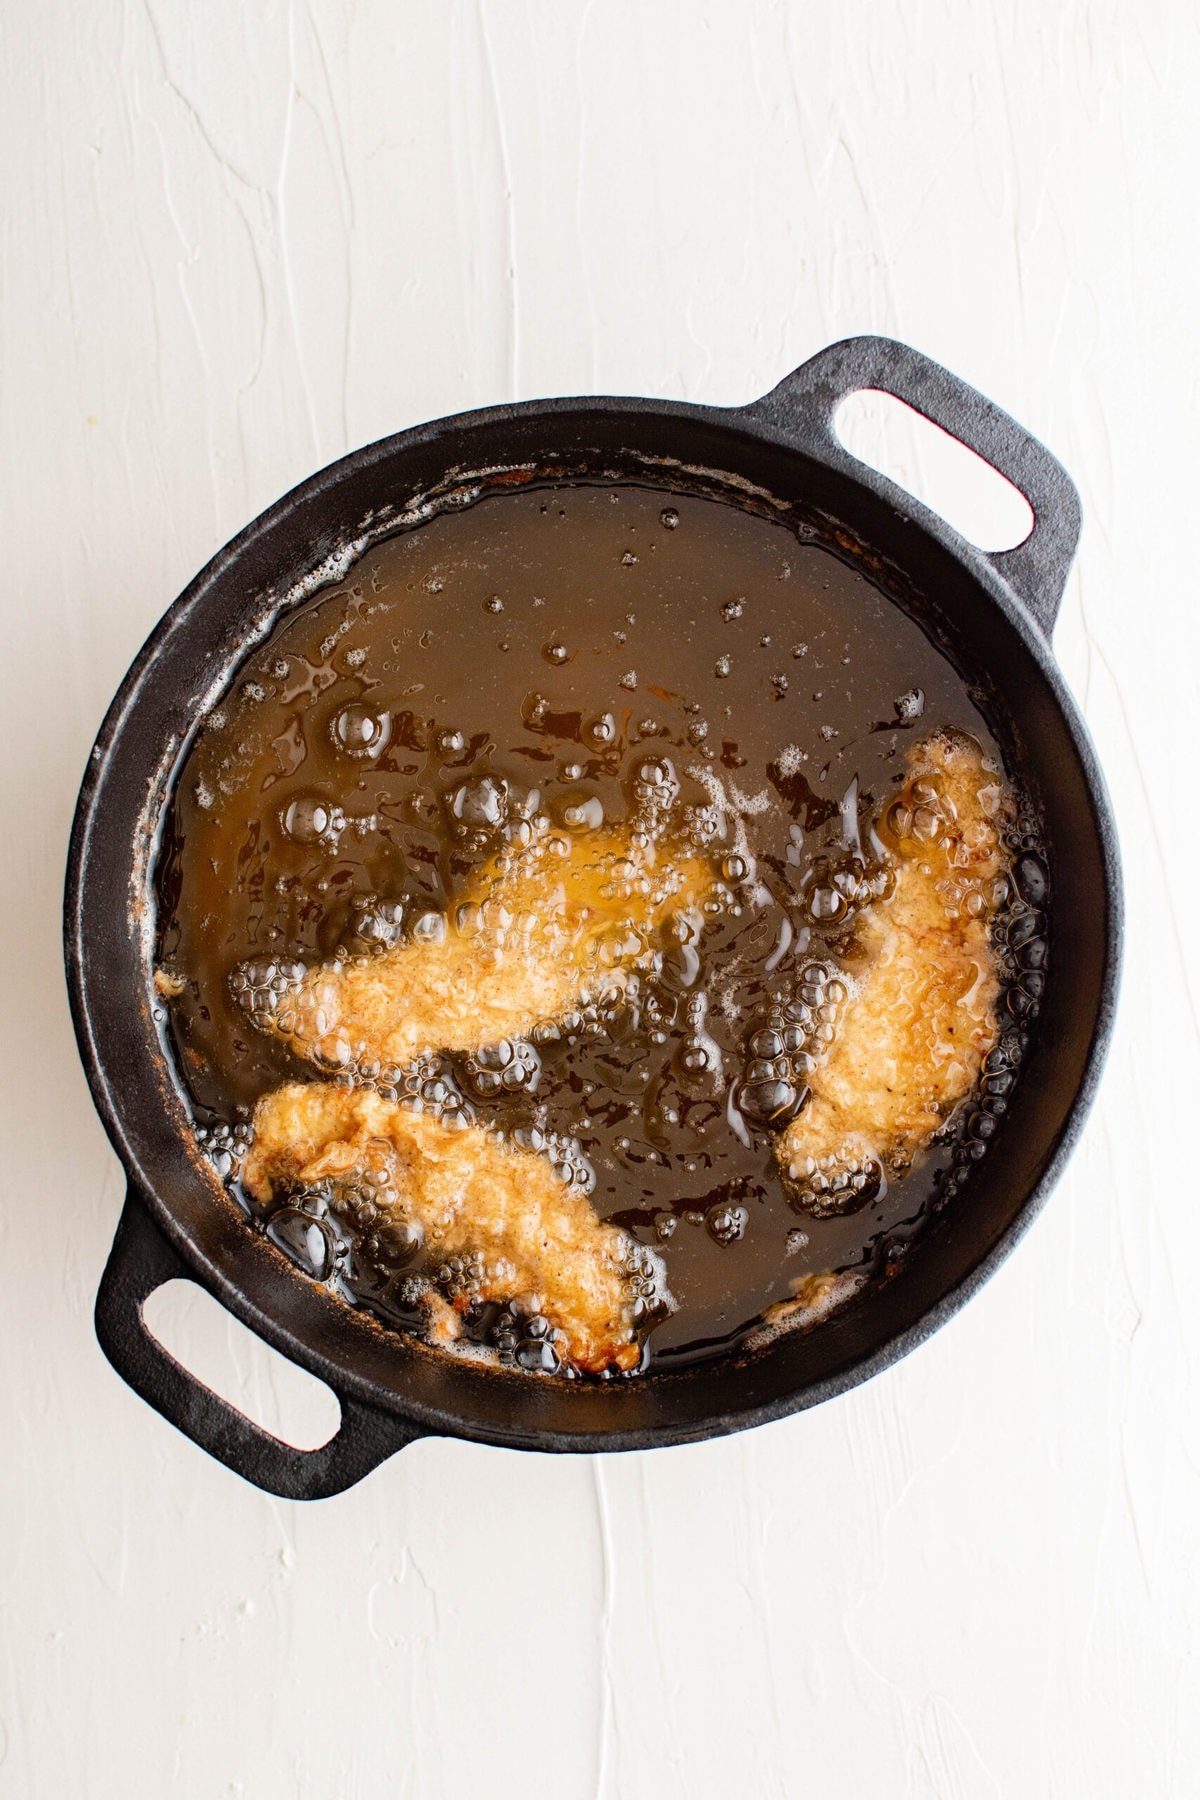
Heat the oil. While you are coating the chicken, heat the oil in a dutch oven or large, deep cast iron skillet. The oil should be about 2 inches deep.
Fry. Once the oil is hot enough, add the chicken pieces one at a time. You should be able to fit 3 or four in there at a time; just make sure they have space between them. As you remove them from the oil, set them on a wire rack over a baking sheet to drain. Each batch should take about 10-12 minutes and you should end up frying 2-3 batches.
Serving Suggestions
- My son will eat fried chicken tenders for just about any meal of the day, but he especially loves them for breakfast. Once in a while you can have a little fun and serve the crispy tenders on Homemade Biscuits like they do at the famous chicken places or with Homemade Waffles.
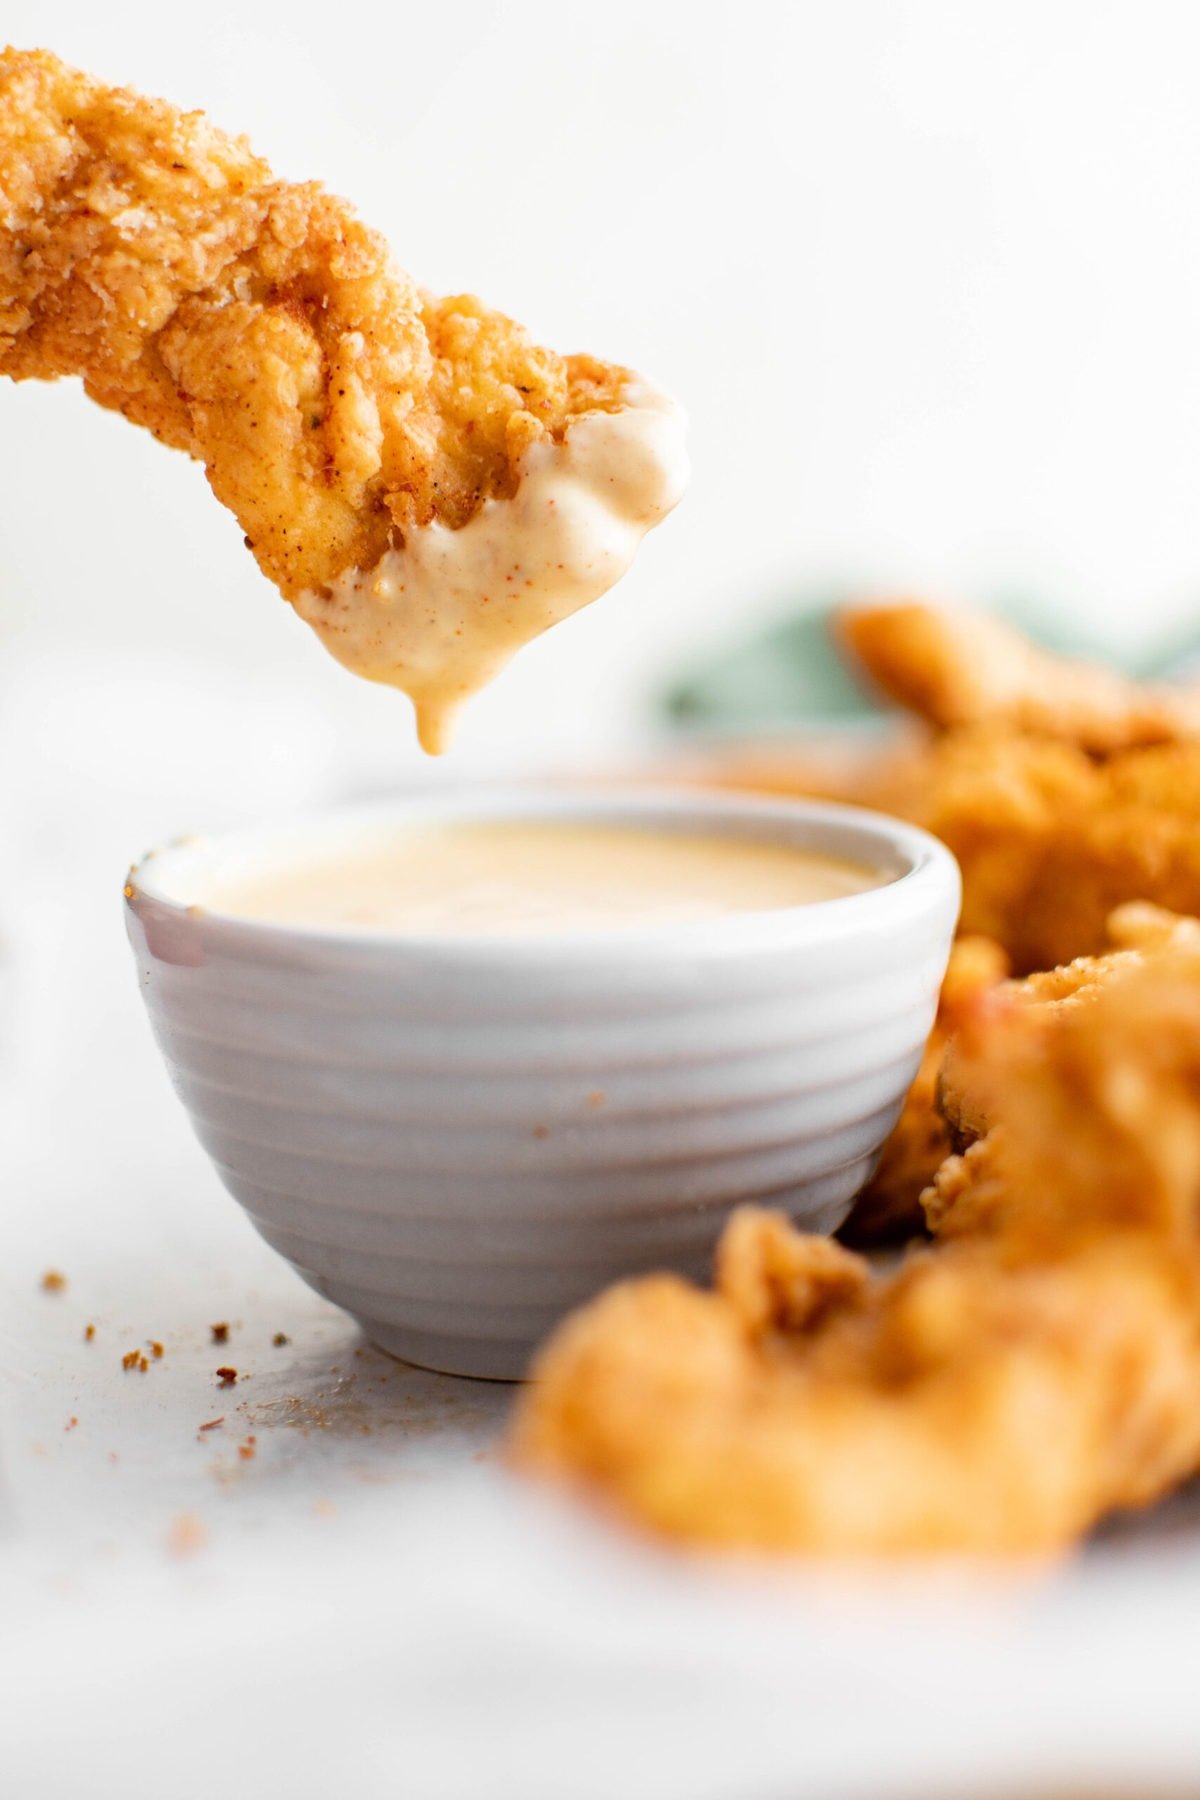
- Serve a variety of dipping sauces and have a taste test for your favorites.
- Dice them up and toss in a crispy chicken salad.
- Get yourself some cool mom points and pack them in lunchboxes.
- Serve them immediately, hot and fresh, with some corn and make ahead mashed potatoes – classic Southern style.
Recipe Tips
- If you’ve never fried before, use a temperature-regulated appliance like an electric skillet or a deep fryer. I cook in a cast iron skillet and prefer that, but I’d rather you have a good quality, crispy final product so use what you’re comfortable with.
- Be careful not to overcook the chicken. It will be dry and miserable to eat. As long as your oil is hot enough and your chicken is the right size, you’ll be fine following the recipe.
- Taste your cajun seasoning to see how salty it is before you add it to your flour. Mine was extremely salty–so I did 2 tablespoons. If you want more spice/heat feel free to add some hot sauce or tabasco to the eggs that are used during the breading process or toss more cajun seasoning to the flour. Just don’t salt anything else.
- Stick with an oil with a high smoke point like peanut, corn, canola or vegetable oil.
- If your oil starts to smoke, turn the heat down or pull the skillet off the burner carefully for a minute or two. If your chicken is cooking too slow and the breading is soggy or falling off, turn the heat up. Chicken should register 165 degrees on a digital meat thermometer. If it’s browned but not fully cooked. Heat oven to 400 degrees and let the chicken finish in the oven.
- Chicken not crispy? Could be that your oil wasn’t quite hot enough. Use a deep-fry thermometer to make sure the oil stays at 375℉. If it’s not hot enough, the coating will soak up the oil instead of fry in it.
Storage Tips
Make Ahead, Storage and Reheating
Make Ahead: You can dredge the chicken in the flour, eggs and flour up to 24 hours in advance. Layer parchment paper between layers of breaded chicken and store in an airtight container in the fridge. Transfer to the counter for 15-20 minutes before cooking to bring the chicken to room temperature.
Storage: Store fried chicken tenders in an airtight container in the fridge after they are fully cooled. Use freezer safe bags or containers to freeze for up to 4 months.
Reheating: Leftovers never last long enough to reheat in my house – the kids (and my husband) always eat them cold straight out of the fridge. Reheat fully cooked and thawed tenders on a baking sheet in a 350 degree oven for about 10 minutes or until crispy and warmed through. The air fryer also works great for reheating chicken tenders. Air fry at 380 degrees for 5-10 minutes. From frozen, heat on a baking sheet in a 375 degree oven for 30 minutes.
More Chicken Recipes
- Crispy Cheesy Baked Chicken Tenders
- Baked Coconut Chicken Tenders
- Fried Chicken Salad
- Crispy Dill Chicken Sandwich
- Air Fryer Chicken Tenders
Cajun Chicken Tenders
Ingredients
- 1 ½ cups All-purpose flour
- 2 tablespoons Cajun seasoning can increase to up to 4 tablespoons if you want it really strong
- ½ teaspoon Onion powder
- ½ teaspoon Garlic powder
- 2 Eggs
- 1 tablespoon Water
- 2 pounds Boneless skinless chicken breast trimmed and cut lengthwise into 1″ thick strips
- canola, vegetable, or peanut oil for frying (amount depends on your frying vessel, but my 12" cast iron skillet holds about 24 ounces of oil)
Instructions
- Line a baking sheet with paper towels, and if you have one, place a wire rack over the baking sheet. Set aside.
- In a large, shallow bowl or dish with sides, mix together the flour, cajun seasoning, onion and garlic powders. Set aside.
- In a second bowl, beat the eggs and water. Set aside.
- Dry the chicken really well with paper towels, then dip one piece at a time into the flour then the eggs, and then back into the flour, pressing to coat the chicken well. Set aside on the wire rack or baking sheet.
- Repeat with the remaining tenders and set them aside while you heat the oil.
- Pour oil to a depth of 2 inches in a large cast iron skillet or deep pot. Heat on medium-high to 375 (you can use a deep-fry thermometer to check if you aren't sure).
- Slowly add three to four pieces of coated chicken, reduce heat to medium-high, and allow them to fry until just brown on one side, about 5 minutes, then turn and cook until golden on the second side; 6 to 7 minutes more. Transfer to the wire rack and baking sheet to drain and repeat with the other tenders. Make sure to stay by the stove!
- If your oil starts to smoke, turn the heat down or pull the skillet off the burner carefully for a minute or two. If your chicken is cooking too slow and the breading is soggy or falling off, turn the heat up. Fully cooked chicken should register 165 degrees on a digital meat thermometer. If it's browned but not fully cooked. Heat oven to 400 degrees and cook until the chicken reaches a safe temperature.
- Serve the tenders warm with your favorite dipping sauce.
Notes
Nutrition
Nutritional Disclaimer Kristin Maxwell of “Yellow Bliss Road” is not a dietician or nutritionist, and any nutritional information shared is an estimate. For accurate calorie counts and other nutritional values, we recommend running the ingredients through your preferred online nutritional calculator. Calories and other nutritional values can vary depending on which brands were used.
Great tasting and easy! The whole family loves these! Thank you!
You are so welcome Shannon! Thanks for stopping by.
Thank you so much because I am craving Chicken today 🙂 But Could you give me some ideas for dipping sauce to eat with this recipe but is not ketchup and chili sauce like KFC. Thank you so much!