This post may contain affiliate links. Please read our disclosure policy.
If you have been looking for the best tips and tricks for how to cook corn on the cob, look no further! From grilling to boiling, we go over the best ways to prepare, cook, and store your corn on the cob.
With so many preparation variations, corn on the cob can be an intimidating food to work with. However, once you see how simple it is to prepare this delicious ingredient, you won’t want to stop making it!
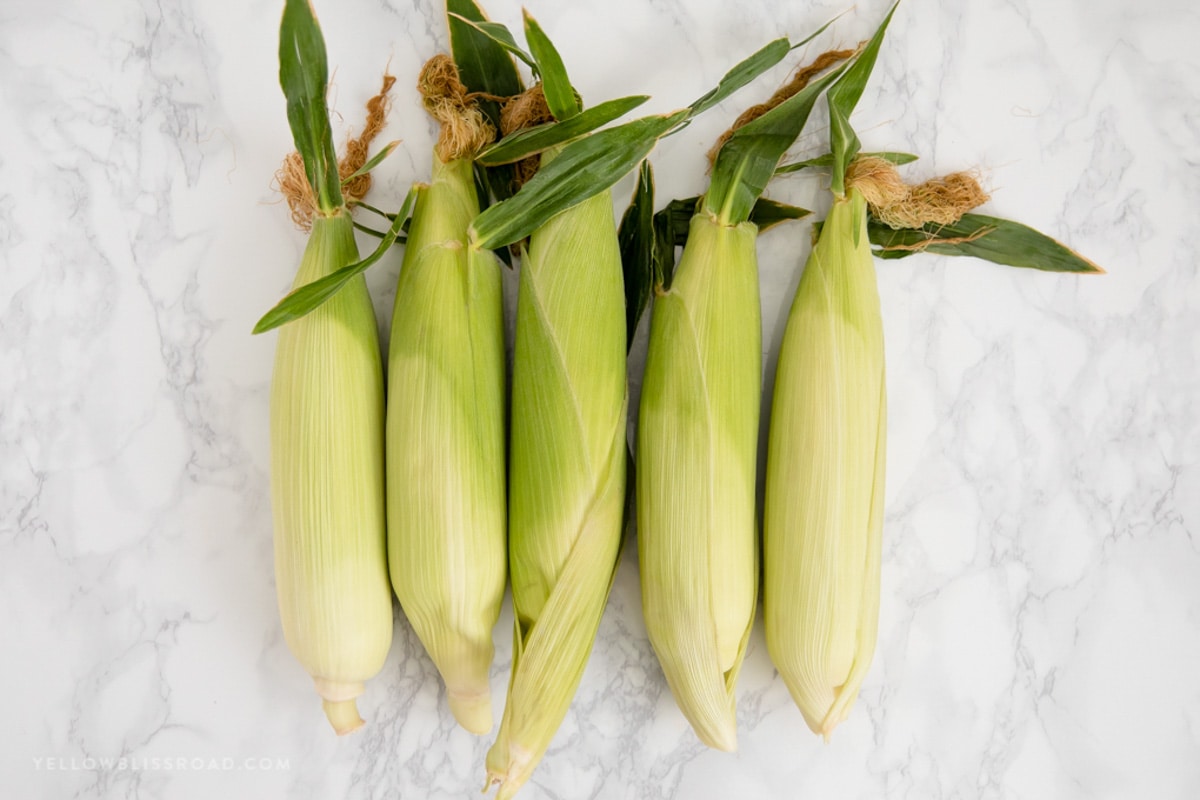
Cooking Corn on the Cob
Whether you are looking for the perfect side to throw on the grill or the perfect addition to Sunday dinner, these tips and tricks are sure to come in handy!
Grilled, microwaved, boiled or baked, corn on the cob is a summer staple. We love to grill it and add it to our Chicken Taco Salad or serve it with a perfectly Grilled Steak.
Preparing Your Corn
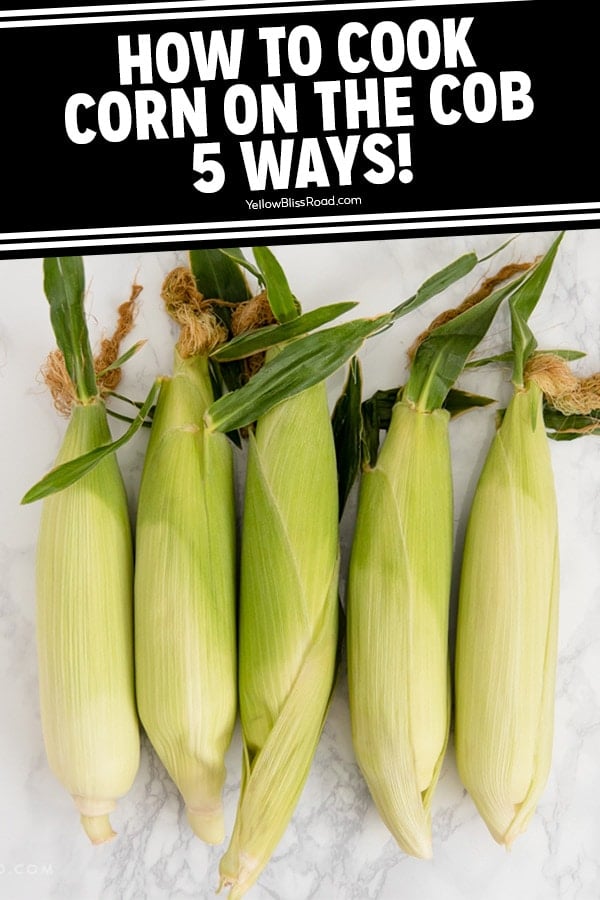
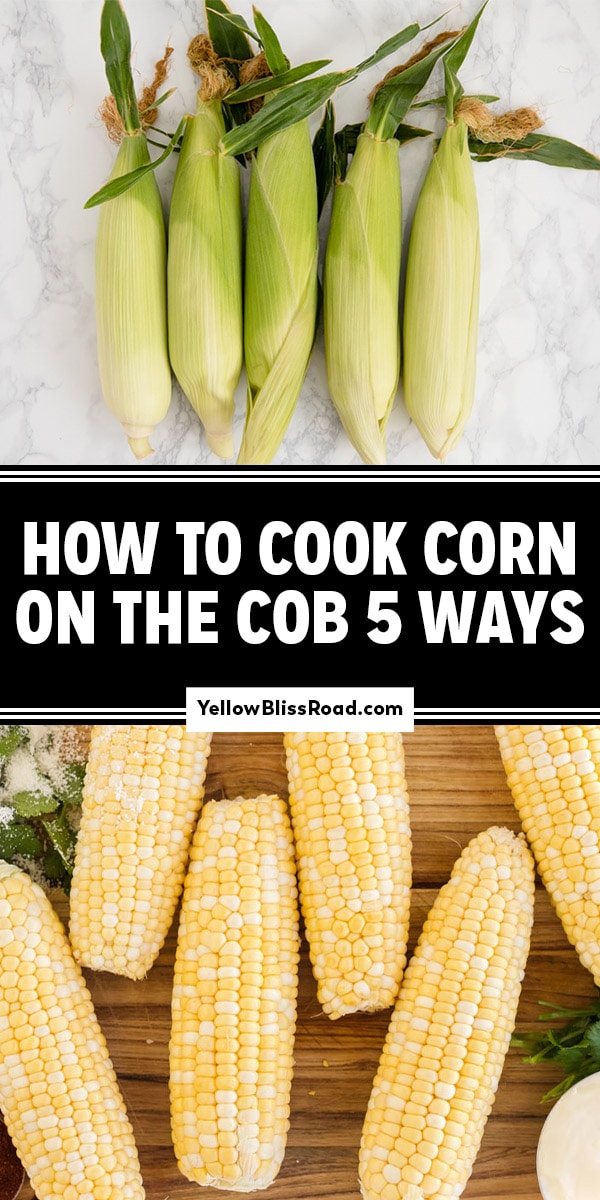
No matter how you are cooking your corn, the first step is to shuck it from the husk. If you have been tasked with shucking cob after cob of corn, you know it can be exhausting. However, microwaving is the best way to remove the husk and silk before cooking corn on the cob.
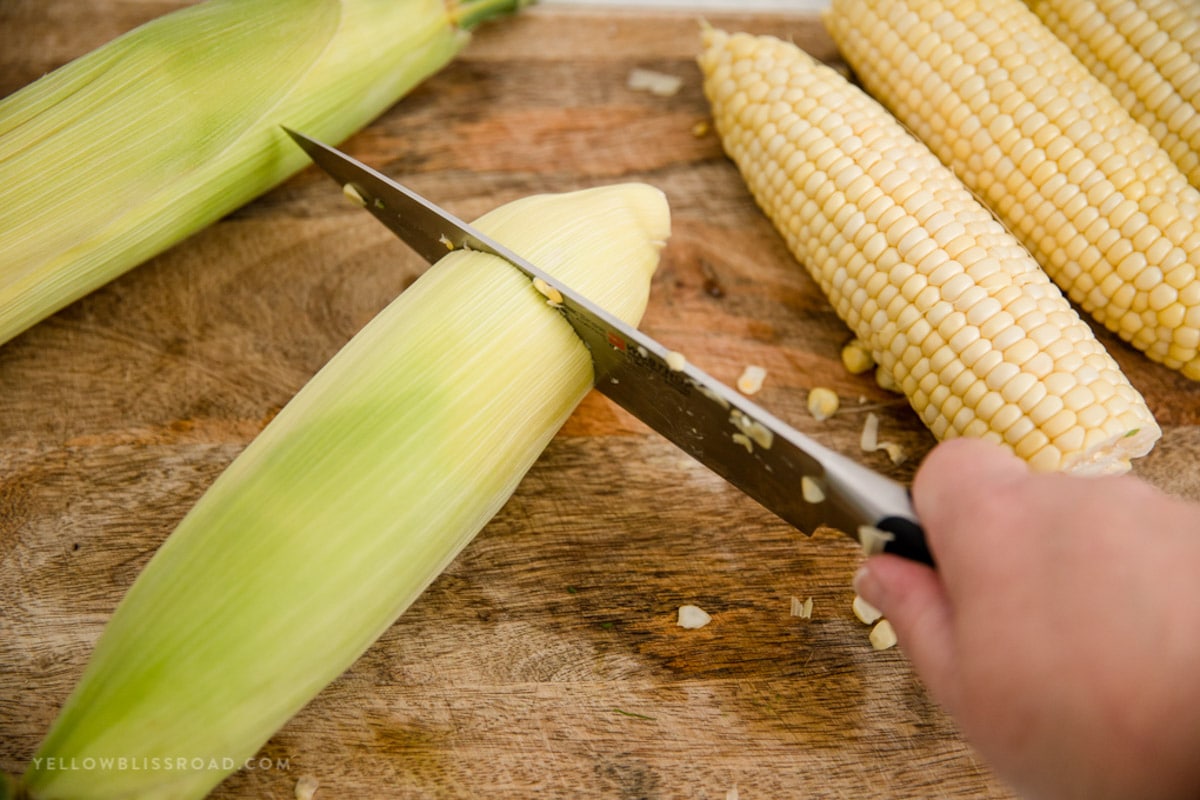
Step One: Cut off the stalk end of your corn if it has not been removed already. Use a very sharp knife, or a serrated knife.
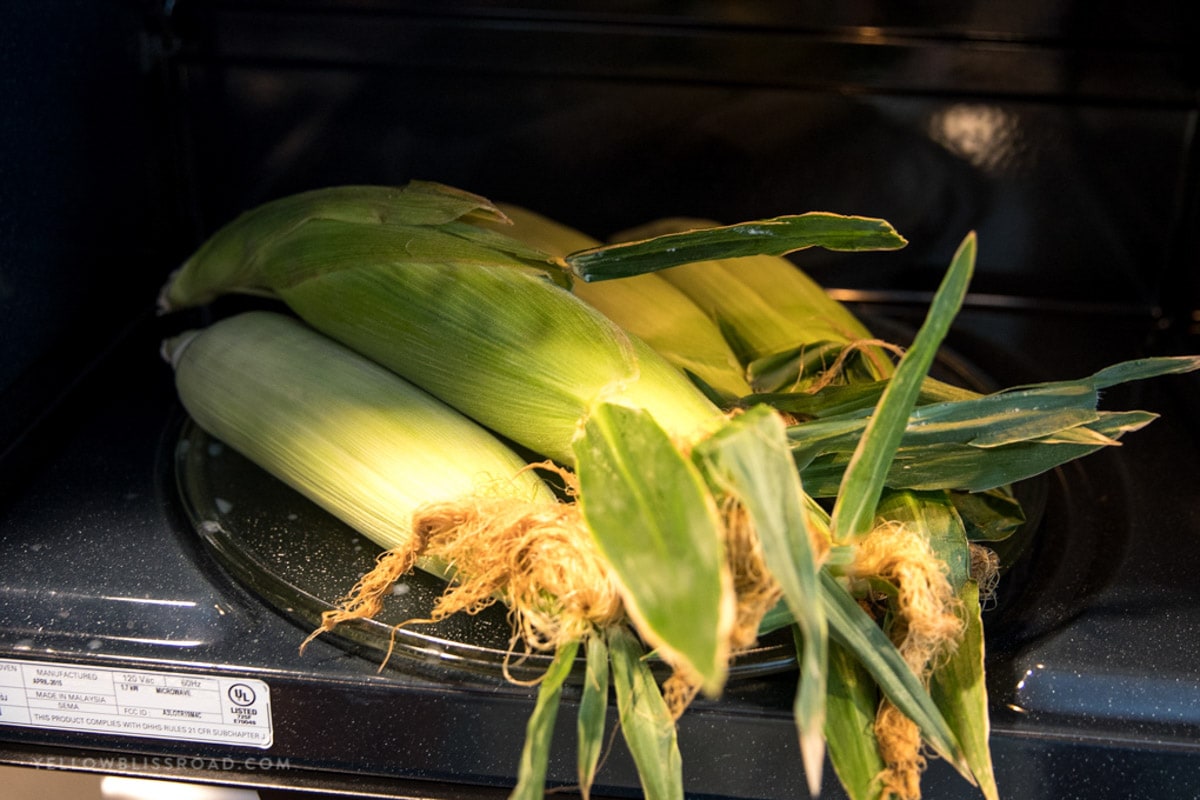
Step Two: Microwave your corn in the husk for 60 seconds. This creates a layer of steam between the corn and the husk.
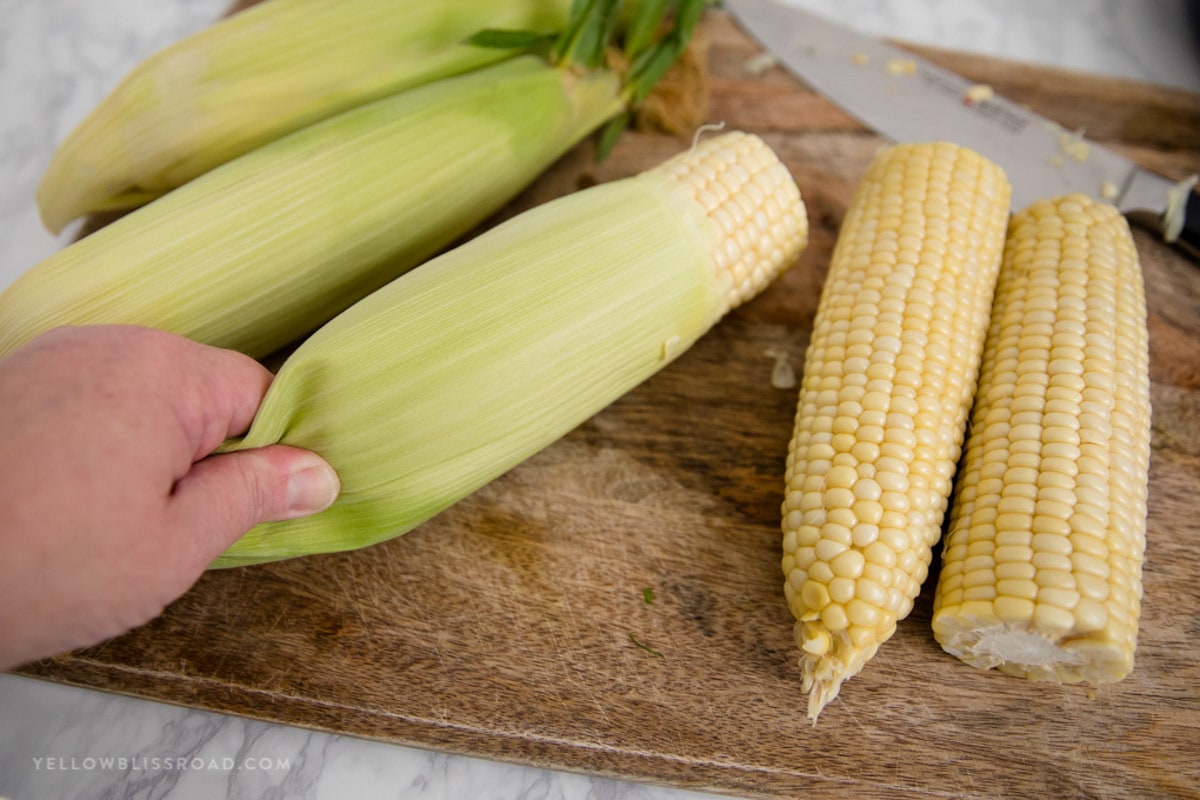
Step Three: Remove your cobs from the microwave and shake them while you squeeze the husk. In seconds you will have a silk-free cob of corn ready to go!
Note – this will not cook the corn, just makes it easier to remove the husk. If you want to fully cook your corn in the microwave, read on!
How To Microwave Corn
If you want some quick, delicious corn on the cob then using the microwave is the way to go. These easy steps will give you hot steamed corn that slides right out of the husk.
- Leaving your corn in the husk, place up to 3 pieces of corn on a plate in the microwave. (In all honestly, I’ve stacked up to 6 this way – it takes a little longer but it does work).
- Microwave the corn for 3-4 minutes per cob. Once the corn finishes cooking, allow it to cool for 2-3 minutes in the microwave.
- Remove the corn and cut off the stems if you haven’t already. The corn should slide right out of the husk and be fully cooked.
Grilling Corn On The Cob
The best way to grill corn is to remove it from the husk and place it right on the grate. This will give your corn a beautiful char and some delicious smoky flavor.
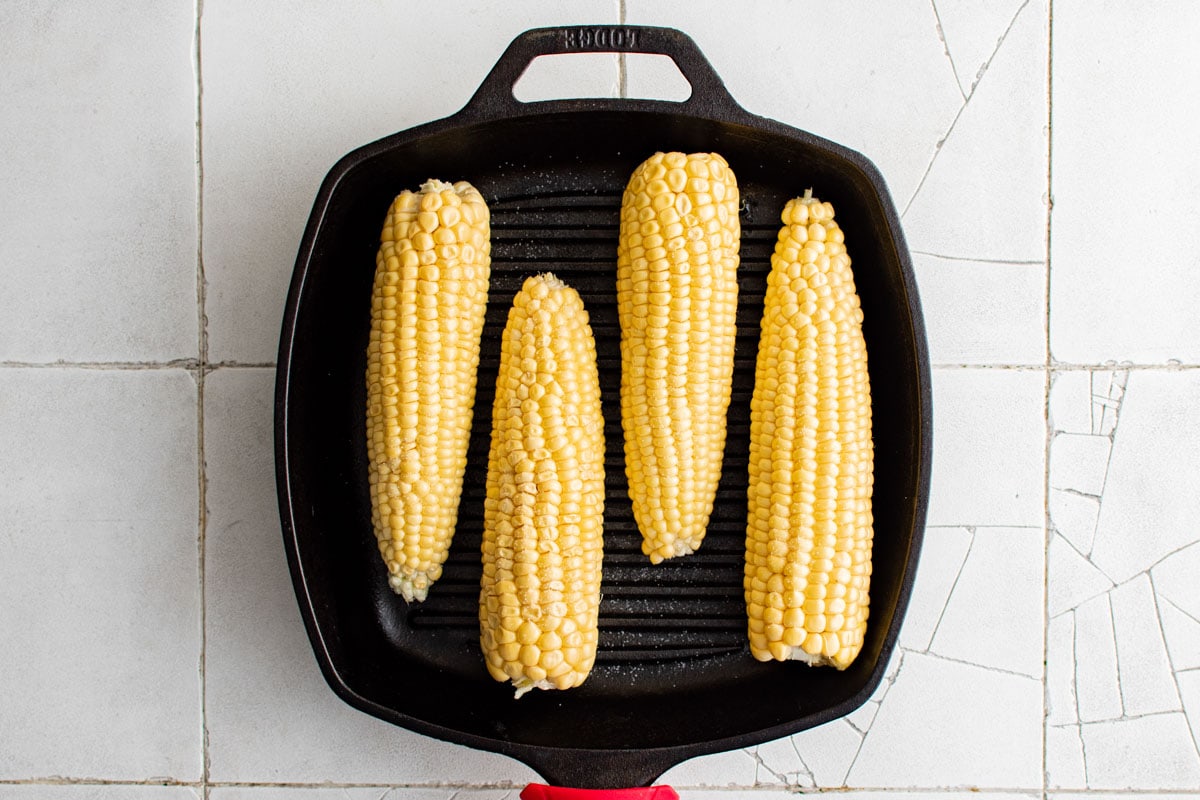
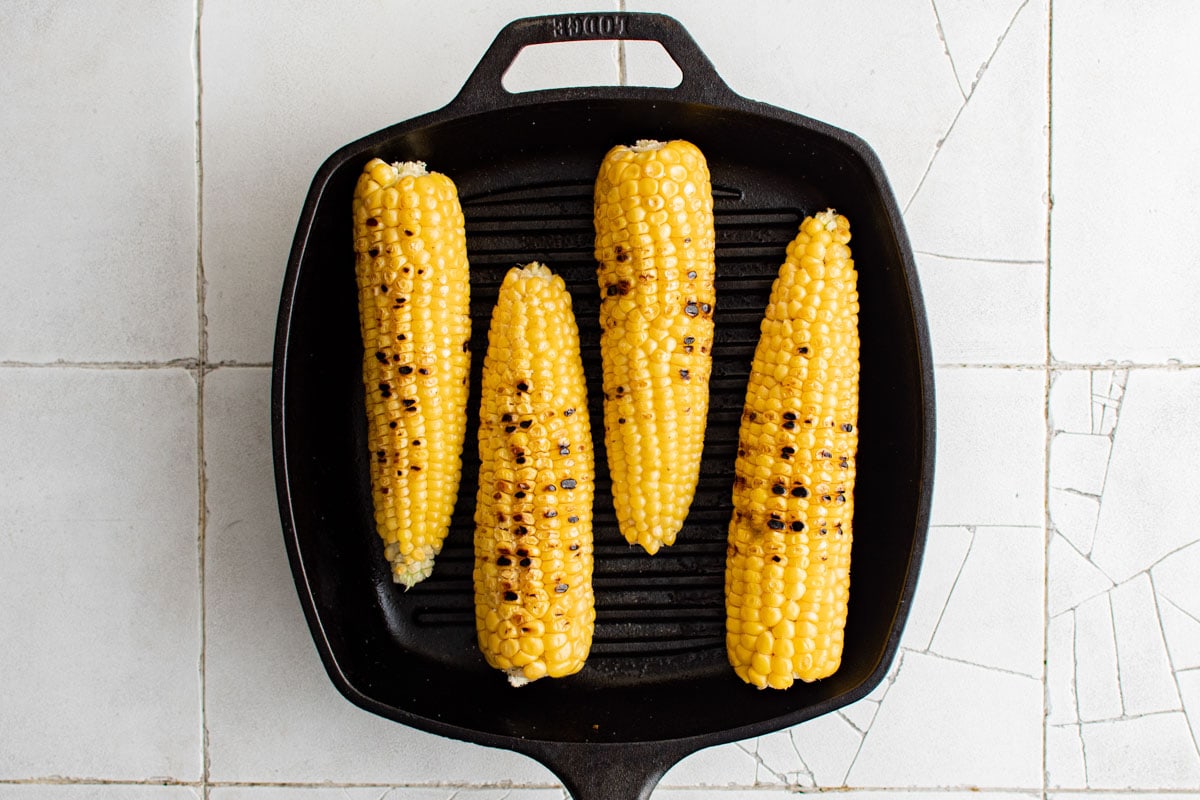
Remove your corn from the husk and coat the entire cob with butter.
Place the cobs on your heated grill and cook for 10-12 minutes, turning intermittently to ensure each side is charred.
How To Boil Corn
Boiling corn is a great option when you need to prepare a lot of corn in a short period of time.
- Remove your cobs from the husks and set them aside. Bring a large stockpot of water to a boil.
- Once the water is boiling, add ½ tablespoon of salt and the cobs of corn. Allow the corn to cook for 5 minutes.
- Drain the water and pat the cobs of corn dry.
Best Baked Corn
Baking corn in the oven is a wonderful option if you want a similar end product to grilled corn without the grill clean-up.
- Preheat your oven to 425°F. While the oven heats, coat each dehusked cob of corn in butter and sprinkle with salt and pepper.
- Wrap each cob in tin foil and place on a baking sheet.
- Bake your corn for 20 minutes. Allow the corn to cool for 5 minutes before removing the tin foil.
Steaming Corn On The Cob
Like microwaved corn on the cob, steaming gives you hot, flavorful corn without much time or effort. As a result, this is another great option for busy weeknights or larger gatherings.
- Add 2 inches of water to a large stock pot and bring the water to a boil.
- Remove the husks from your corn before adding the cobs to the pot. Place a lid on the pot and reduce the heat to a simmer.
- Allow the corn to cook for 5 minutes, or until the corn turns bright yellow.
Cutting Corn From The Cob
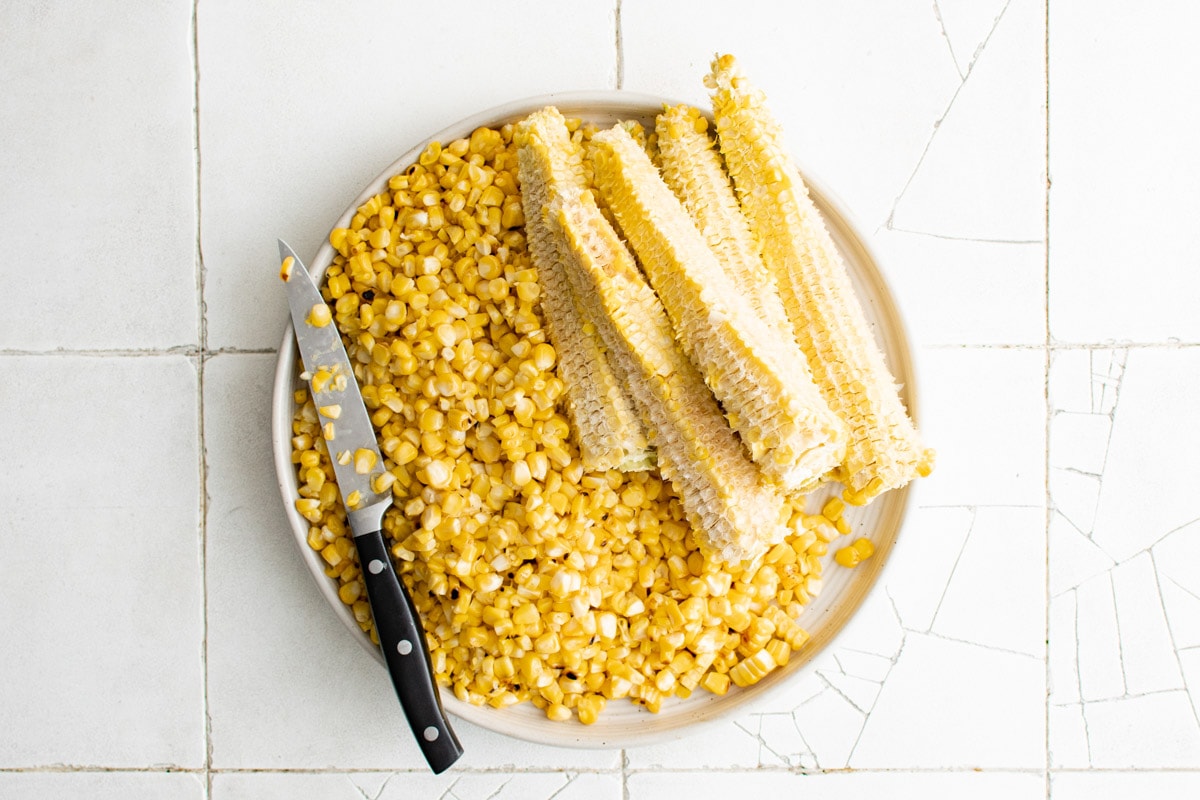
Once you’ve cooked your corn, you can easily remove the kernels from the stalk using a very sharp knife or a long serrated knife to cut off each side of the cob. Cut from the top of the stalk to the bottom. Be sure to cut just behind where the corn is attached to the stalk to get as much corn off as possible.
FAQs
Boil the corn for about 5 minutes. The size of the ear doesn’t really matter, it should take 4-5 minutes no matter the size.
YES! Any time you boil corn, potatoes or other veggies, ad a generous amount of salt to the boiling water. This will add a ton of flavor to the finished product as the vegetable absorbs salt as it cooks.
Visual Check: The corn kernels should appear plump, tender, and bright in color. They should be fully cooked and not look raw or undercooked.
Texture Test: Gently press a kernel with a fork or your finger. It should feel tender and give slightly to the pressure. If it feels firm and unyielding, it may need more cooking time.
Taste Test: Take a small bite from a kernel. It should be soft, juicy, and easy to chew. If it tastes raw or starchy, it needs further cooking.
Remember not to overcook the corn as it can become mushy. It’s better to slightly undercook it than to overcook it. The cooking time can vary depending on the size and freshness of the corn, so it’s best to check it periodically during the cooking process.
Keep the husk intact to retain moisture and freshness, and cook your corn within a few days of purchasing for the best results.
Storing Your Corn
No matter how you cook your corn on the cob, your leftovers can be stored in the fridge for up to 4 days. I recommend wrapping each cob in foil before placing it in an airtight container.
Alternatively, you can also freeze your corn for up to 3-4 months by boiling the corn before wrapping each cob in tin foil and placing them in an airtight container. Wrapping the cobs helps prevent them from sticking together.
I recommend cutting the kernels off the ear and reserving them in an airtight container or bag. They will stay fresh for several days and you can serve as a side dish, or toss in a salad or soup. You can also freeze corn kernels in a freezer bag for up to 3-4 months.
Serving Suggestions
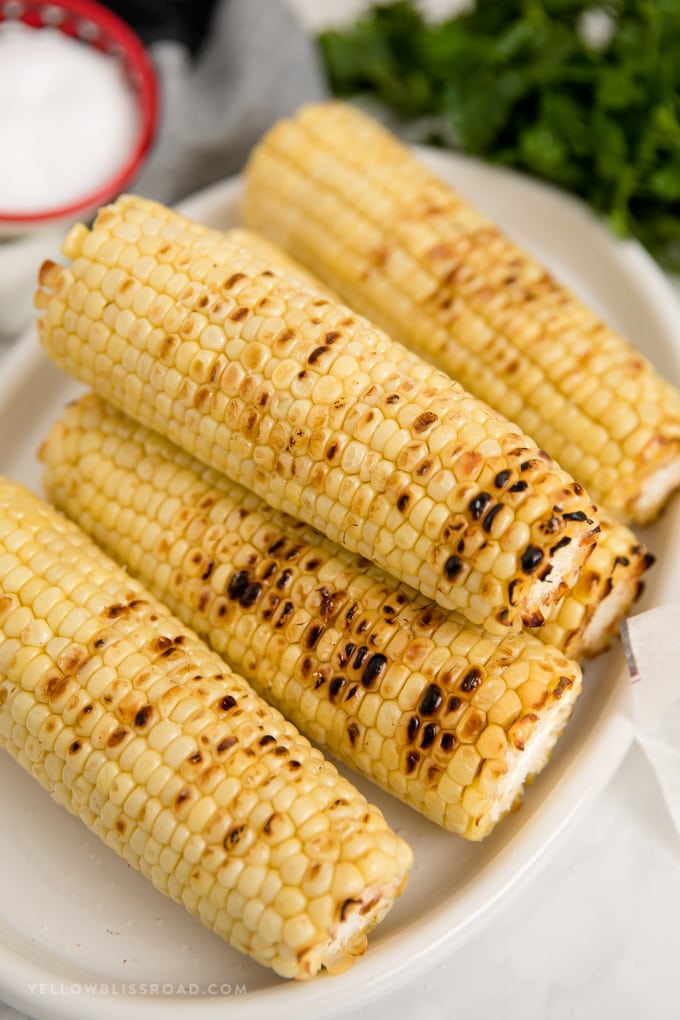
Corn on the cob is delicious with just a little butter, salt and pepper. But there are a few other ways to dress up your cobs.
- Elote (Mexican Street Corn) – Slather corn with mayonnaise and sprinkle with chili powder, cotija cheese and cilantro. Serve with lime wedges. Or slice the corn off the cob and us it for my Mexican Street Corn Salad.
- Garlic Butter and Parmesan cheese
- Greek yogurt, fresh mince parsley and crumbled Feta cheese
- Bacon wrapped corn on the cob – Wrap a slice of bacon around an ear of corn, then wrap that in foil. Grill for 20-25 minutes.
- Make your sweet corn a little spicy with a spread of hot pepper jelly.
- Fresh Corn Salad
- Black Bean and Corn Salad
Helpful Tips
- No matter how you are preparing your corn, make sure you wash it thoroughly after removing the husk.
- For some more flavorful corn, try coating your corn in butter and then sprinkling on some paprika, garlic salt, onion powder, and chili powder.
- You can store unboiled corn in the freezer for up to 1 month.
More Corn Recipes
- Shrimp Corn Chowder
- Creamy Cornbread Casserole
- Slow Cooker Cream Style Corn
- Creamy Hot Corn Dip
- Easy Goulash with Corn
- Fresh Corn Salad with Tomatoes
- Creamy Scalloped Corn Casserole
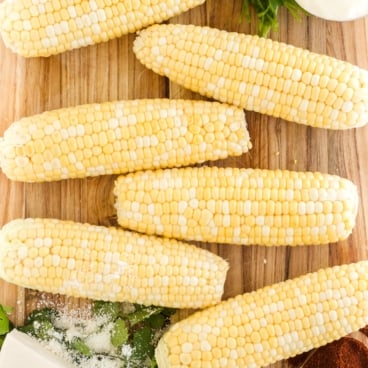
How to Cook Corn on the Cob
Ingredients
- 4 ears of corn, husk and silk in tact
- Butter
- Salt
- Other seasonings or toppings as desired.
Instructions
Removing the silk and husk
- With the husks still fully sealed, rinse to remove any dirt. Trim excess silk from the top with kitchen shears.
- Cut off the stalk end of your corn if it has not been removed already. Use a very sharp knife, or a serrated knife.
- Microwave your corn in the husk for 60 seconds. This creates a layer of steam between the corn and the husk.
- Remove your cobs from the microwave and shake them while you squeeze the husk. In seconds you will have a silk-free cob of corn ready to go!
Microwave Cooking
- Leaving your corn in the husk, place up to 3-5 ears of corn on a plate in the microwave.
- Omit steps 1-4 above. Microwave the corn for 3-4 minutes per cob. Once the corn finishes cooking, allow it to cool for 2-3 minutes in the microwave.
- Remove the corn and cut off the stems if you haven’t already. The corn should slide right out of the husk and be fully cooked.
Grilling Corn on the Cob
- Remove your corn from the husk and coat the entire cob with butter.
- Place the cobs on your heated grill and cook for 10-12 minutes, turning intermittently to ensure each side is charred.
Boiling
- Remove your cobs from the husks and set them aside. Bring a large stockpot of water to a boil.
- Once the water is boiling, add ½ tablespoon of salt and the cobs of corn. Allow the corn to cook for 5 minutes.
- Drain the water and pat the cobs of corn dry.
Baked Corn on the Cob
- Preheat your oven to 425°F. While the oven heats, coat each dehusked cob of corn in butter and sprinkle with salt and pepper.
- Wrap each cob in aluminum foil and place on a baking sheet.
- Bake your corn for 20 minutes. Allow the corn to cool for 5 minutes before removing the tin foil.
Steamed Corn on the Cob
- Add 2 inches of water to a large stock pot and bring the water to a boil.
- Remove the husks from your corn before adding the cobs to the pot. Place a lid on the pot and reduce the heat to a simmer.
- Allow the corn to cook for 5 minutes, or until the corn turns bright yellow.
Serving
- Serve hot, with butter and salt. Feel free to add any other toppoings or seasonings you like.
Nutrition
Nutritional Disclaimer Kristin Maxwell of “Yellow Bliss Road” is not a dietician or nutritionist, and any nutritional information shared is an estimate. For accurate calorie counts and other nutritional values, we recommend running the ingredients through your preferred online nutritional calculator. Calories and other nutritional values can vary depending on which brands were used.
Instead of salt I always add a bit of sugar to my water before boiling corn on the cob.
Gives it an even sweeter taste.
I find adding salt to the water, makes the corn tough.
Your recipes are AMAZING!
Fantastic Feedback Teresa! Thank you.
I have tried corn on the cob like that in the microwave and it’s delicious and no having to worry about all the corn silk as it slides right off when you just squeeze on the end where the silks usually are showing
Love the feedback Brenda! Thanks for stopping by.
My aunt told me about microwave corn maybe she got from you but putting on grill after sounds delicious as i love BBQ anything too!!!THANK you Pamela
Great tip! I actually don’t have a microwave here in my RV, but will definitely share this tip with my mom and kids who do have one! I love grilled corn, have it in summer at least twice a week with other grilled veggies as well. So lowcal and healthy too.