This post may contain affiliate links. Please read our disclosure policy.
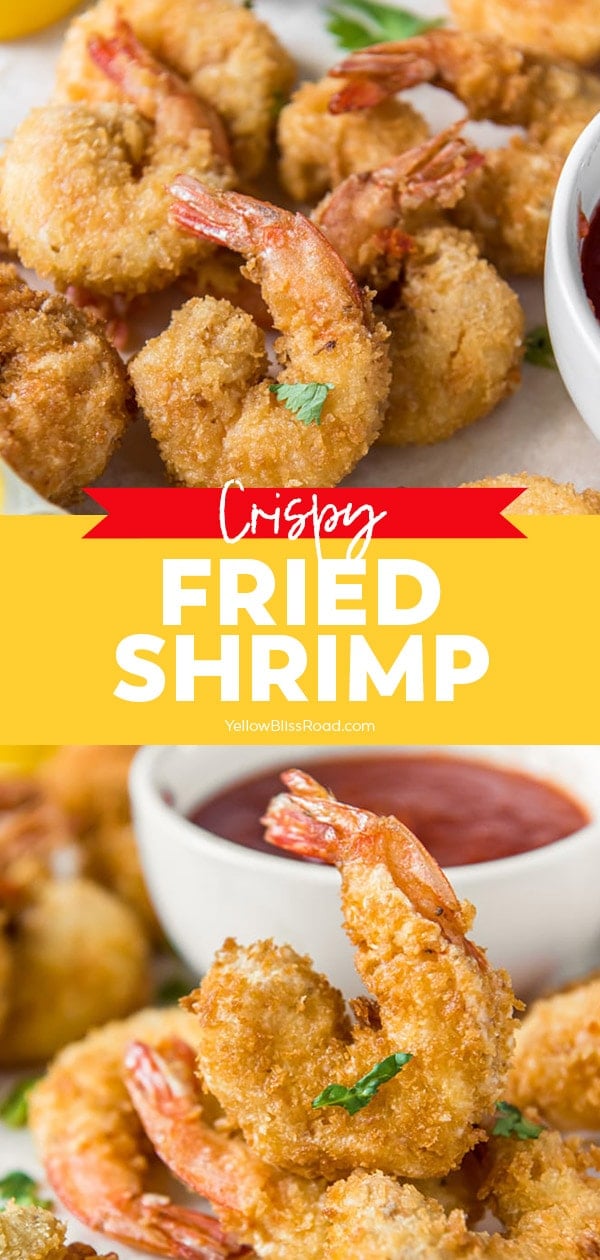
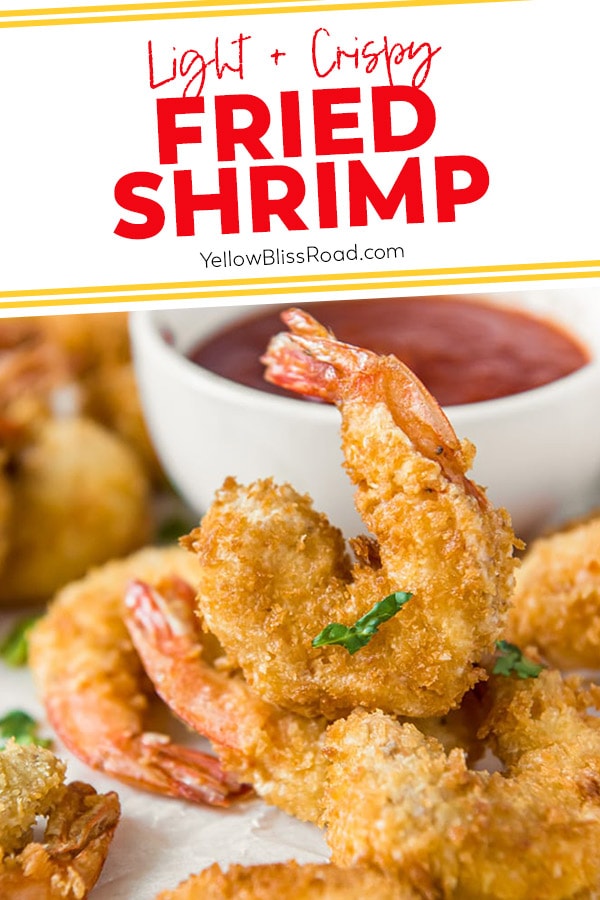
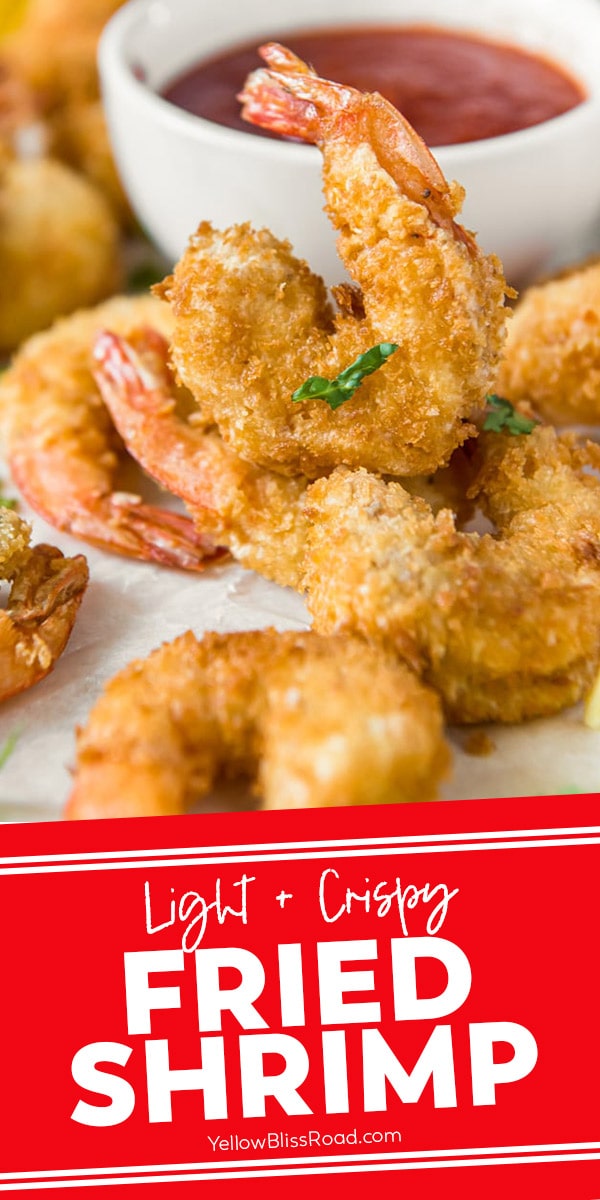
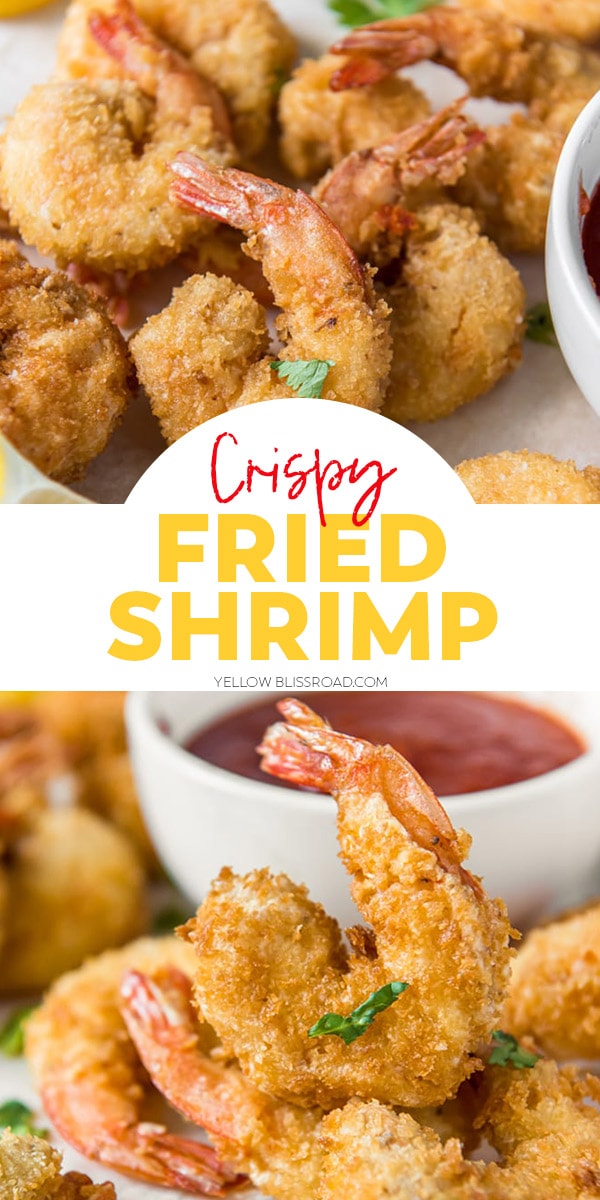
Classic Fried Shrimp is breaded with panko and lightly fried to crispy, golden brown perfection. Served with lemon wedges and cocktail sauce, these crispy fried shrimp can be served as an appetizer or main course.
We certainly love our shrimp around here, like Southern Style Shrimp and Grits, Shrimp Cocktail, and Shrimp Alfredo there’s a classic for everyone to love!
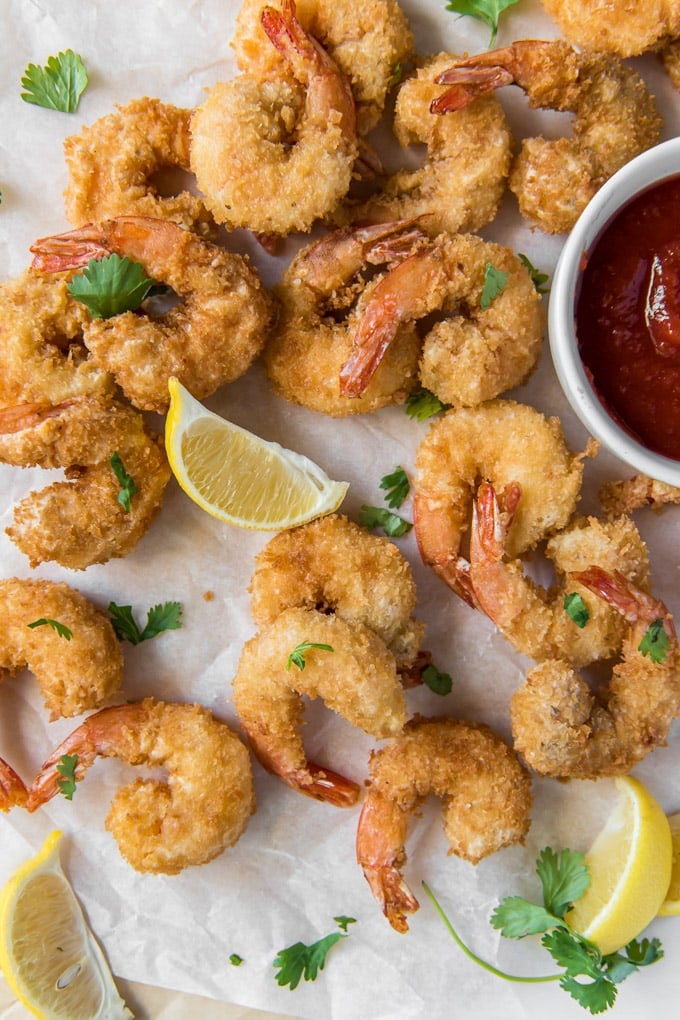
Classic Fried Shrimp Recipe
Fried Shrimp is an absolute classic. You’ll find it on the menus of everything from fine dining to diners. Something about that crispy breading and tender, succulent meat that make these crispy fried shrimp totally irresistible.
If you can make chicken fried steak, you can make fried shrimp. With a little prep work and practice, it’s actually really easy. Set up your breading stations, heat up some oil and you’re good to go!
We love to serve this crispy fried shrimp recipe with Perfect Baked Potatoes or Coconut Rice on the side, plus a nice green salad. For dipping, you can go with the classic ketchup dip like my daughter, or get classy with some Cocktail Sauce or Tartar Sauce.
Main Ingredients for Fried Shrimp
- 1 Pound Large or Jumbo Shrimp – Large are sold with the label 31-35, which means there are about 31-35 shrimp per pound. Jumbo will have a little less per pound, but they’ll be much bigger. You want to buy they already deveined and peeled, but with the tails on.
- Old Bay Seasoning – This is a common seasoning blend for fish and seafood, made with paprika, celery seed, mustard, salt, red pepper, and black pepper.
- All-Purpose Flour – ⅓ of the breading process for the shrimp.
- 2 Eggs – Also part of the breading process.
- Panko Bread Crumbs + Flour – This is the final part of the breading. The three layers of the breading help to give a fluffy, crispy exterior.
- Vegetable Oil – Or another neutral oil with a high smoke point.
How To Make Fried Shrimp
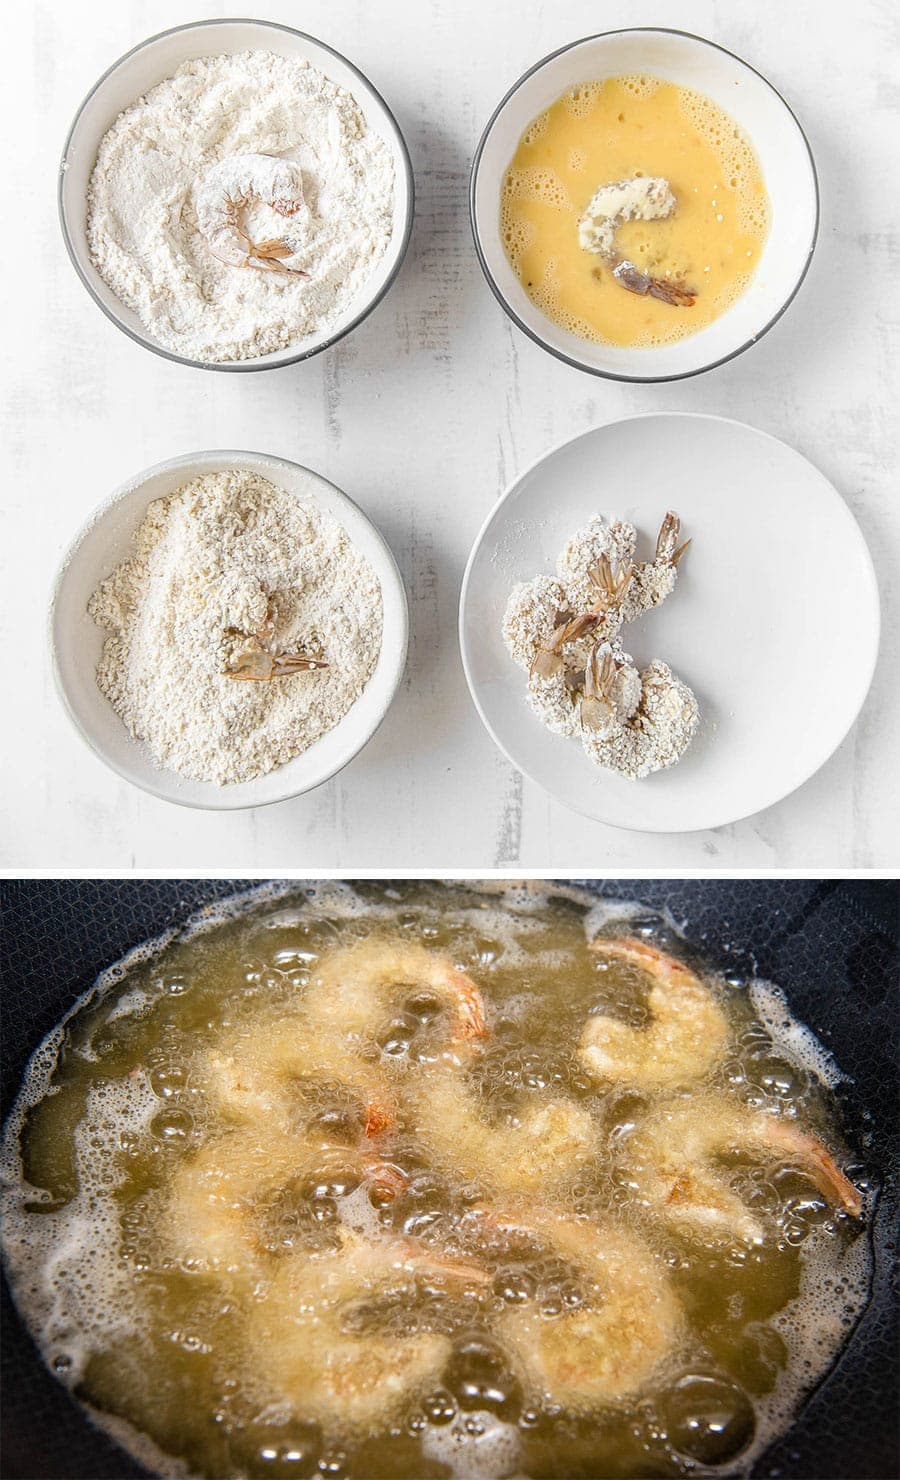
- Season shrimp with old bay seasoning and set up breading stations. You’ll need one shallow dish for flour, one for eggs and one for breadcrumbs, coating the shrimp in that order. Dredge the shrimp – I like to use one dry hand for the flour and breadcrumbs and one for the egg. This keeps the dry ingredients from getting wet and clumpy. Keep a clean plate nearby for placing the coated shrimp.
- In a deep cast iron skillet or dutch oven, heat about an inch of vegetable or canola oil. The oil should be about 350-400 degrees with can be measured with a thermometer. You can also test by dropping a few breadcrumbs into the hot oil. If they sizzle, the oil is ready.
- Set up a plate to drain the shrimp and line the plate with several layers of paper towels to drain the grease.
- Fry the panko shrimp in batches, making sure not to crowd the pan (the shrimp should not be touching each other or they will stick together and not get crispy). Use tongs or a wire mesh ladle to flip shrimp over. Fry each batch for 1-2 minutes. Shrimp cook very quickly, so you’ll need to move fast.
- Using the metal strainer, transfer to the paper towel lined plate. Let them cool for several minutes before serving – they are very hot when coming out of the oil.
How To Clean Shrimp
Shrimp requires a little bit of work to get them prepped for cooking. Depending on how you’re cooking them, the steps could vary.
- Rinse. Place shrimp in a colander and rinse for a minute with cold water. This will remove any dirt or grit and give you an opportunity to remove any that appear slimy or spoiled.
- Peel. In some instances it’s ok to leave the shell on, like for a shrimp boil or grilling. For frying, you’ll want to remove it. To peel the shrimp, use kitchen shears to cut the shell open along the back of the shrimp, then peel open and remove, taking the legs with it. Do so gently and carefully so you don’t accidentally pop the tail off (unless that’s what you want). I leave the tails on so they’re easy to grab a hold of.
- Devein shrimp. Once the shell is removed, you can cut out the black “vein” that runs along it’s back. Depending on where you purchase your seafood, some of this may already be done for you. The vein on the back of the shrimp is not actually a “vein” at all, but rather the digestive tract of the shrimp. It’s not going to harm you if you eat it, but it grosses some people out so I always opt to cut it out. Cut a slit in the back with kitchen shears and peel away the shell. With the tip of a small sharp knife or a toothpick, gently pull the little black string out of the back.
FAQs
Shrimp cook very quickly and take only 1-2 minutes to fry and cook through completely. For this reason, you’ll want to have all of your supplies set up and ready to go, so you can move quickly.
The answer is in the process of breading each shrimp. They are dipped in flour first, which helps to dry them off a bit, then into egg, which creates the wet, sticky layer, then finally in the panko-flour mixture. The egg helps to keep the breading stuck to the shrimp.
Serving Suggestions
Immediately after removing the crispy panko shrimp from the hot oil, sprinkle them with a little bit of salt to season. It’s not absolutely necessary. It just adds a bit more flavor.
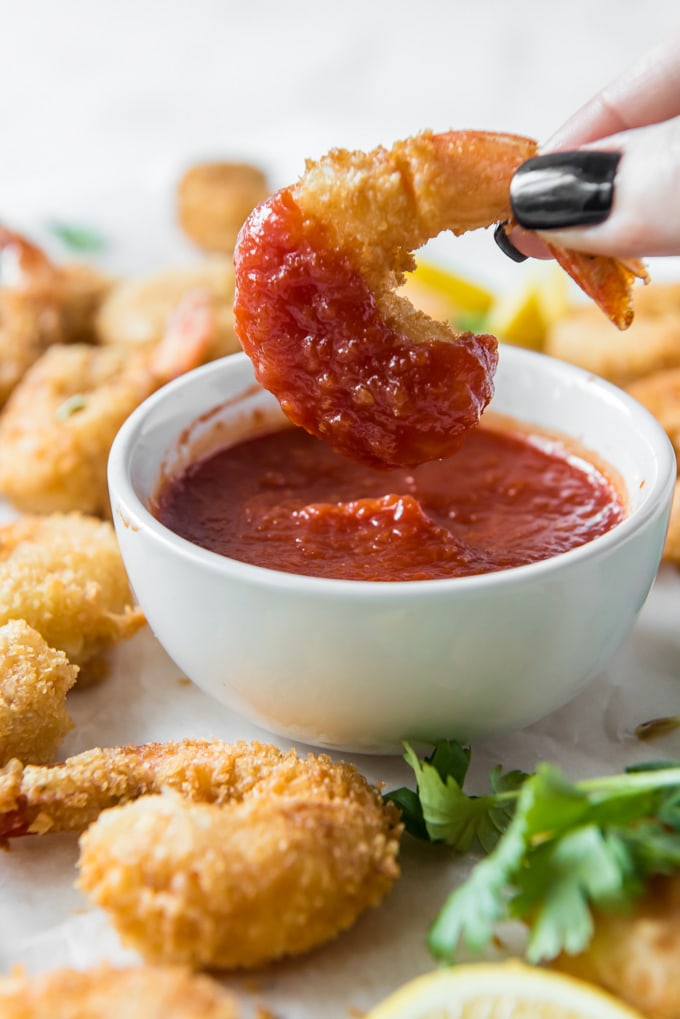
Everyone in our family likes to eat these a little differently. My husband squeezes lemon over the top, my daughter dips in ketchup and I’m mostly a purist, using just a touch of cocktail sauce. Honey mustard is a fun and different option too
What to do with leftovers
Storage: Cover leftovers tightly in an airtight container to keep them fresh. Store in the refrigerator for 1-2 days. To reheat, heat your oven to 350 degrees and arrange shrimp on a baking sheet. Bake for 10-15 minutes or until heated through and serve hot.
Freezing: To freeze, arrange leftovers on a baking sheet and freeze in a single layer. Place in a freezer bag for up to 3 months.
Reheating: To reheat leftovers or from frozen, arrange shrimp on a parchment covered baking sheet and heat in a 350 degree oven.
- Deep Fryer – If you have a deep fryer, you can use that set it to 350 degrees.
- Oil – Feel free to use any neutral oil that you prefer, like vegetable oil, canola oil, or even peanut oil. Don’t use olive oil because it has a lower smoke point and can burn the shrimp.
- Seasoning – Feel free to add some additional seasonings to the flour, like cayenne pepper for heat, or a little garlic powder.
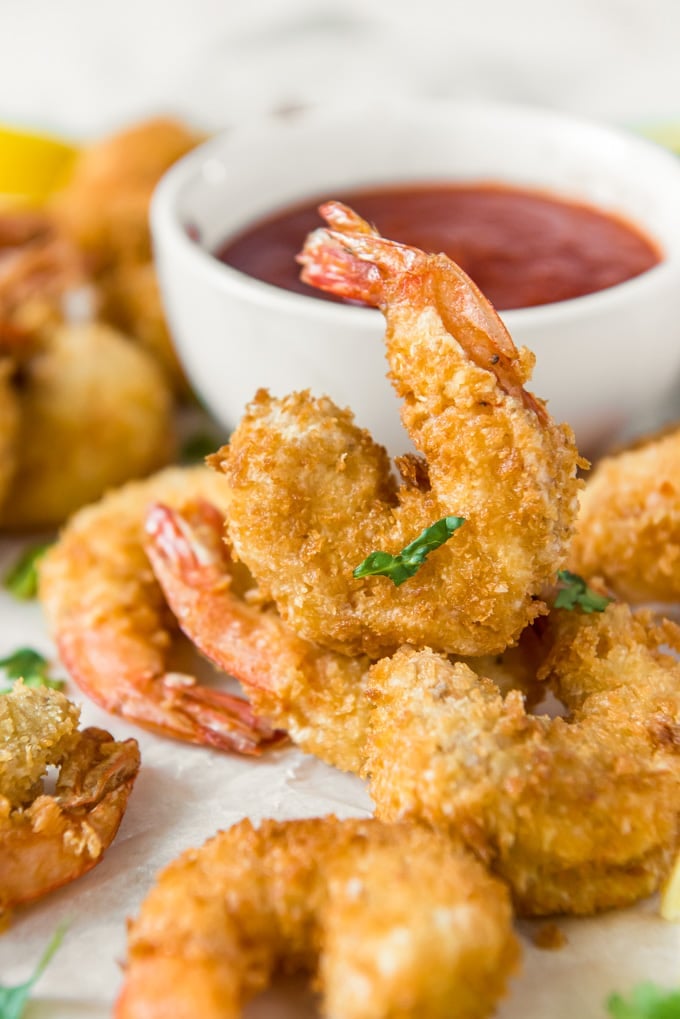
- Presentation – I like to leave the tails on for a prettier presentation and to make the fried shrimp easier to hold. For popcorn shrimp, you’d want to remove the tails.
More Shrimp Recipes
- Shrimp Alfredo
- The Best Shrimp Ceviche
- Sheet Pan Lemon Pepper Shrimp
- Spicy Garlic Shrimp
- Parmesan Baked Shrimp
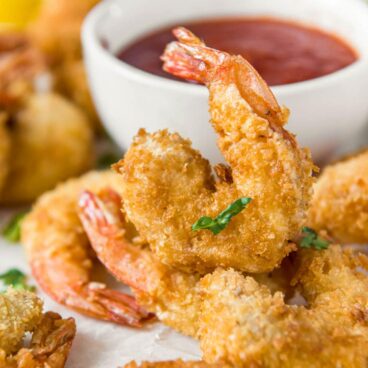
Fried Shrimp
Ingredients
- 1 pound large or jumbo shrimp peeled and deveined tails on or off (your choice)
- 2 teaspoons Old Bay seasoning
- 3/4 cup all-purpose flour
- 2 large eggs
- 1 cup Panko crumbs
- 1/2 cup flour
- Vegetable oil
- Salt
- Fresh minced parsley for garnish if desired
Instructions
- Place shrimp in a large bowl and sprinkle shrimp with Old Bay seasoning and stir to coat.
- Set up breading station using three shallow dishes (like a pie pan): In the first dish pour in ¾ cup of flour. In the second dish, whisk together eggs with 1 tablespoon of water. In the third dish, combine Panko breadcrumbs with ½ cup of flour. Coat shrimp in flour (shake off excess), then egg (let excess drip off), then Panko/flour mixture, pressing breadcrumbs lightly into shrimp to coat. Arrange shrimp in a single layer on a plate until all are coated and ready to fry.
- Pour about an inch of vegetable oil in a heavy bottom dutch oven or skillet with high sides and over medium heat; about 5-10 minutes. You can test with a meat thermometer that should register between 350-400 degrees, or drop in a few breadcrumbs to see if it sizzles.
- Line a large plate with several layers of paper towels.
- Fry shrimp in a single layer (you may need to fry several batches), 1-2 minutes per batch or until breading is golden in color. The amount of time will depend on how hot the oil is – don’t overcook or the shrimp will become chewy. Use a metal strainer to remove shrimp from the oil and transfer to a paper towel lined plate.
- Sprinkle salt lightly over the shrimp and serve with cocktail sauce and lemon wedges.
Notes
- I like to leave the tails on for a prettier presentation and to make the fried shrimp easier to hold.
- Serve with easy homemade cocktail sauce and lemon wedges.
- This recipe makes roughly 4 servings of fried shrimp as a main course, which is about 5-7 shrimp per person. As an appetizer it will serve about twice that many.
Nutrition
Nutritional Disclaimer Kristin Maxwell of “Yellow Bliss Road” is not a dietician or nutritionist, and any nutritional information shared is an estimate. For accurate calorie counts and other nutritional values, we recommend running the ingredients through your preferred online nutritional calculator. Calories and other nutritional values can vary depending on which brands were used.
Kristin,
I just made your Light and Crispy Fried Shrimp, and it was awesome! It cooked up just like it was supposed to. The recipe was easy to follow. It was delicious and my husband loved it too☺️ I will definitely be making this again!
Peggy
That’s awesome Peggy! Great feedback, thanks for stopping by.
Has anyone ever tried this recipe using frozen shrimp that has been thawed?
Hi Terry, You can use frozen shrimp that has been completely thawed. Let them sit on paper towels and make sure to pat dry thoroughly. Any excess liquid could turn the breading into a soggy mess.
Terry,
I just made this with frozen raw shrimp that I thawed. Kristin said if you use frozen and then thawed shrimp, just make sure you dry it completely or it will be a soggy mess. I dried my shrimp well before coating it and it was perfect.
Peggy
Just a thought. Have you tried corn starch as the first breading? When I do my P.F. Chang Melon and Walnut Shrimp I use an egg wash and corn starch instead of flour and get a light, crispy shrimp in the sweet sauce.
That works great but is more of a temperua style. It all depends on your preferences.