This post may contain affiliate links. Please read our disclosure policy.
Learn how to make this impossibly easy, semi-homemade, double crust Chicken Pot Pie! We use a refrigerated pie crust and frozen veggies, but forgo the canned soup in favor of making the sauce from scratch. It’s creamy and homey and the quintessential comfort food.
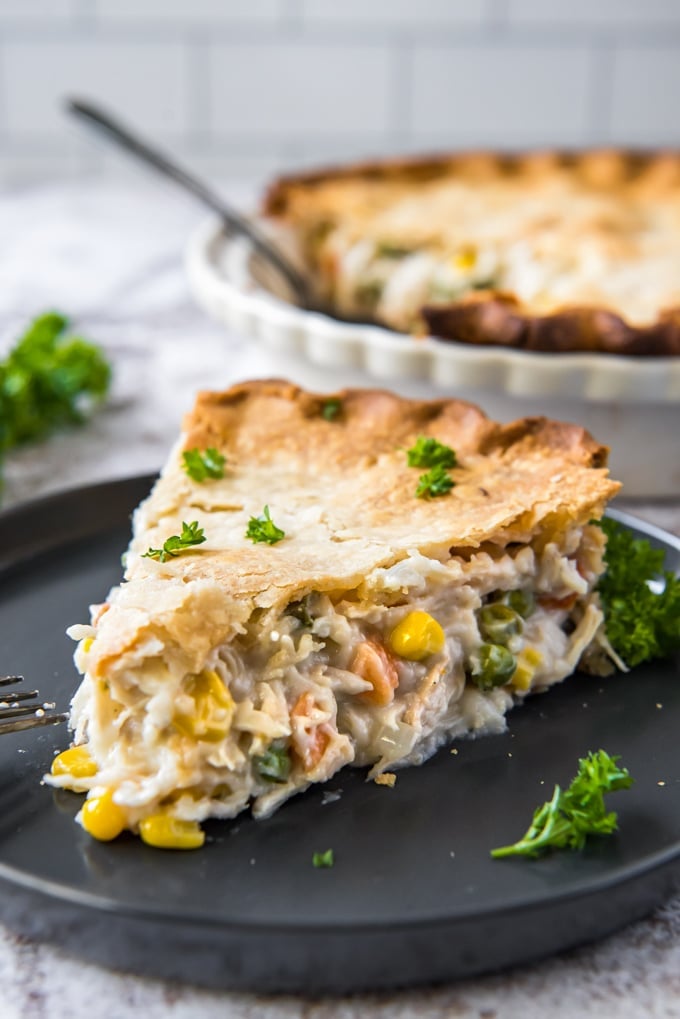
Semi-Homemade Chicken Pot Pie
Growing up my mom always made chicken pot pie completely from scratch. She made the best pie crust – just flour, butter, shortening and salt. It was amazing. I still make it using her filling recipe, but with a few adapted shortcuts because this momma doesn’t have time for homemade crust.
Thankfully I don’t need to because I can buy a really delicious premade crust at my local grocery store. You can even find them already formed in a pan, but I prefer the rustic look of forming the crust by hand.
The filling is made from scratch, but you can take a few shortcuts there as well. I make the sauce using a roux to thicken chicken broth and milk, but if you really want to you could use canned condensed chicken soup. I almost always have cooked shredded chicken on hand, and the veggies are a frozen mixed blend.
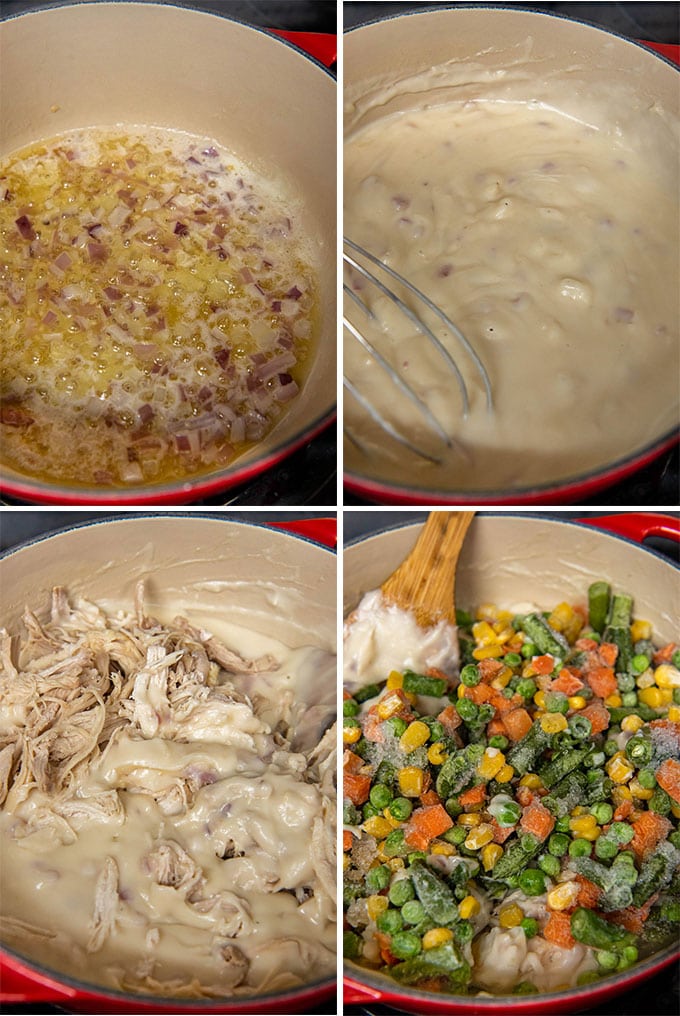
How to Make Chicken Pot Pie
It only takes about an hour to make and takes like your grandma spent hours making it in her kitchen.
- Prep the crust. Follow the directions on the pie crust package. I use the rolled Pillsbury crusts so they need to sit out for a bit to soften first. Then grab your favorite pie plate and form the crust in the bottom. It doesn’t have to be perfect – chicken pot pie it totally homey and rustic. If you’re really itching to try homemade pie crust you can totally do that too.
- Make the sauce. There are a few ways you can go about this, but my preference is to make a thickened sauce from scratch. It tastes so much better than canned and doesn’t have all of the preservatives and other junk they put in there. The sauce starts with a roux, which is just flour cooked in melted butter. I also cook some diced onion and garlic with the butter to add flavor to the sauce. The roux will thicken chicken broth and half and half (or milk).
- The filling. Cook up some chicken and dice it or shred it. Use your own pre-cooked or a rotisserie chicken – you just need 2-3 cups. If you need to cook some quickly, boil water in a large pot and add a couple tablespoons of salt. Add a pound of chicken (thighs, breasts, or any combination) and boil for about 20-30 minutes. Stir the shredded chicken and frozen veggies into the sauce. Be sure to taste the sauce and season with salt and pepper as needed.
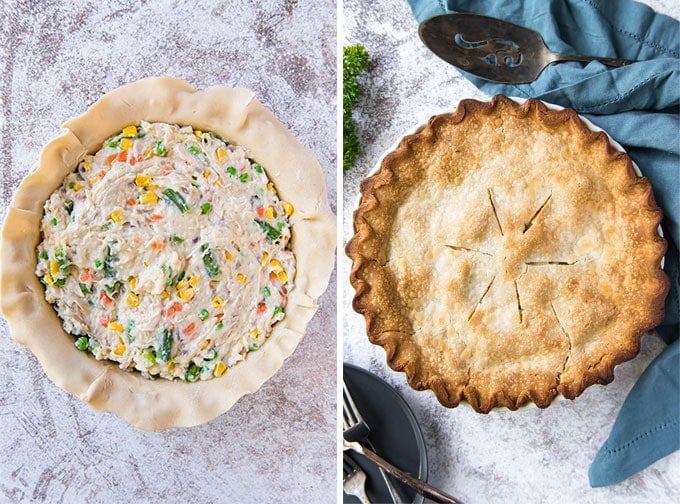
Chicken Pot Pie Assembly
- Assemble the pie. You’ve already prepped the base crust and the filling, now it’s time to make your pie! Pour the filling into the crust and smooth it out. Use the second crust to cover the filling, crimping the edges all around to seal it. Cut a few slits in the top of the pie to allow steam to escape.
- Bake. Bake your chicken pot pie for 30-40 minutes. The crust should be a golden brown and the filling hot and bubbly. Give it time to rest before slicing and serving.
Helpful Tips and FAQs
- Want a beautifully shiny golden crust? Brush the top with an egg wash! Whisk an egg with a tablespoon of water and then lightly brush the top of your pie with it.
- Place the pie plate on foil lined cookie sheet to catch any drips of bubbly sauce.
- Veggie variations include mushrooms (just saute them with the onions), broccoli or asparagus (cut into small pieces and blanched in boiling water) or feel free to use any fresh veggies. The key is to make sure they are at least mostly cooked first, so steam them in the microwave before adding them to your chicken pot pie.
- If you have leftover turkey from the holidays, easily swap that in for the chicken.
- Chicken Pot Pie freezes beautifully. Let the leftovers cool, then cover tightly with plastic wrap and foil and pop in the freezer for us to 3 months. In the fridge, your pie will stay fresh about 4-5 days. Reheating in the oven at a low temp is recommended for multiple servings, but for individual slices, reheat in the microwave at 50% power for a couple of minutes.
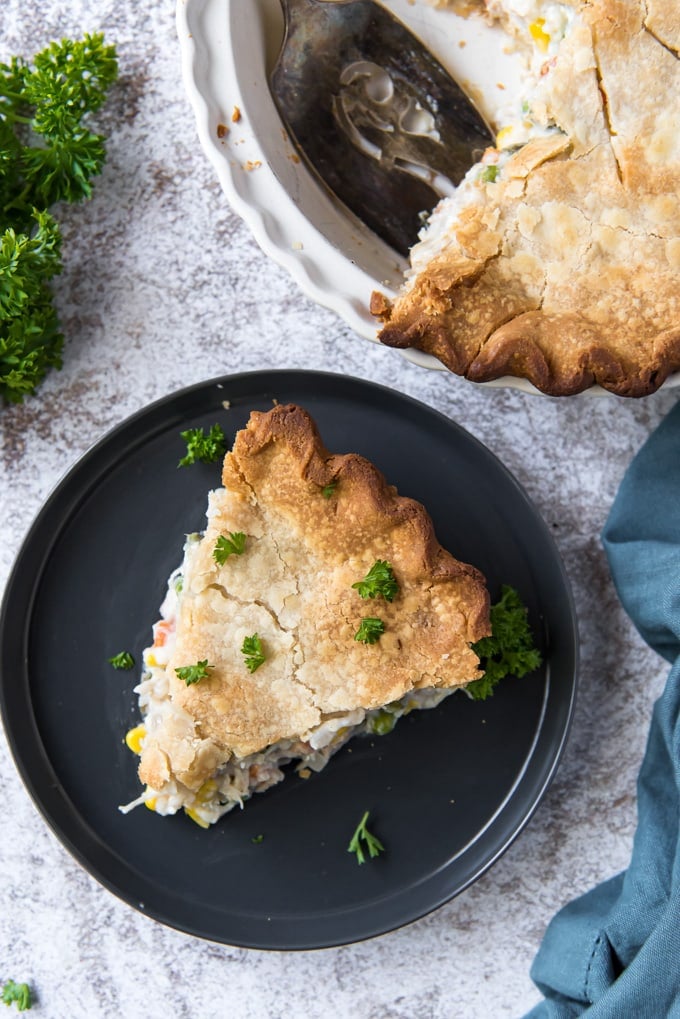
Serving Suggestions
You know what’s great about chicken pot pie? I mean besides pretty much everything? It’s a complete meal and you don’t have to serve it with anything else if you don’t want to! Of course a lovely wedge salad or copycat Olive Garden Salad never hurt anyone and they actually go really well with this pie. If you’re serving this to company, you might consider adding some fresh Garlic Bread, homemade rolls or garlic knots.
Comfort Food is King
If you’re looking for some more ways to feed your family the comfort food they’re craving, try some of my family’s favorites. My dad’s Meatloaf recipe is a classic, and I turned my aunt’s Creamy Chicken and Noodles into a simple one pot meal. You can never go wrong with my Easy Spaghetti Bolognese Sauce or my mom’s Ham and Navy Bean Soup.


Chicken Pot Pie
Ingredients
- 1/2 cup all-purpose flour
- 1/3 cup butter
- 1/2 cup diced onion
- 2 garlic cloves minced
- 3/4 cup half and half or milk
- 1 1/2 cups chicken broth
- 1/2 teaspoon salt
- 1/4 teaspoon black pepper
- 2 1/2 cups cooked chicken diced or shredded
- 1 1/2 cups frozen mixed vegetables thawed or other leftover veggies
- 1 package refrigerated pie crust or make your own
Instructions
- Heat oven to 425°F. Soften pie crusts as directed on box. Place one crust in the bottom and up the sides of a 9-inch pie pan.
- Heat a large saucepan on the stove over medium heat. Melt butter, then add onions. Cook until onions are softened, 2-3 minutes. Add garlic and cook for 1 minute, then whisk in flour and cook until golden, about 2-3 minutes.
- Whisk in chicken broth, then the half and half or milk and bring to a boil. Stirring frequently, simmer until thickened, about 5-6 minutes.
- Remove from heat and stir in salt, pepper, diced chicken and vegetables. Pour into the prepared pie pan cover the top with the second crust and pinch the edges closed with your fingers. Cut several slits in the top or pierce holes with a fork to vent.
- Bake for 30-40 minutes. Check halfway through – if the edges begin to get too dark, cover just the edges of the crust with foil. Let pie sit for 5-10 minutes before serving.
Notes
Nutrition
Nutritional Disclaimer Kristin Maxwell of “Yellow Bliss Road” is not a dietician or nutritionist, and any nutritional information shared is an estimate. For accurate calorie counts and other nutritional values, we recommend running the ingredients through your preferred online nutritional calculator. Calories and other nutritional values can vary depending on which brands were used.









How far ahead of time can I make this, will a couple hours make the bottom crust too soggy?
It really should be baked after assembling, but you could always make the filling ahead of time and assemble when you’re ready to bake it.
Hello – wondering if I could make this with the top crust only? Would it change the cooking time greatly?
It wouldn’t really alter the time and yes you can use just the top crust. You won’t be able to cut slices though.
This is delicious! I doubled it and I’m so glad I did! For others who may wonder, you can omit the milk! I just used an equal amount of broth in place of the milk. This one went into my file, thanks for sharing it, it is really delicious. I’m off to explore your site…
Thank you Juliee! Awesome feedback, thanks for stopping by.
My bottom crust usually turns out softer than I like. Could I pre bake the bottom crust before adding the filling?
You can do a blind bake of the crust where you add weights like dry beans and bake for 20 minutes or so first.
Thank you for the great dinner recipes!!
You are so welcome Diane! Thanks for stopping by.
Delicious! I put cheddar on the top instead of another pie shell. I also used a gluten free pie crust and gluten free flour and it turned out really well.
Awesome feedback Anita! Thanks for stopping by.
Hi,
Is this recipe cooked in a 9″ deep dish plate?
Thanks, Annie
Yes, a deep dish will work best.