This post may contain affiliate links. Please read our disclosure policy.
Parker House Rolls are a soft and buttery, melt-in-your-mouth dinner roll. They are brushed with butter before and after baking, making them even more irresistible!
These rolls are perfect for your holiday dinner topped with homemade honey butter, garlic butter, or some homemade apple butter.
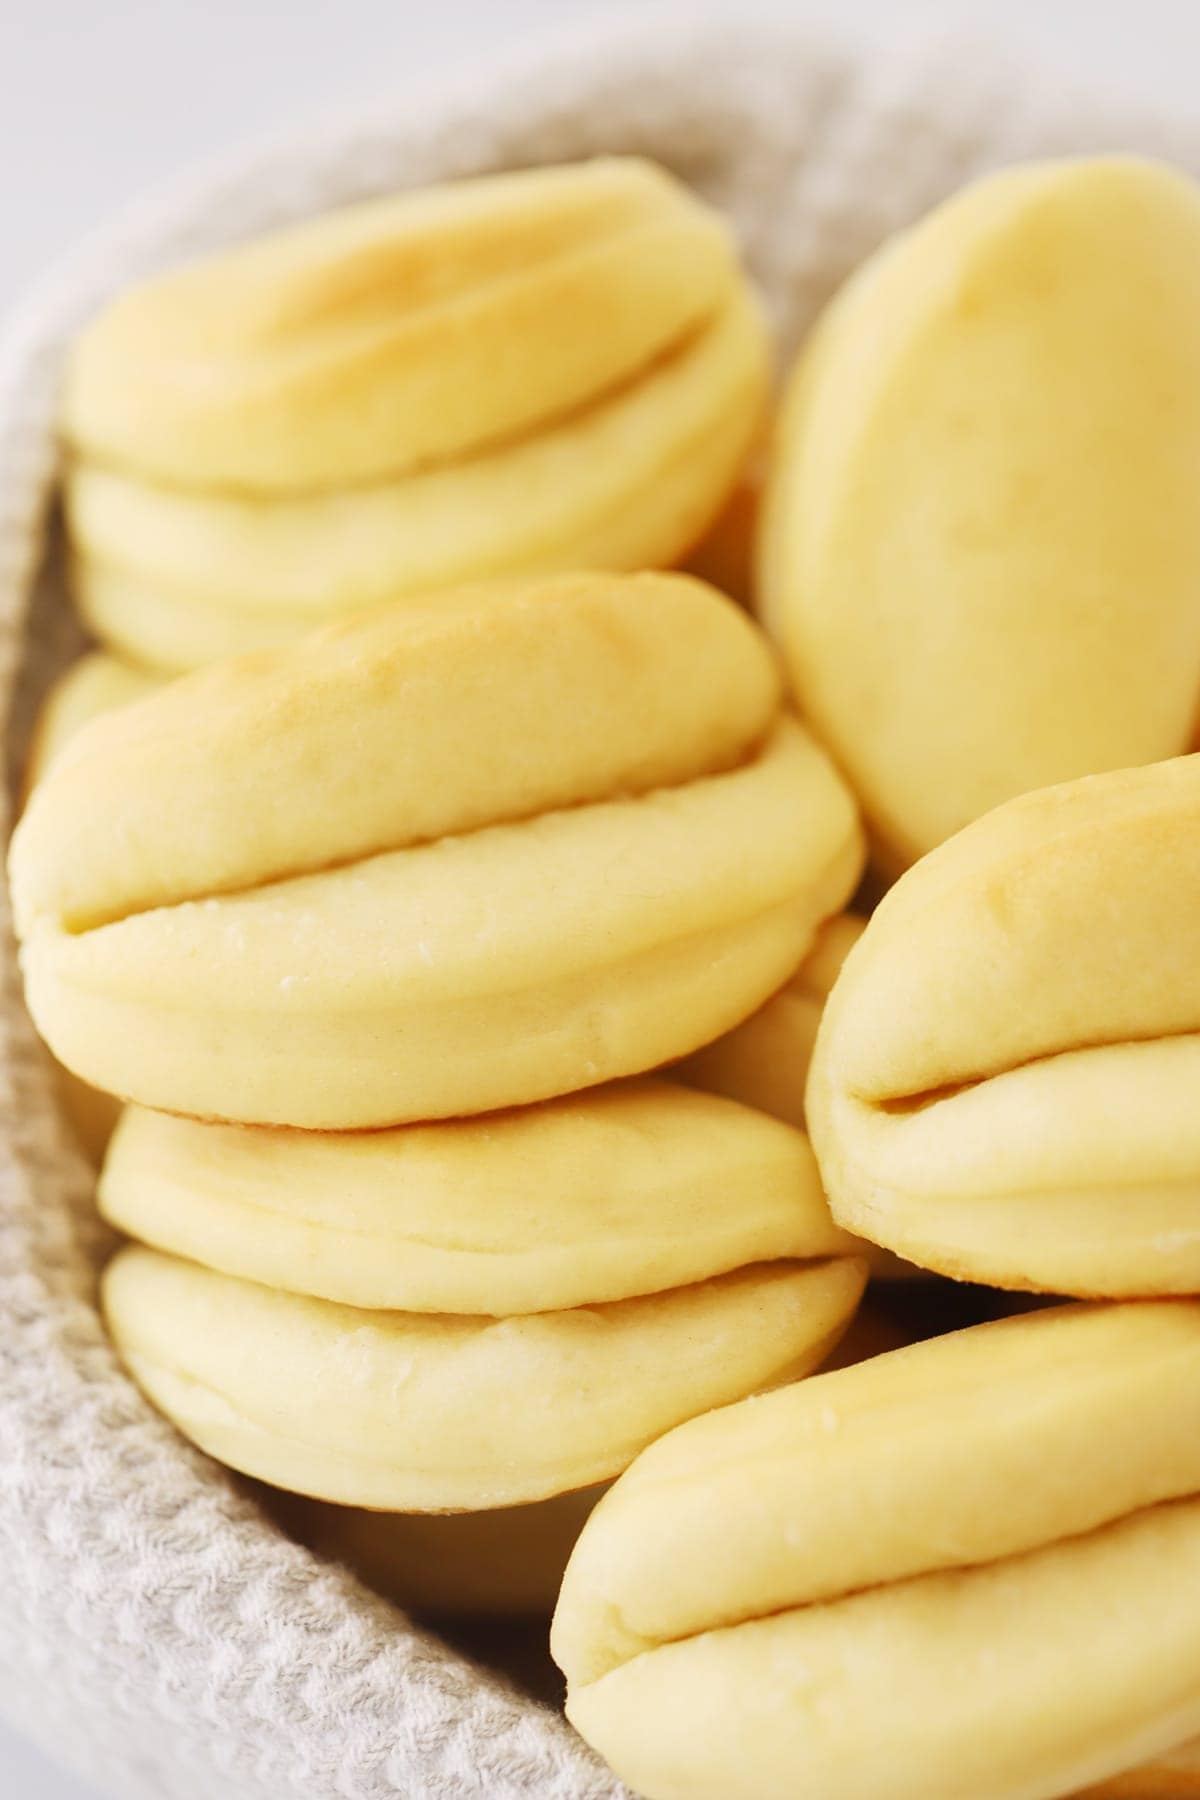
The Best Dinner Rolls
Parker House Rolls are really easy to make (you may be surprised by how really easy it is) and they only take a few minutes of active preparation time. They’re made with a simple yeast dough recipe and if you’re new to working with yeast, no worries, I’ll walk you through everything you need to know. We add a brush of butter to the inside before baking and then another after baking.
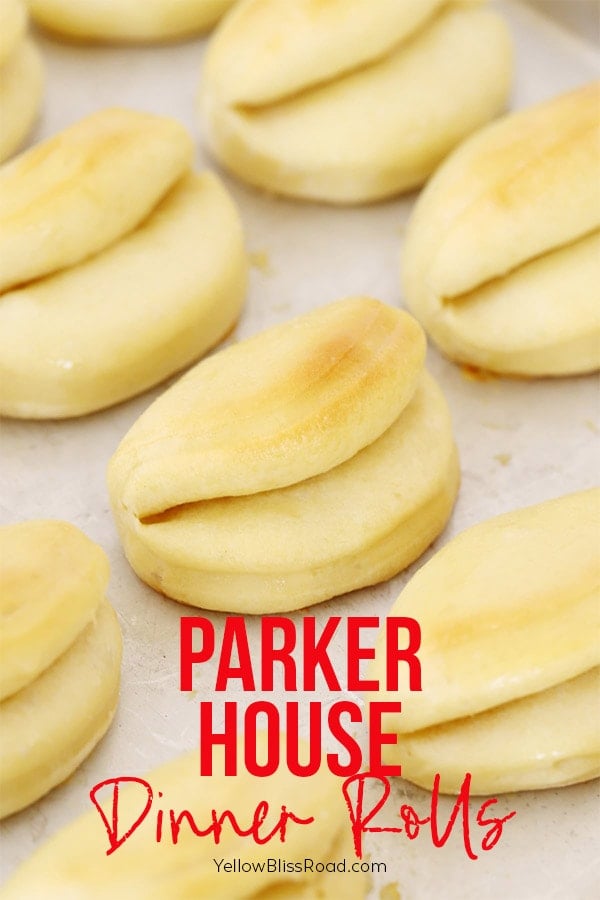
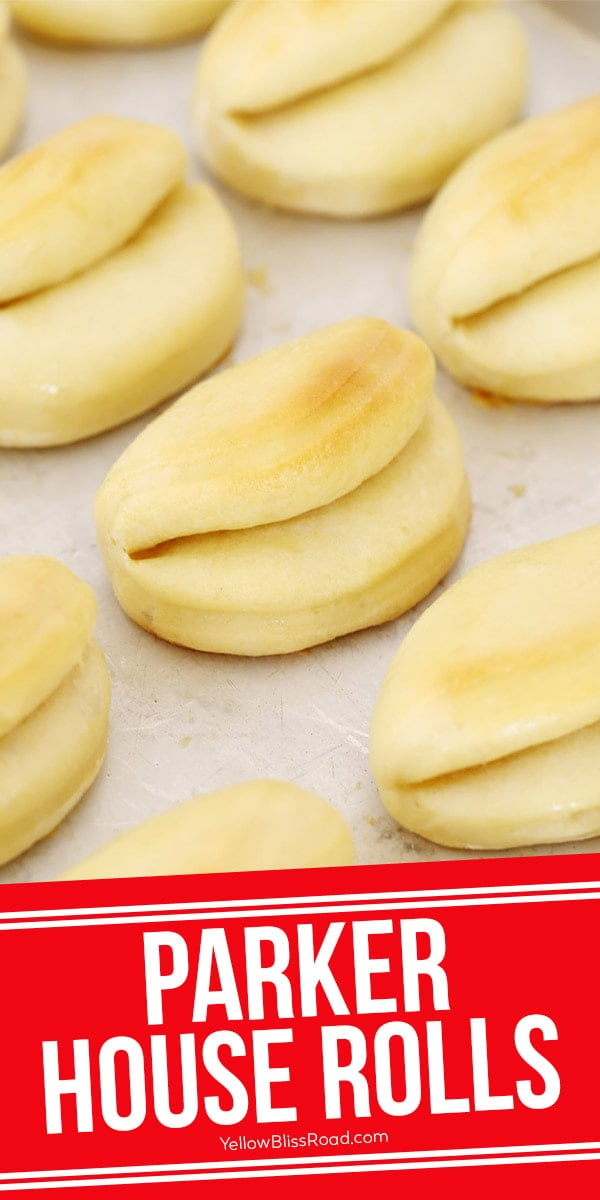
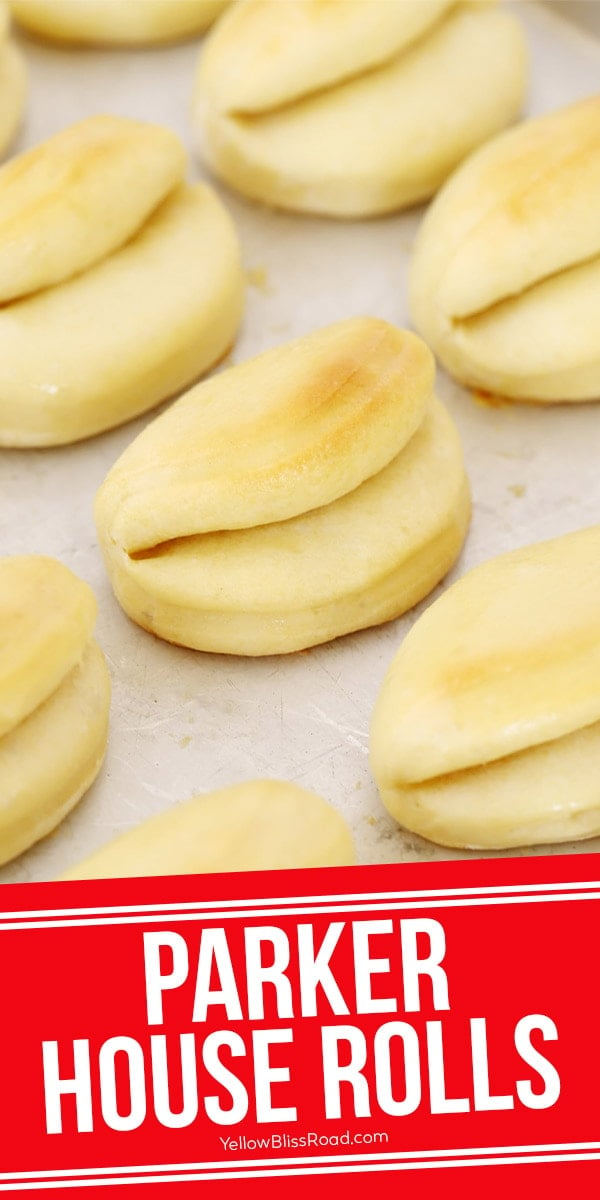
The signature crease in the dough and their rich, buttery flavor makes them irresistible. You are going to love these buttery and decadent dinner rolls.
What are Parker House Rolls?
Parker House Rolls are rumored to have originated in Boston from the Parker House Hotel that opened in 1854. The rumor is that a disgruntled hotel baker was in an altercation with a hotel guest and haphazardly tossed the batch of unfinished rolls in the oven. They came out with their distinct shape, golden exterior, and buttery interior.
Ingredients
The eggs, melted butter, and milk make these rolls super soft and pillowy.
- Warm Water – Make sure it’s between 95 and 110 degrees. You want it just warm enough to activate the yeast but not kill it.
- Sugar – Slightly sweetens the dough and also feeds the yeast.
- Active Dry Yeast – You can use active or instant yeast. Both can be used in this recipe. If you use instant yeast you don’t have to let it proof.
- Milk – I like to use whole milk when baking but just use what you have on hand.
- Eggs – Large eggs work great.
- Salt – I prefer to use sea salt but any will do.
- Butter – This adds a lot of flavor and keeps the rolls soft.
How To Make Homemade Parker House Rolls
Here are step-by-step instructions on how to make yeast dough for these amazing homemade rolls.
Making the dough – Making yeast dough is one of the best reasons to have a stand mixer. It makes this process so easy. Simply attach the dough hook and let the mixer do its thing. No kneading by hand! Make the dough and let it rise in a warm place. This recipe uses active, dry yeast. Be sure to check the expiration date. If expired, the yeast won’t rise properly. One packet of yeast will yield 2 ¼ teaspoons of yeast.
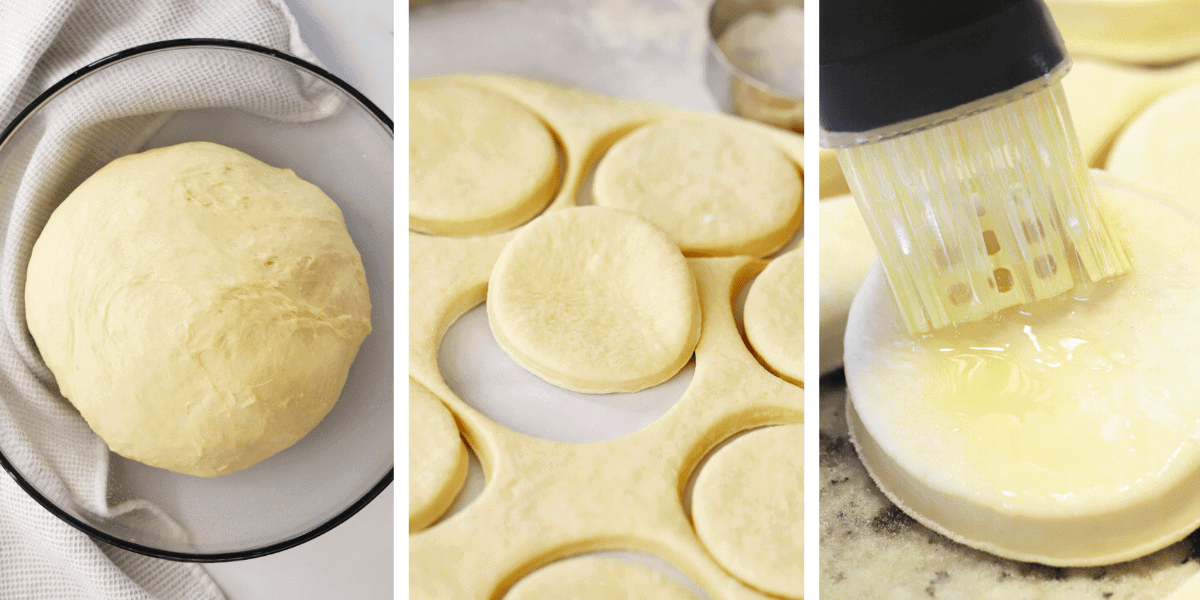
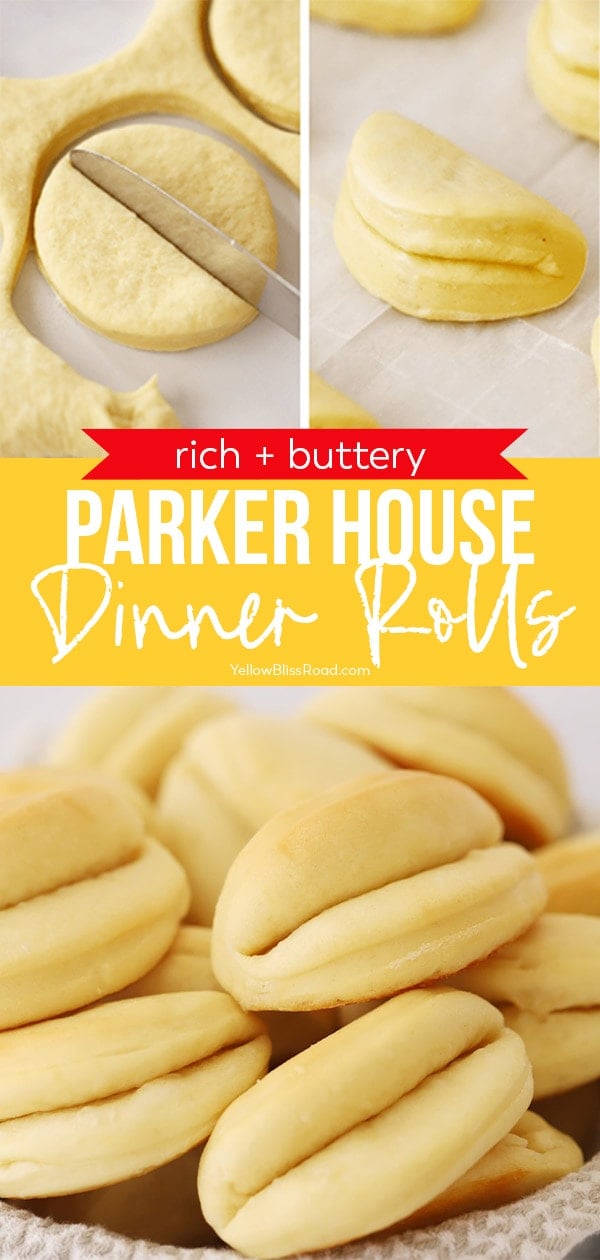
Roll out and cut – After the dough has had a chance to rise, cut the dough into 2 large pieces and roll out on a lightly floured surface. Roll the dough until it’s 1/2-3/4-inch thick. You can use a 3-inch biscuit cutter or even a cup to cut out the circles. You can also just cut the dough into 3-inch squares if you would like to. This is a very versatile yeast dough recipe.
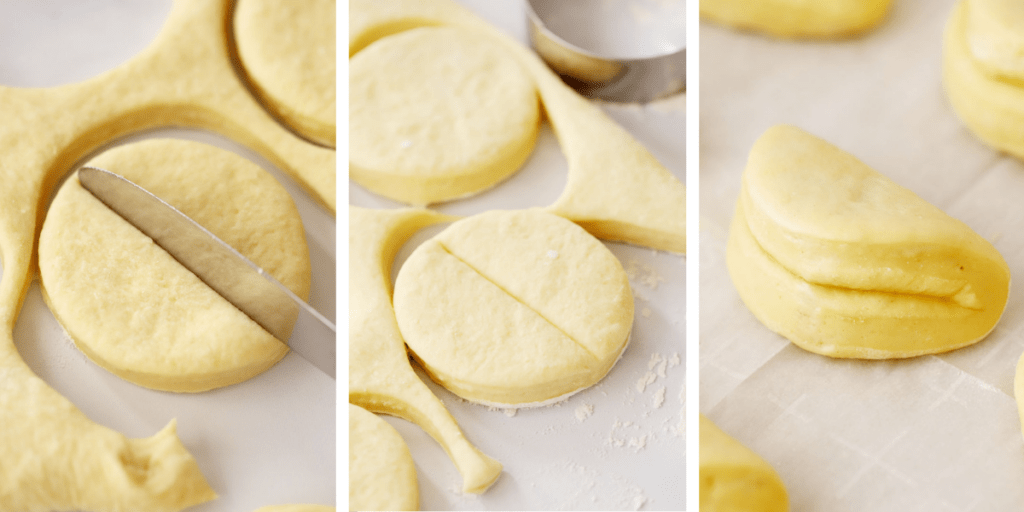
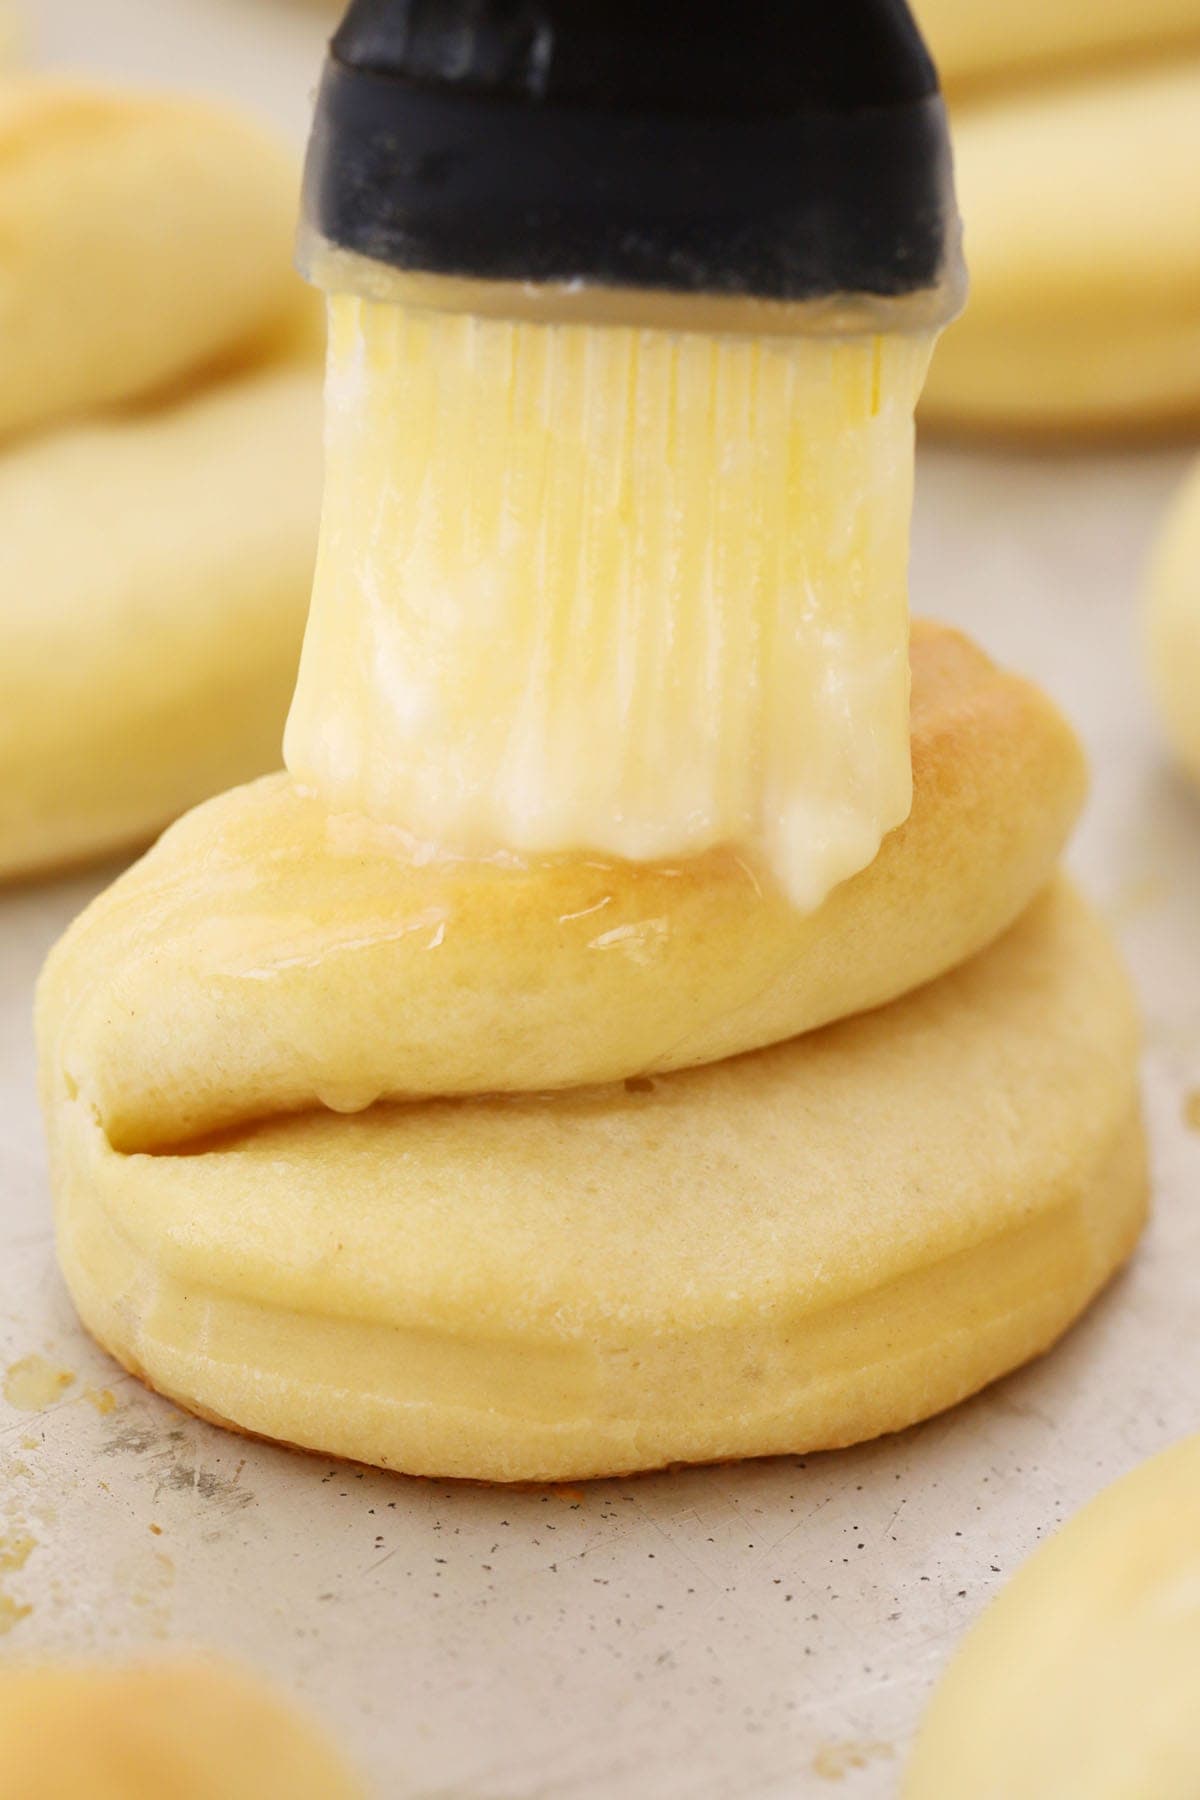
Shape – Brush the dough circle with just a little butter and then use the dull side of a butter knife or large skewer stick to make an impression in the center of the dough. This will help the roll keep its shape when rising and baking.
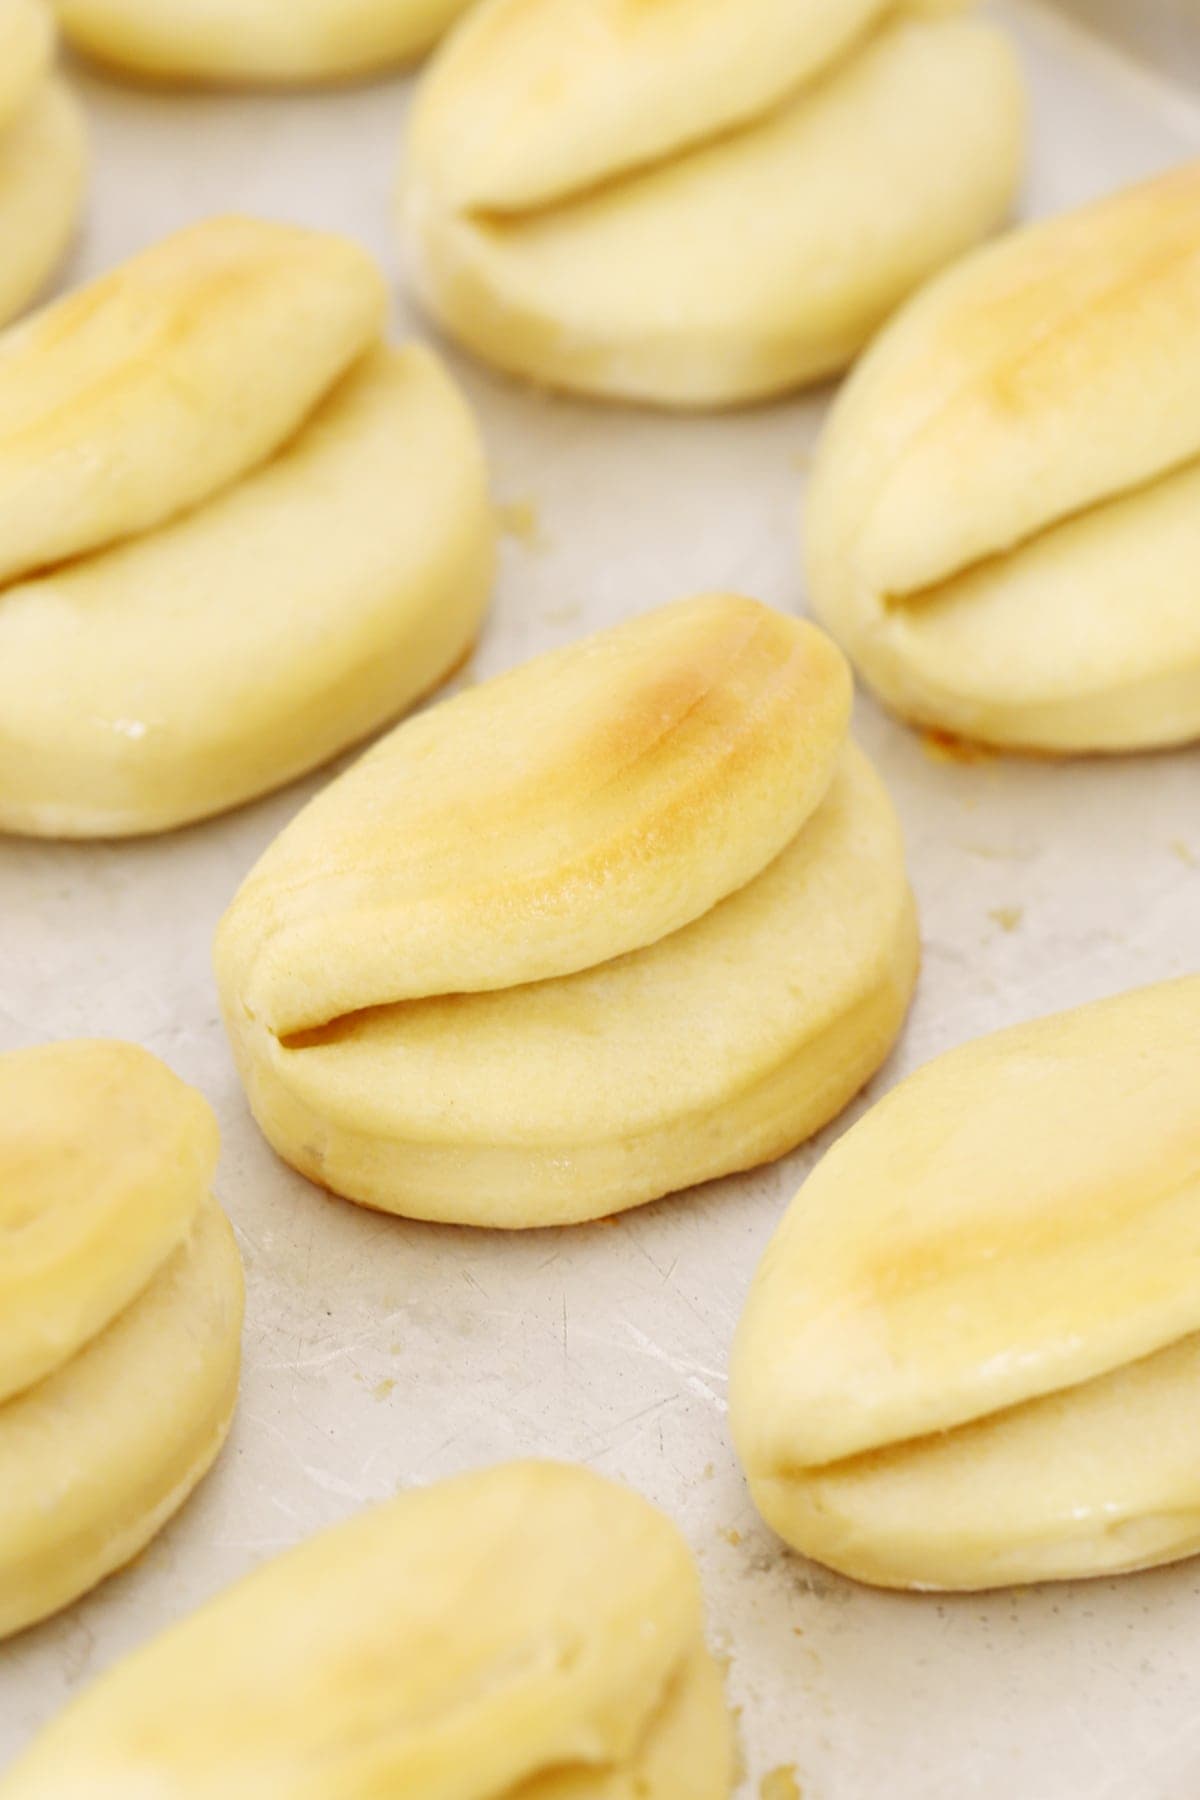
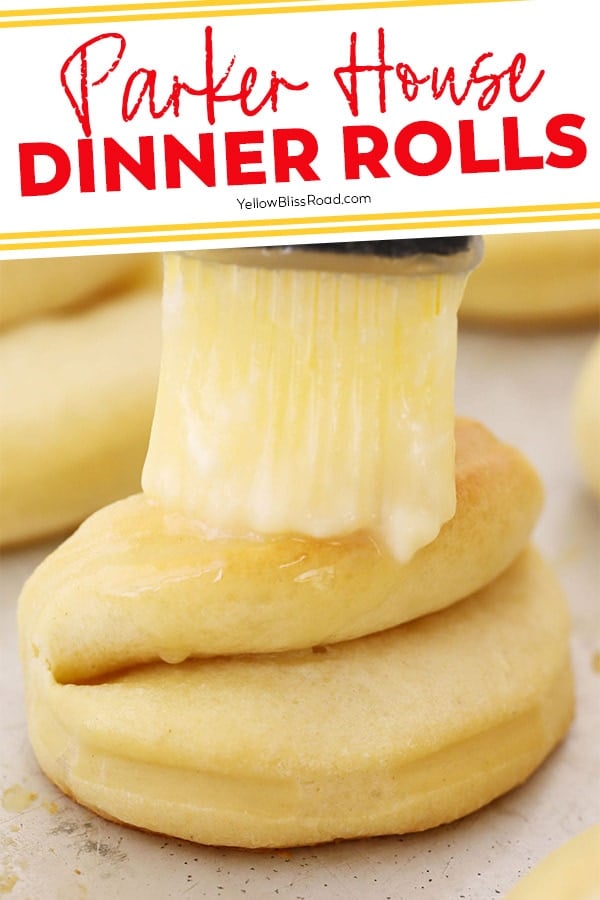
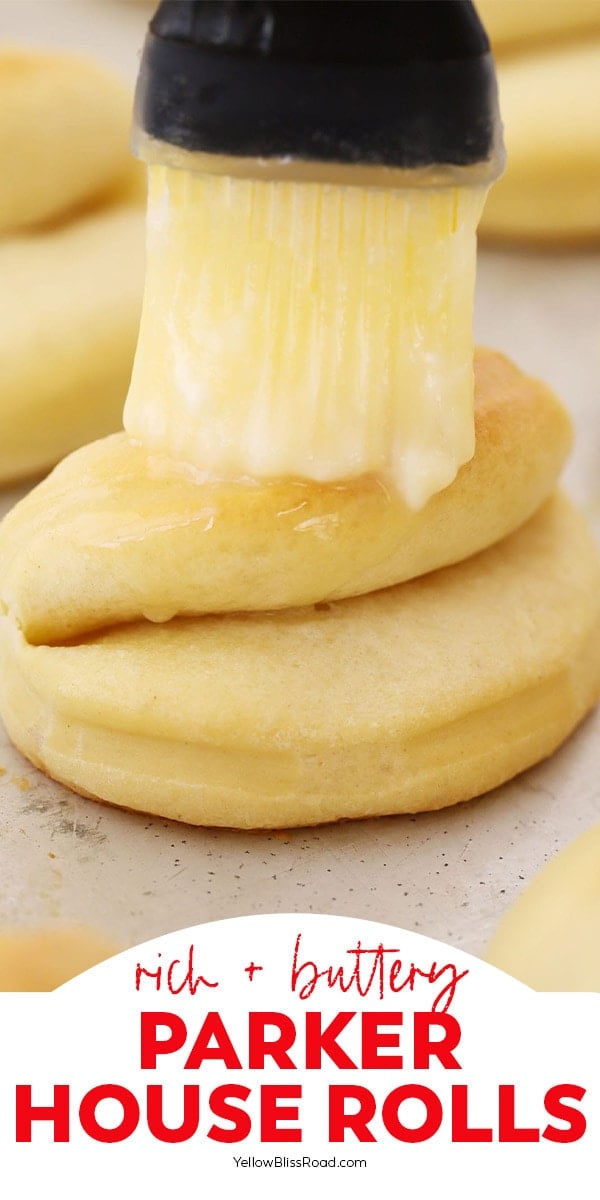
Bake – Bake the rolls in a preheated 350-degree oven for 15-20 minutes or until they’re golden brown. Brush the rolls with melted butter while warm. You can also add just a pinch of sea salt flakes to the rolls if desired.
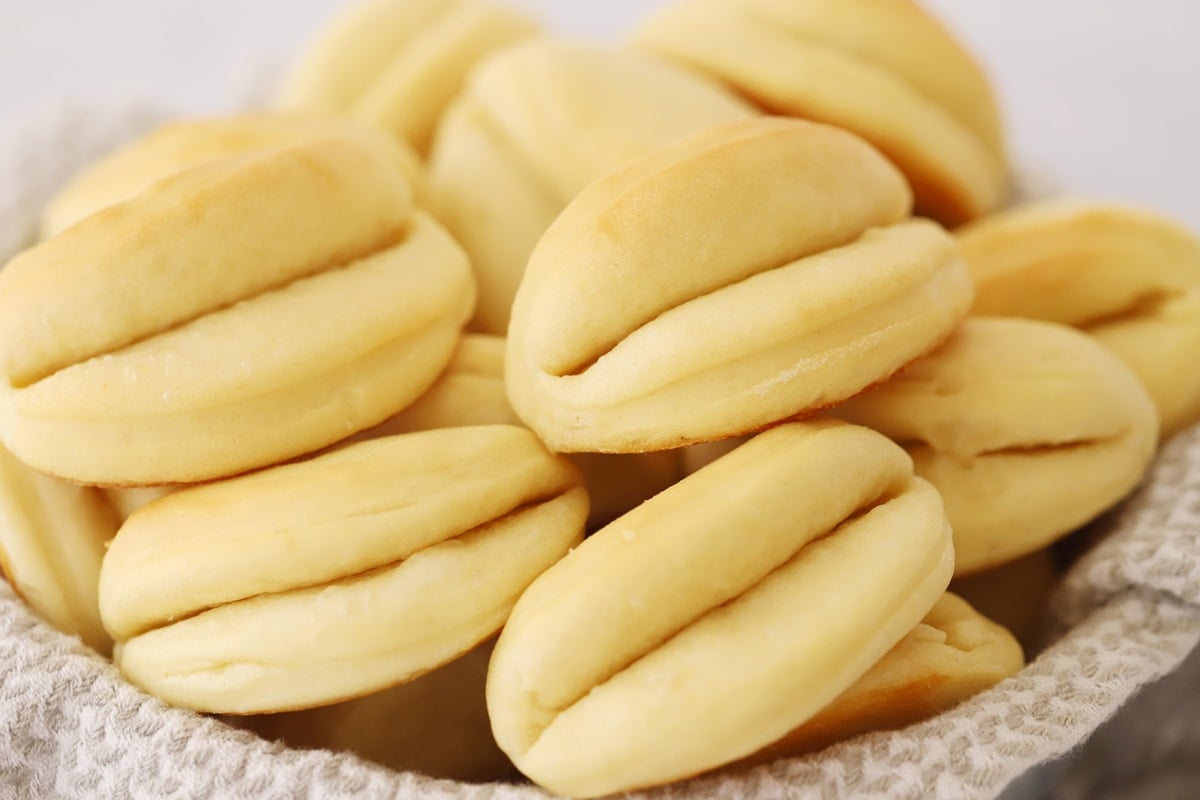
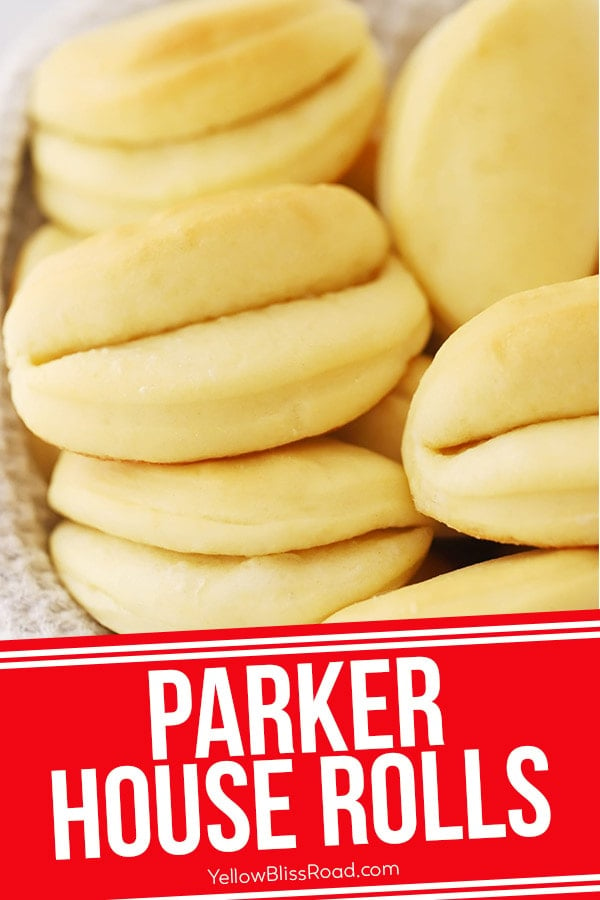
Serve – Place the warm rolls in a bread basket to keep warm before serving. These make a great side to just about any dinner. They also work great stuffed with shredded pork or chicken or made into a small sandwich with lunchmeat.
Make-Ahead, Storage and Freezing
Make-Ahead: You can make the dough, shape the rolls and then place them on a baking sheet. Keep the rolls stored in the fridge until ready to bake, then remove them from the fridge while the oven preheats. Bake as directed.
Freezing: Make and shape the rolls as directed. Freeze for 8-12 hours on a large baking sheet before letting them rise. Transfer the rolls from the baking sheet to a freezer-safe bag for up to 3 months. When you’re ready to use the rolls, Thaw on a parchment-lined baking sheet for 2-3 hours or until they rise and double in size. Bake as directed.
Storing Baked Rolls: After the rolls have baked and cooled completely, store them at room temperature in a covered container or a ziplock bag for up to 3 days, or freeze for up to 3 months.
Other Yeast Dough Recipes
- Quick Dinner Rolls
- Homemade Garlic Breadsticks
- Parmesan Rosemary Dinner Rolls
- Homemade Cinnamon Rolls
- Homemade Pretzels
- Soft Onion Rolls
Parker House Rolls
Ingredients
- ½ cups warm water
- 1 ½ tablespoon active dry yeast Instant yeast would work too
- ¼ cup sugar
- 2 cups Milk 2% or whole milk
- 3 tablespoons melted butter for brushing on top
- 3 large eggs
- 2 teaspoon salt
- 6-6 ½ cups flour divided
- ¼ cup melted butter
Instructions
- In a large bowl or the bowl of a stand mixer with a dough hook attachment, dissolve the yeast and sugar in the warm water and let stand for five minutes, or until foamy.
- Add the milk, melted butter, eggs, salt, and 3 cups of flour. Mix until combined.
- Add additional flour, ½ cup at a time, until the dough pulls away from the sides of the bowl and is only slightly sticky to the touch (careful not to add too much flour!).
- Knead the dough 3-5 minutes, until smooth. Cover with a towel or plastic wrap and let rise for 20 minutes or until double.
- Preheat the oven to 350 degrees F and line a large baking pan with parchment paper or spray with nonstick cooking spray. Gently punch the dough down and divide into 2 pieces. Roll each piece of dough until 1/2" thick. Cut into circles with a 3" biscuit cutter. Use the back of a knife and make an indent in the center of the dough. Fold dough over into a half moon shape. Space evenly on the prepared pan.
- Brush with melted butter and let rise for an additional 15-20 minutes. Bake 15-18 minutes, or until golden brown on top. Remove from the oven and brush with more melted butter.
Nutrition
Nutritional Disclaimer Kristin Maxwell of “Yellow Bliss Road” is not a dietician or nutritionist, and any nutritional information shared is an estimate. For accurate calorie counts and other nutritional values, we recommend running the ingredients through your preferred online nutritional calculator. Calories and other nutritional values can vary depending on which brands were used.
These look great and I want to try them but I don’t see any milk listed in the ingredients or instructions. Seems like with 6 cups of flour, there should be more liquid?
It’s there – it’s the 4th ingredient.