This post may contain affiliate links. Please read our disclosure policy.
Drop Biscuits are flaky, tender, and so easy to make! No yeast, rising, or kneading needed. Just mix up the dough, drop on the sheet, and bake!
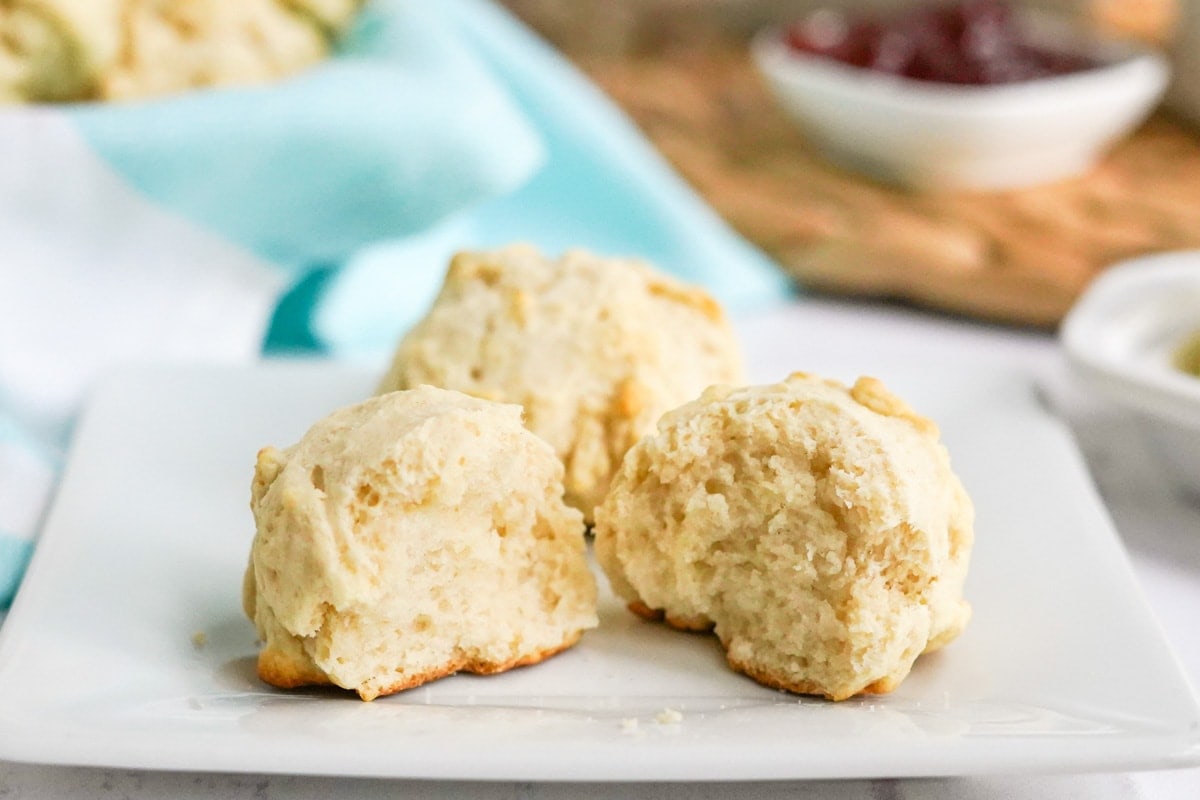
Ready in less than 20 minutes, Drop Biscuits are perfect for serving with a variety of different meals. Try them with my Vegetable Beef Soup, Sheet Pan Sausage and Veggies or Ground Turkey Casserole.
Why We Love This Drop Biscuits Recipe
- No kneading or rising involved
- One-bowl recipe means less dishes
- Perfect as a side for dinner or with jam or jelly for breakfast.
- They’re even freezer friendly!
Drop Biscuit Ingredients
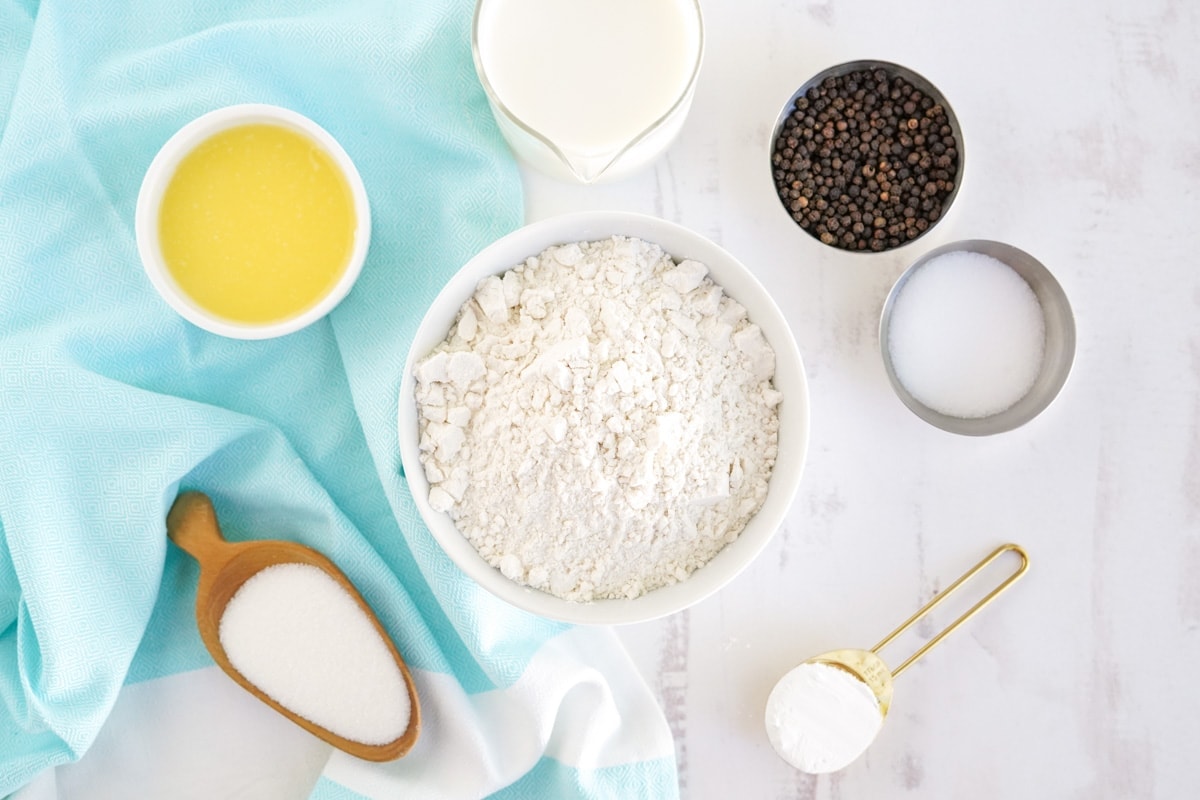
It only takes five staple ingredients (plus salt and pepper) to make this easy drop biscuits recipe.
- All Purpose Flour
- White Granulated Sugar – Just a little for flavor balance.
- Baking Powder – to give the biscuits a nice, fluffy rise.
- Butter – I like to use unsalted butter so I can control the salt, but if you use unsalted you can adjust the salt amount.
- Whole Milk – the fat in whole milk helps make biscuits extra flaky and tender.
- Salt and Pepper
How to Make Them
This recipe uses only one bowl and no rise time is needed!
- Prep. Start by preheating the oven and lining a baking sheet with parchment paper.
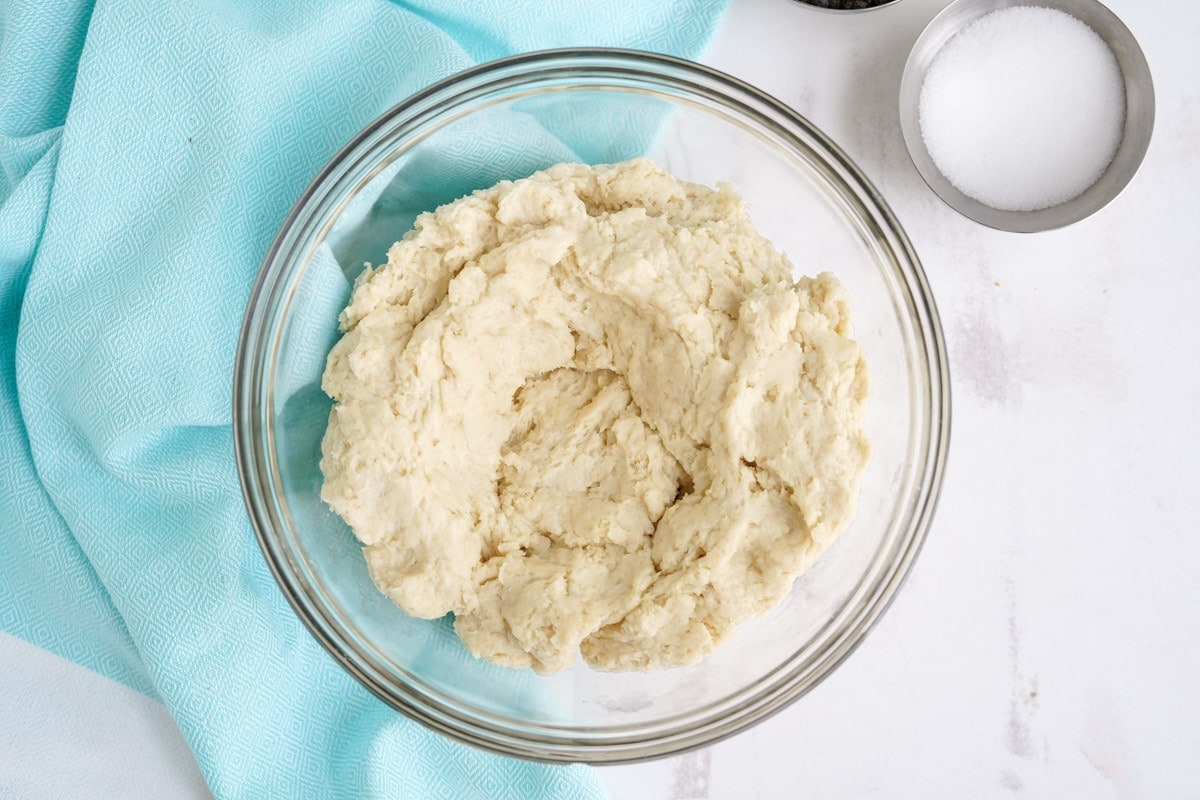
- Mix. Whisk together the dry ingredients (flour, sugar, baking powder, salt, and pepper) in a large bowl. Then pour in melted butter and slowly stir in the milk until a dough forms. The dough should be sticky and lumpy – do not overmix.
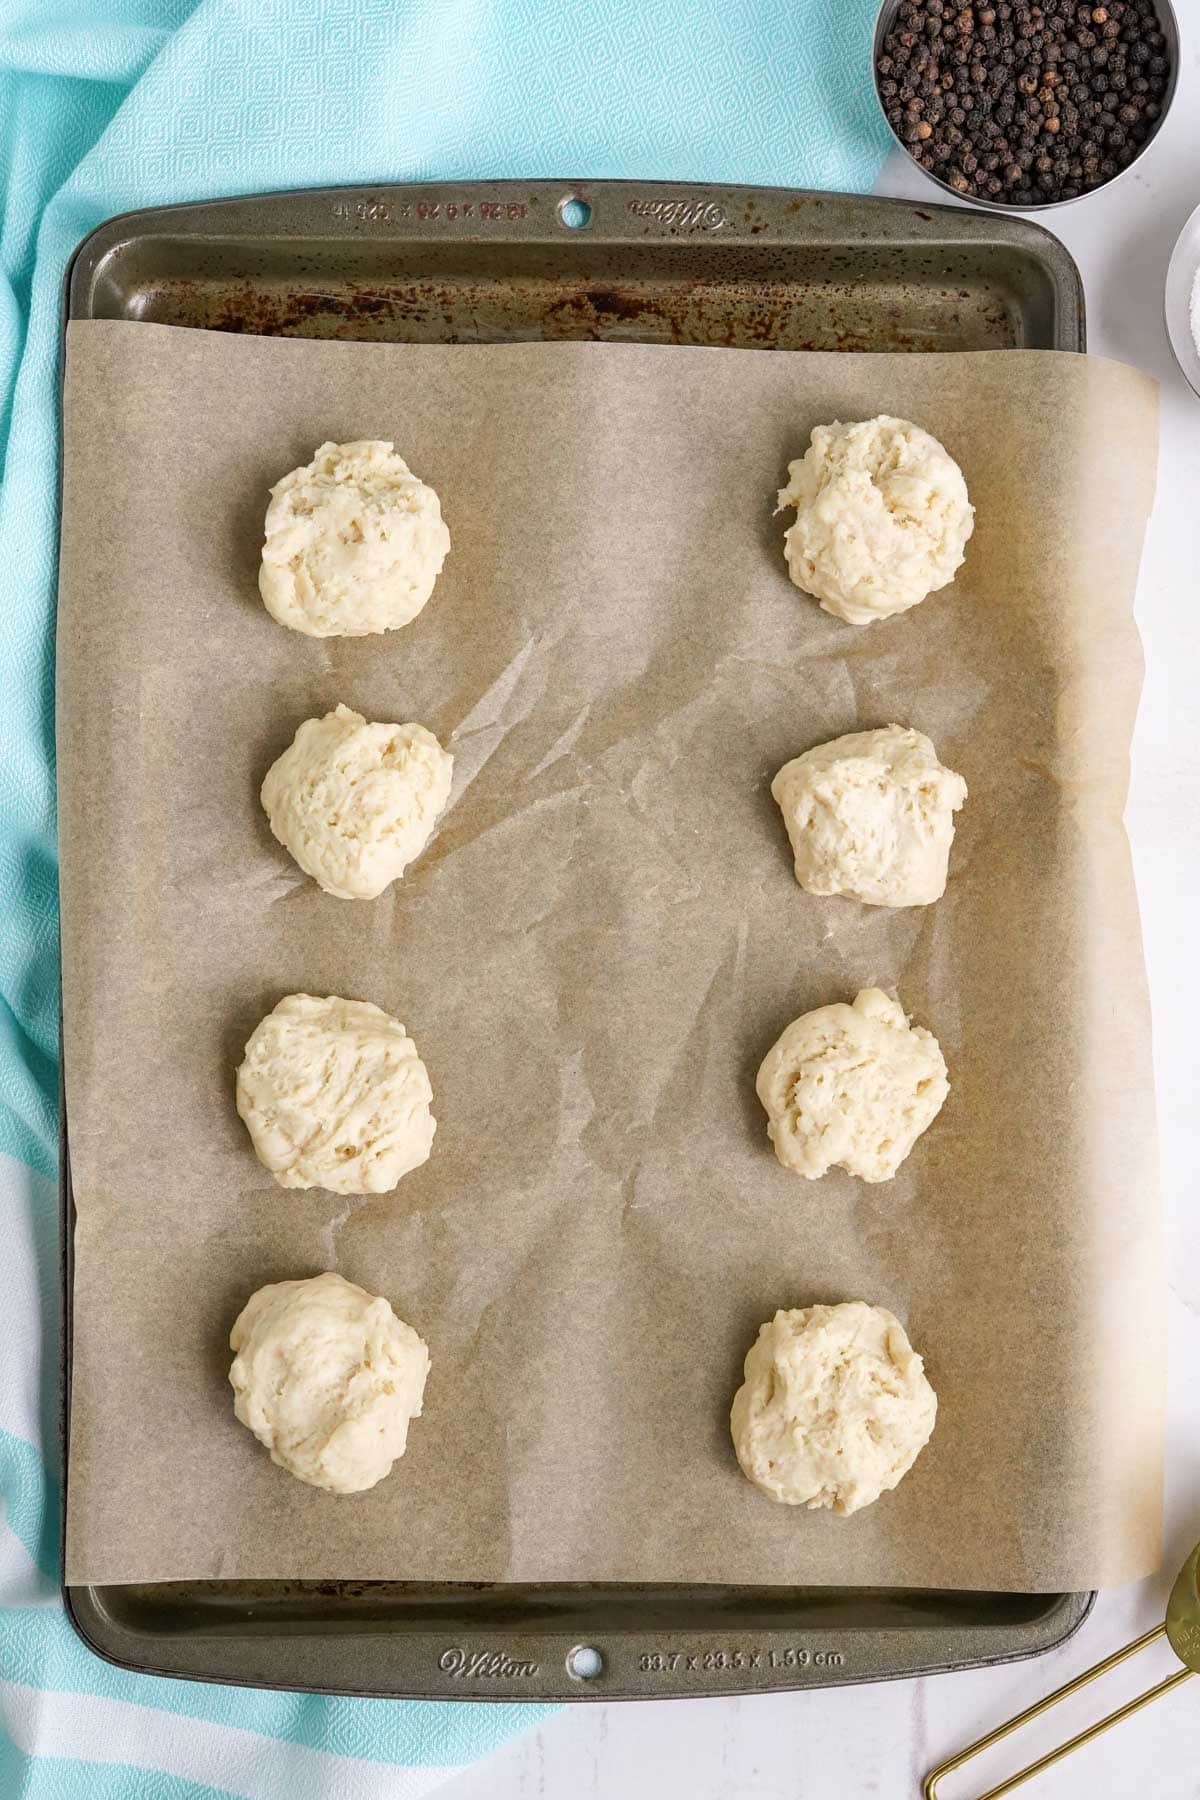
- Form. Form the biscuits by placing heaping tablespoon sized balls on the prepared baking sheet. The dough should be able to hold its ball shape.
- Bake. Bake the biscuits until the tops begin to lightly brown.
Frequently Asked Questions
While both methods use similar ingredients, the ratio of wet to dry is different. The drop version has more milk and have a moister dough so they cannot be rolled or kneaded. Instead, it needs to be ‘dropped’ onto the baking sheet. The texture is also more coarse and rustic than a traditional homemade biscuit.
If they fall apart after baking, then your dough was too dry and not enough milk or too much flour was used. The dough should be moist and sticky. The altitude or humidity can alter your results, so keep that in mind when making these.
Serving Suggestions
We love to serve these warm with some butter, jam, and even honey. They are also the perfect pairing to your favorite comfort food, such as a soup or stew like chicken noodle soup or Pork Stew.
If you have leftover biscuits, have them the next morning for breakfast with homemade sausage gravy for biscuits and gravy.

Variations
There are plenty of ways to dress up your biscuits. The baking time would stay the same for any of these variations.
- Buttered biscuits – Brush the finished biscuits with melted butter and sprinkle with minced fresh or dried parsley.
- Garlic biscuits – Add a teaspoon of minced garlic to the dough. Brush with butter and sprinkle with garlic salt.
- Cheese biscuits – Add half a cup of shredded or grated cheeses to the dough.
- Herbed biscuits – Add a teaspoon or dried or a tablespoon of fresh minced herbs, like thyme, parsley or chives.
- Ham & Cheese biscuits – Add a ¼ cup of finely diced ham and a ¼ cup of shredded cheddar.
Storage, Freezing, and Reheating
These are best served right after baking, but see tips below for storage and reheating.
Storage – Leftovers can be stored at room temperature in an airtight container. They will keep fresh for up to 3 days but are best served soon after baking.
Freezing – To freeze, add the cooled biscuits to a freezer bag and freeze for up to 6 months. You can thaw in the fridge and then lightly warm in the microwave before serving.
Reheating – To keep the biscuits moist when reheating, I prefer to reheat them in the microwave. You could wrap them in a slightly damp paper towel. I found that reheating them in the oven dried them out.
- Do not overmix. The biscuit dough should be sticky and slightly lumpy. It does not need to be a smooth dough and if you overmix, your biscuits will be tough instead light and tender.
- Adjust the flour amount as needed. If the dough cannot be handled or it doesn’t hold its ball shape when placed on the baking sheet, then it needs more flour. If the dough balls crack, then you have too much flour and can add a little more milk.
- Don’t have baking powder? If you don’t have baking powder, you can make your own by mixing baking soda with cream of tartar. To make 1 teaspoon of baking powder, you can mix together ¼ teaspoon of baking soda and ½ teaspoon of cream of tartar.

More Easy Biscuit Recipes You’ll Love
- Ham & Cheese Biscuits
- Grab & Go Stuffed Breakfast Biscuits
- Black Pepper Biscuits
- Garlic Cheese Biscuits (Red Lobster Biscuits)
- Homemade Biscuit Recipe with Cheddar, Garlic, and Thyme
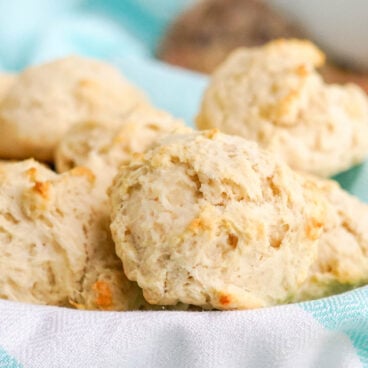
Drop Biscuits
Ingredients
- 2 cups all purpose flour
- 3 tablespoons white granulated sugar
- 1 tablespoon baking powder
- 1 teaspoon salt
- ½ teaspoon ground pepper
- ½ cup unsalted butter melted
- ¾ cup whole milk
Instructions
- Preheat the oven to 450 degrees and prepare a baking sheet by lining with parchment paper. Set aside.
- In a large bowl, whisk together the flour, sugar, baking powder, salt and pepper.
- Pour in the melted butter and slowly add the milk while stirring until a dough forms.
- The dough should be thick and sticky. You should be able to pick up a small ball and it should hold its shape when placed on the baking sheet.
- Form small heaping Tablespoon sized balls and drop on a prepared baking sheet.
- Bake for 10 minutes or until the top of the biscuits begin to brown.
- Remove from the oven and serve warm.
Notes
- Too little flour: Dough cannot be handled or spread when placed on the baking sheet.
- Too much flour: Dough balls crack.
- Adjust milk and flour as needed.
- Storage – Leftovers can be stored at room temperature in an airtight container. They will keep fresh for up to 3 days but are best served soon after baking.
- Freezing – To freeze, add the cooled biscuits to a freezer bag and freeze for up to 6 months. You can thaw in the fridge and then lightly warm in the microwave before serving.
- Reheating – To keep the biscuits moist when reheating, I prefer to reheat them in the microwave. You could wrap them in a slightly damp paper towel. I found that reheating them in the oven dried them out.
Nutrition
Nutritional Disclaimer Kristin Maxwell of “Yellow Bliss Road” is not a dietician or nutritionist, and any nutritional information shared is an estimate. For accurate calorie counts and other nutritional values, we recommend running the ingredients through your preferred online nutritional calculator. Calories and other nutritional values can vary depending on which brands were used.




I made these last night to have with our shepherds pie and they were delicious! Quick and easy! I will definitely be making these again!
Nice! Thanks for stopping by Emily.
This was my first time making biscuits from scratch, and I’ll most definitely use this recipe again!!! Because I did not have any unsalted butter on hand, I omitted the ½ teaspoon of salt that was called for, and I’m so glad that I did! After baking, I topped with some honey butter, and they were absolutely AMAZING! I just wish they had more of a butter taste to them😀
Nice! Thanks for stopping by Kris.
Came out good!
Nice! Thanks for stopping by M.