This post may contain affiliate links. Please read our disclosure policy.
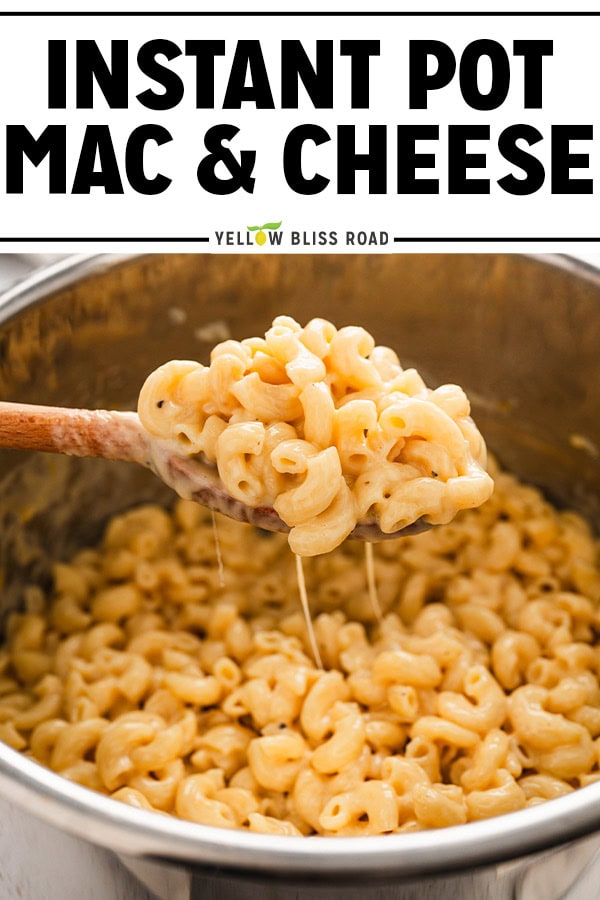
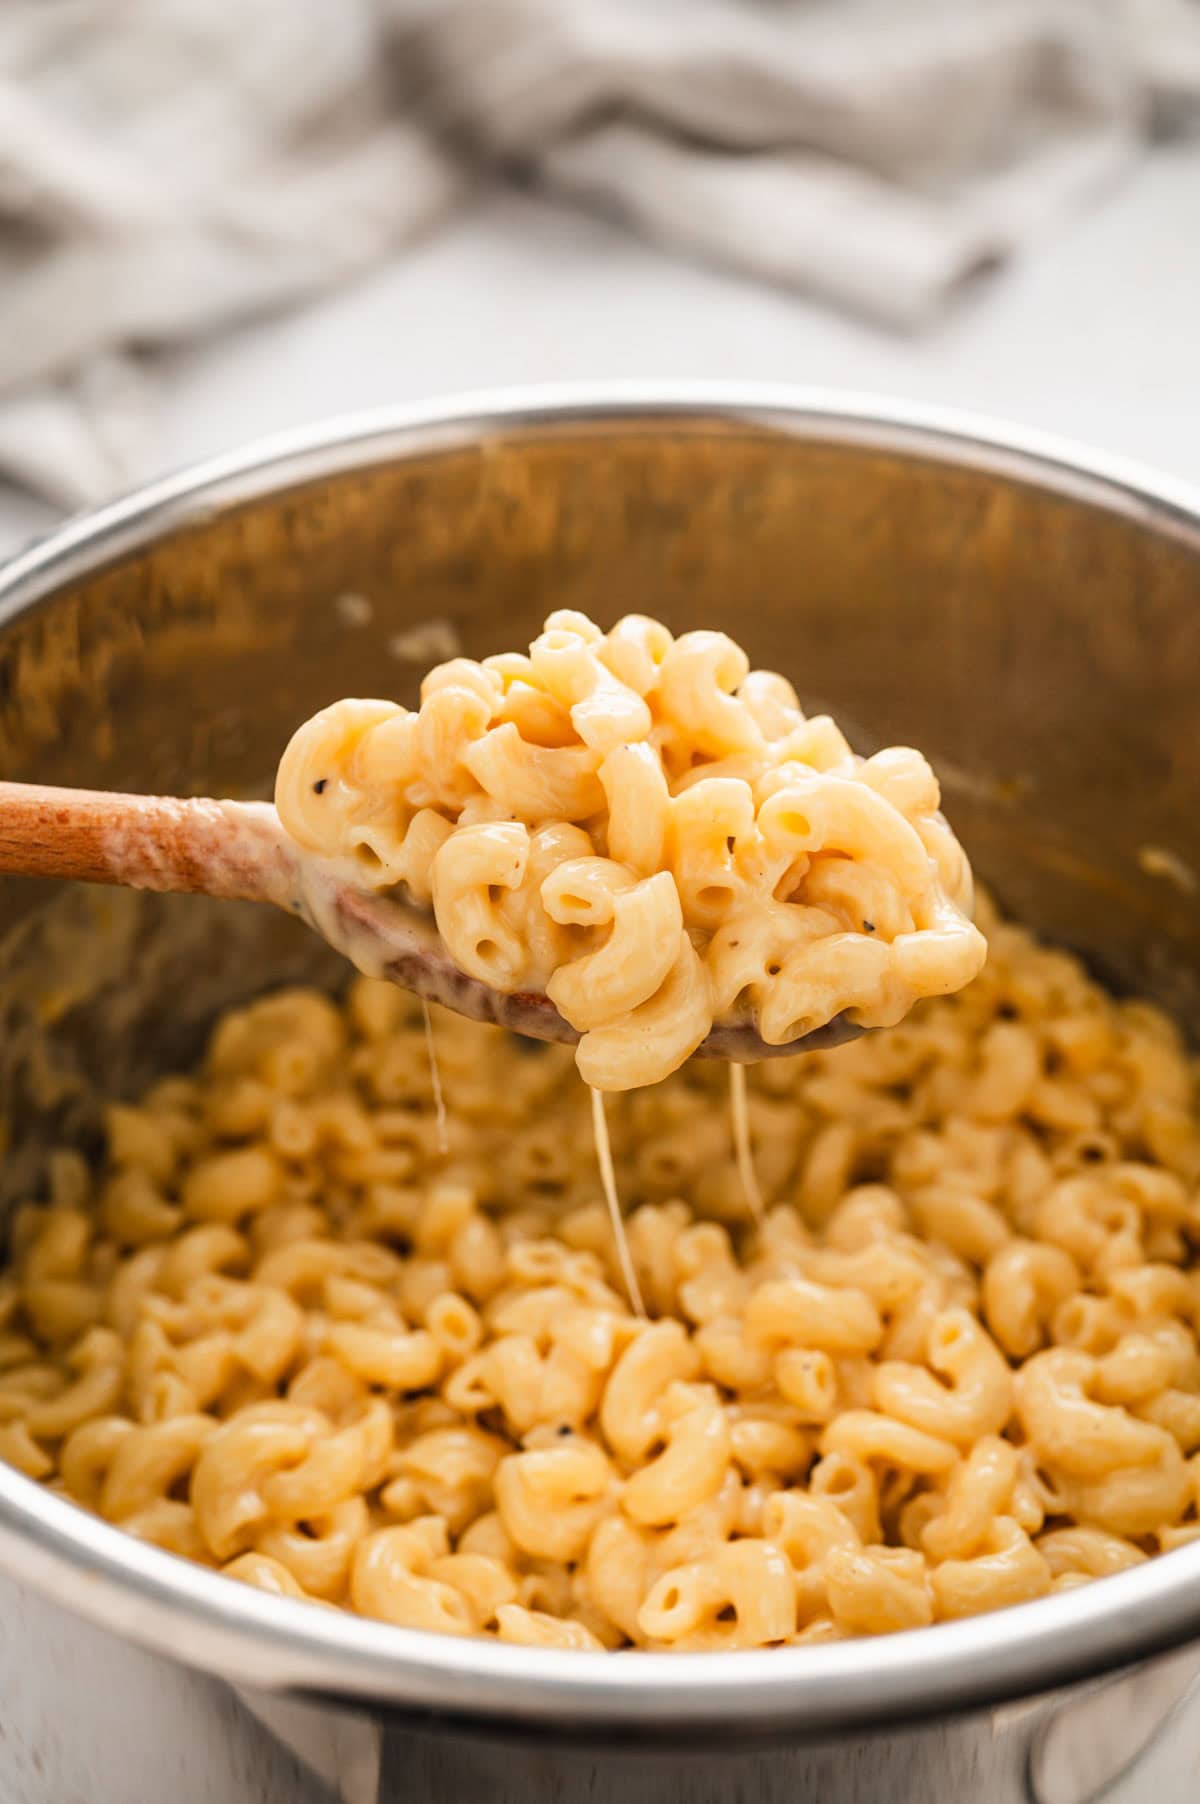
Instant Pot Mac and Cheese is creamy, cheesy perfection made start to finish in your Instant Pot. No need to boil a pot of water or make a roux on the stove, just cook the noodles in the Instant Pot, then stir in the milk and cheese, and enjoy!
For more Instant Pot recipes, try my Instant Pot Chicken Tortilla Soup and Instant Pot Pepper Steak.
Why We Love This Recipe
- Instant Pot Recipe – I love that this entire mac and cheese recipe is made, start to finish, in the Instant Pot.
- Classic Comfort Food – You can’t beat the combination of a creamy, cheese sauce with tender pasta.
- Easy to Make – No need to make a roux, like most mac and cheese recipes call for, just add the milk and cheese to the cooked pasta right in the Instant Pot.
recipe walk-through
Ingredient Notes
- Whole Milk – You can also use 2% milk, but the end result won’t be as rich and creamy.
- Uncooked Elbow Macaroni Pasta – Any small pasta with the same cook time will work.
- Low Sodium Chicken Broth Or Water – Both broth or water works for cooking the macaroni. I like broth because it infuses the pasta with extra savory flavor.
- Shredded Gruyere and Colby Jack Cheese – You can substitute different cheese combinations. Just make sure that the cheese is freshly grated, and not pre-grated, as it melts better.
How To Make Instant Pot Mac and Cheese
See the recipe card below for full, detailed instructions
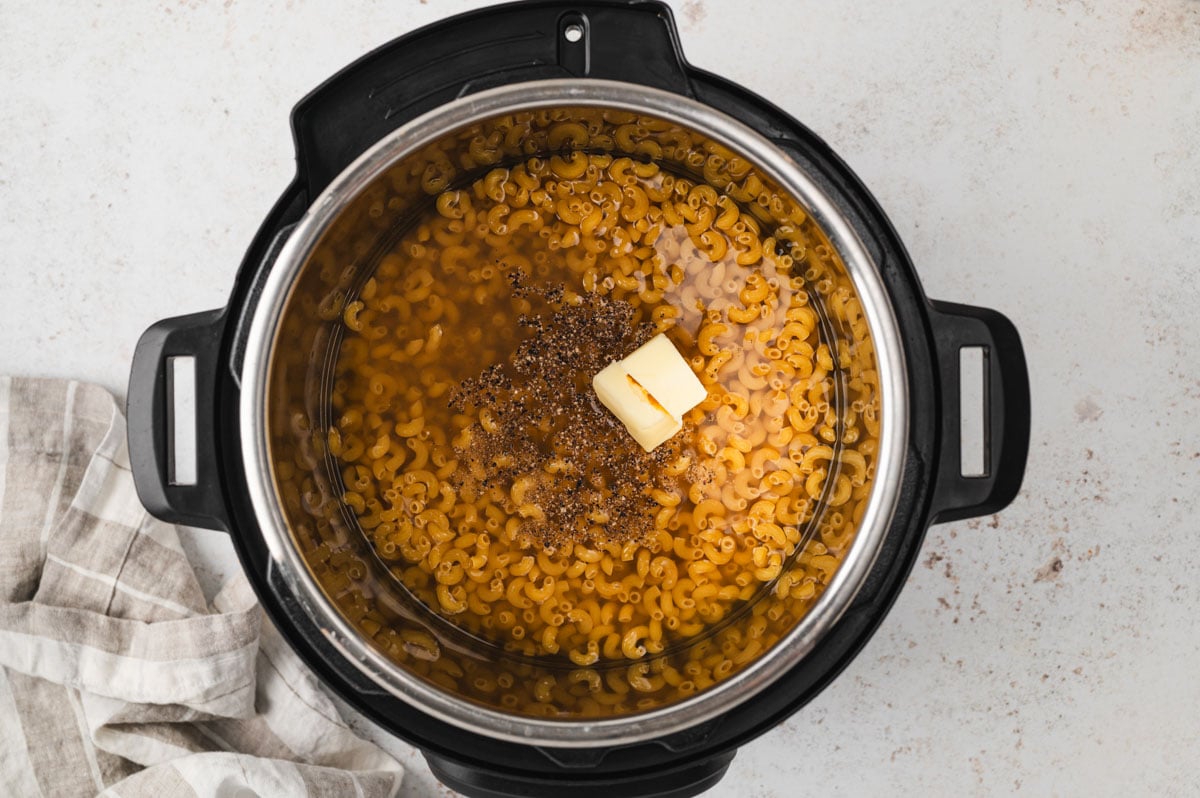
Add to Instant Pot – Place the uncooked noodles, broth, butter, and seasonings in the insert of a 6-quart electric pressure cooker. Give it a quick stir.
Pressure Cook – Add the lid and place the floating valve in the sealing position. Pressure cook on high for 4 minutes. Manually release the pressure right away to avoid overcooking the noodles. Turn the pot off.
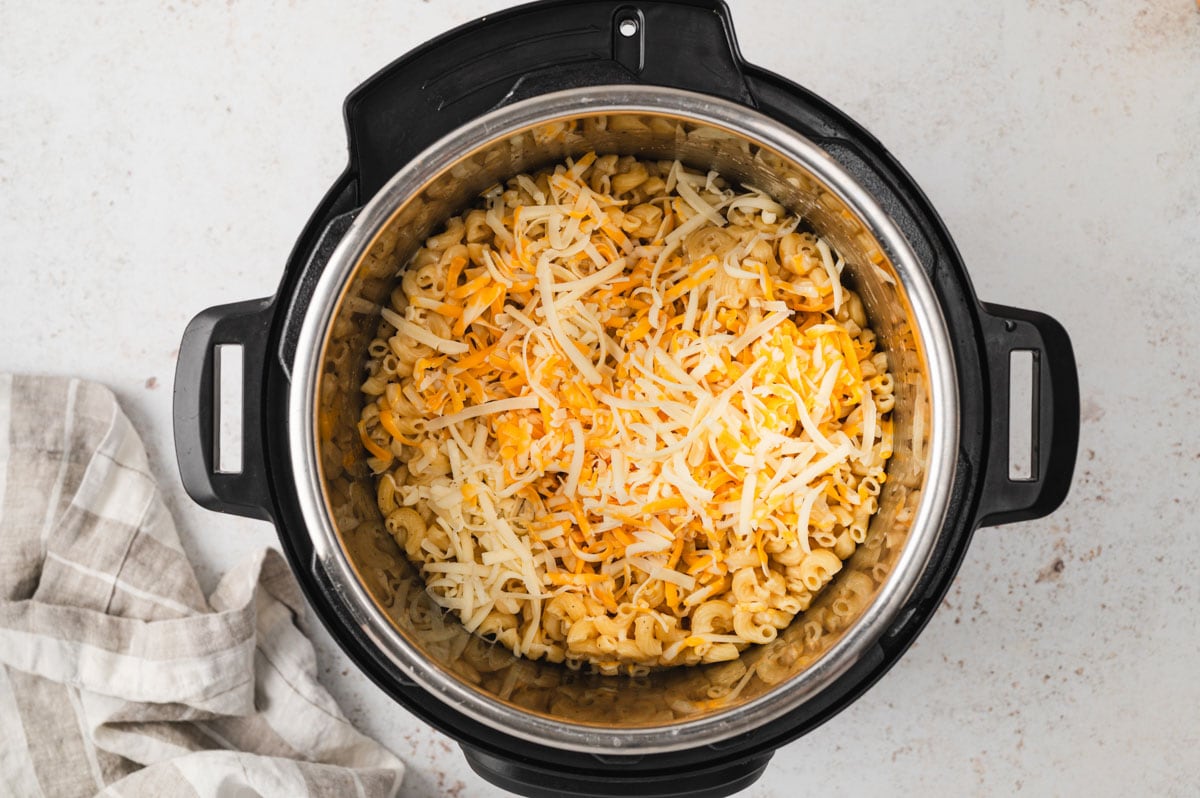
Add Milk and Cheese – Add about ¼ cup of the milk, along with a few handfuls of cheese, stir. Keep adding cheese in batches with some milk, until all of the cheese is incorporated. Add enough milk to achieve the consistency you like.
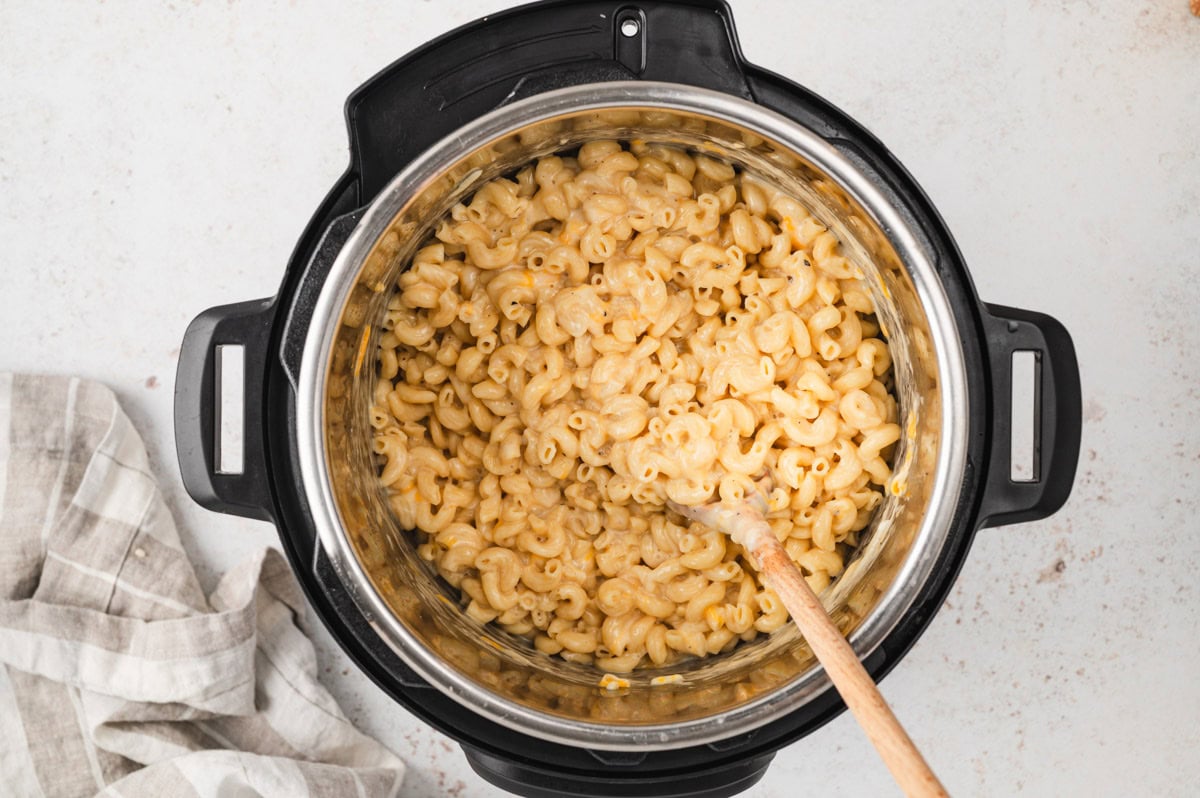
Serve – Let the mac and cheese sit for about 5 minutes so the sauce can thicken up as it cools. Taste and adjust the seasoning, and add more milk if necessary.
Serving Suggestions and Variations
- Serving – This is great as a main dish with sides like garlic green beans or air fryer broccoli. It can also be served alongside a protein like baked BBQ chicken or air fryer steak.
- Variation – Add Mix-ins – After cooking, try mixing in a protein, like shredded chicken or cooked and crumbled ground beef, or veggies, like steamed broccoli florets or spinach, for different variations.
- Variation – Other Spices – You can add other spices such as dry mustard, onion powder, paprika, and even cayenne pepper if you like heat!
Storage Tips
Storing and Reheating Mac and Cheese
Leftovers can be stored in the fridge in an airtight container for up to 5 days. They can also be frozen for up to 3 months! Allow the pasta to cool completely, then portion into freezer bags or containers, getting out as much air as possible. Thaw before reheating.
I like to reheat individual portions in the microwave (reduce the power to 50% to reduce the chance of the sauce breaking) with a splash of milk. Or for multiple portions, reheat on the stove in a pot with a lid over low heat, adding extra milk and stirring often until heated through.
Reheating macaroni and cheese can cause the cheese sauce to separate. Make sure to heat it up slowly, adding milk and stirring often keep the sauce together.
Recipe Tips
- Other Cheese Types – You can swap in different cheese combinations. For example, 4 oz of velveeta with another cheese works really well! Cheddar, parmesan, or white cheddar are also great melting cheeses.
- Freshly Shredded Cheese – Freshly grated cheese melts much better than the pre-shredded bagged cheese, as it doesn’t contain the additives that keep the shreds from sticking. This makes the cheese sauce lumpy or grainy. If you have to use bagged cheese, you may need to increase the amount of milk.
- Turn off Instant Pot Before Adding Cheese – Turning off the heat is important before adding cheese. If you do not, the sauce will become grainy, as the cheese melts too quickly and the fat separates.
- Add Milk Slowly – Add milk slowly, paying attention to how thick the sauce is getting. Add milk until it’s just a bit thinner than your preferred texture. The sauce will thicken as it cools.
More Instant Pot Recipes
- Instant Pot Baked Beans
- Instant Pot Whole Chicken
- Instant Pot Spaghetti
- Instant Pot Pasta with Chicken
Instant Pot Mac and Cheese
Ingredients
- 1 pound Uncooked elbow macaroni pasta
- 4 cups Low sodium chicken broth or water
- 2 tablespoons Salted butter
- 1 teaspoon Kosher salt
- 1/2 teaspoon Freshly cracked black pepper
- 1/2 teaspoon Garlic powder
- 1 ½ cups Freshly shredded gruyere cheese
- 1 ½ cups Freshly shredded colby jack cheese
- 1 cup Whole milk
Instructions
- Place the pasta, broth, butter, and seasonings in the insert of a 6 quart electric pressure cooker, stir briefly.
- Place the floating valve in the sealing position. Pressure cook on high for 4 minutes. Manually release the pressure right away to avoid overcooking the noodles. Turn the pot off.
- Stir in about ¼ cup of the milk, along with a few handfuls of cheese, stir. Keep adding cheese in batches with some milk, until all of the cheese is incorporated. Add enough milk to achieve the consistency you like. Adding the cheese gradually helps release the starch from the pasta, thickening up the sauce.
- Let it stand for about 5 minutes if it’s too thin, it will thicken as it stands. Taste and adjust seasoning and add more milk if necessary.
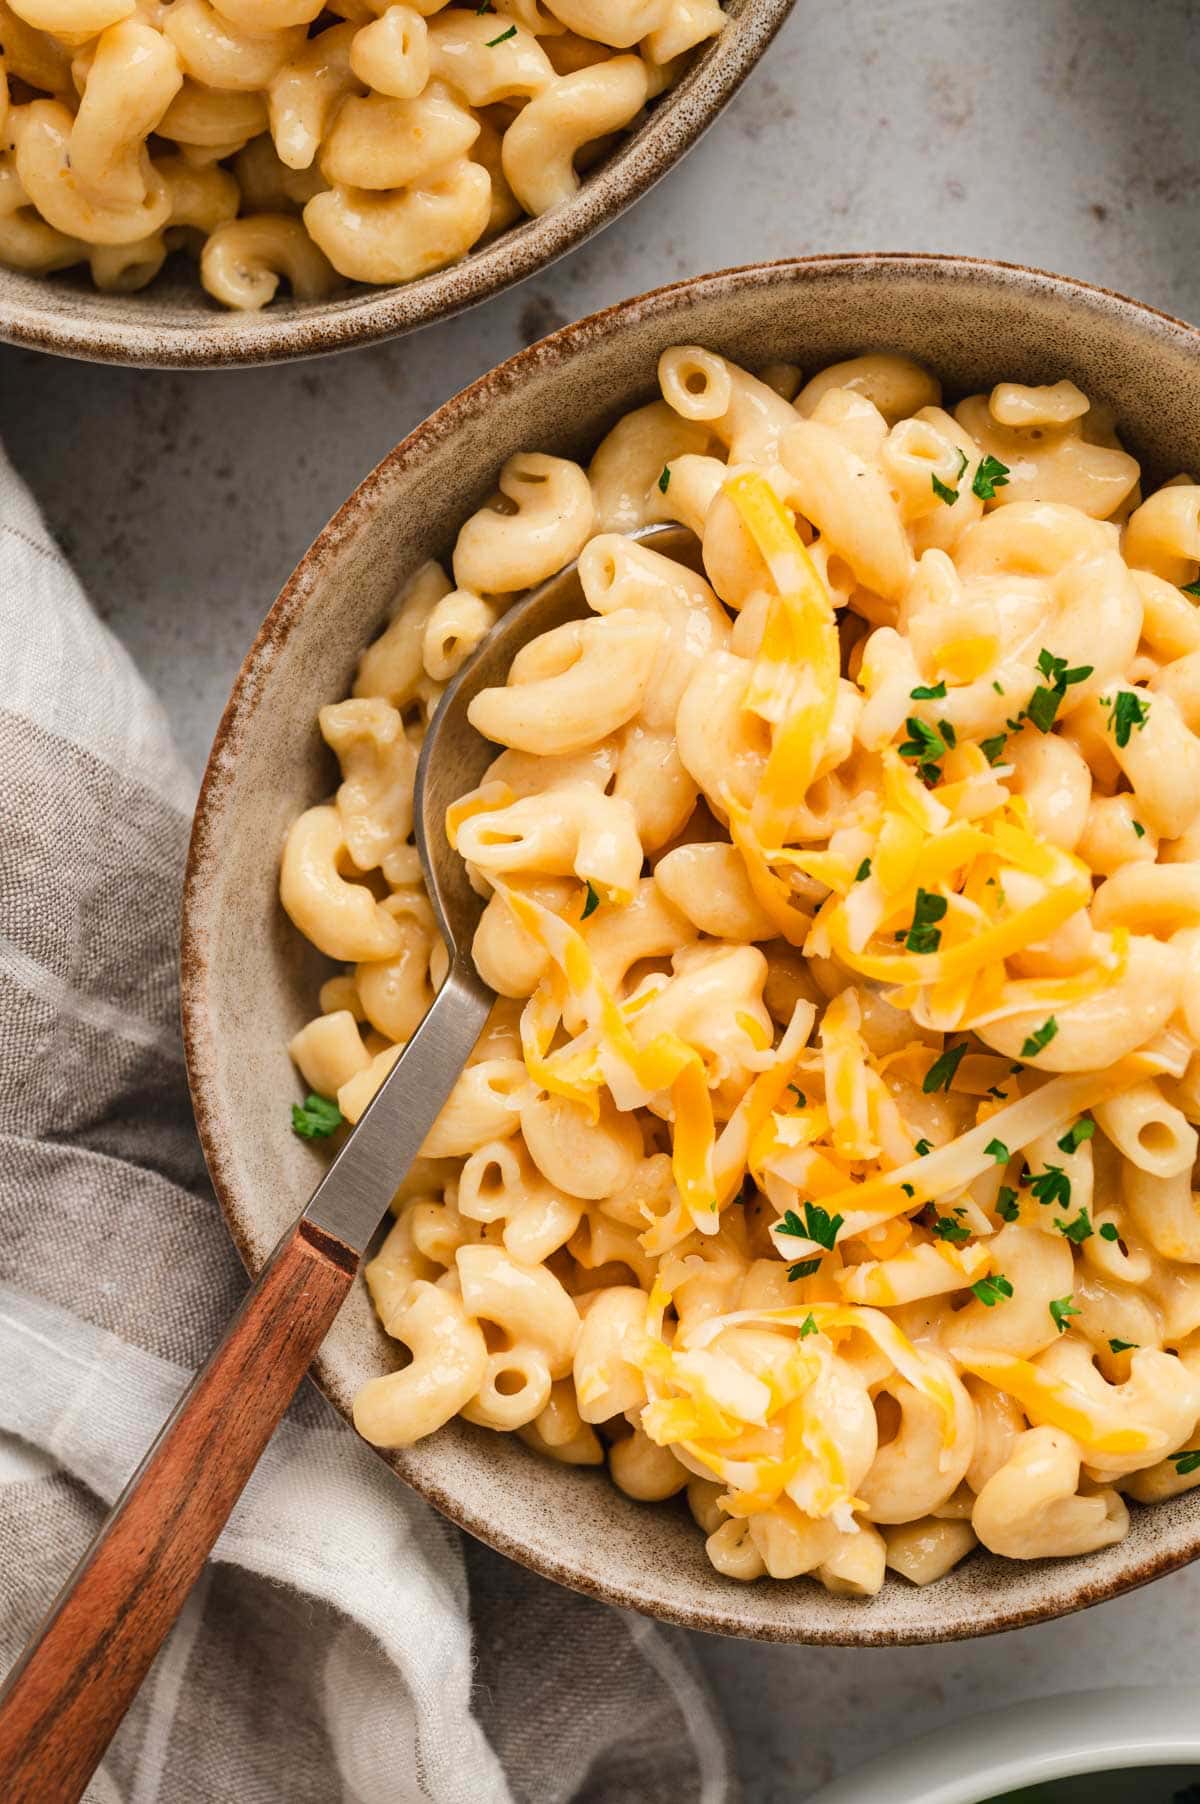
- Serve immediately, garnished with fresh minced parsley or more cheese, if desired.
Notes
Nutrition
Nutritional Disclaimer Kristin Maxwell of “Yellow Bliss Road” is not a dietician or nutritionist, and any nutritional information shared is an estimate. For accurate calorie counts and other nutritional values, we recommend running the ingredients through your preferred online nutritional calculator. Calories and other nutritional values can vary depending on which brands were used.
