This post may contain affiliate links. Please read our disclosure policy.
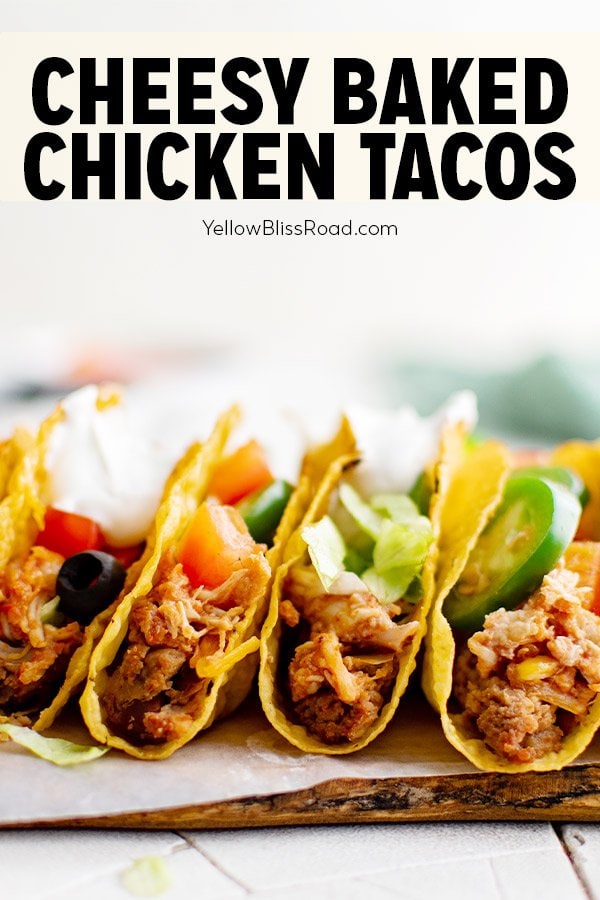
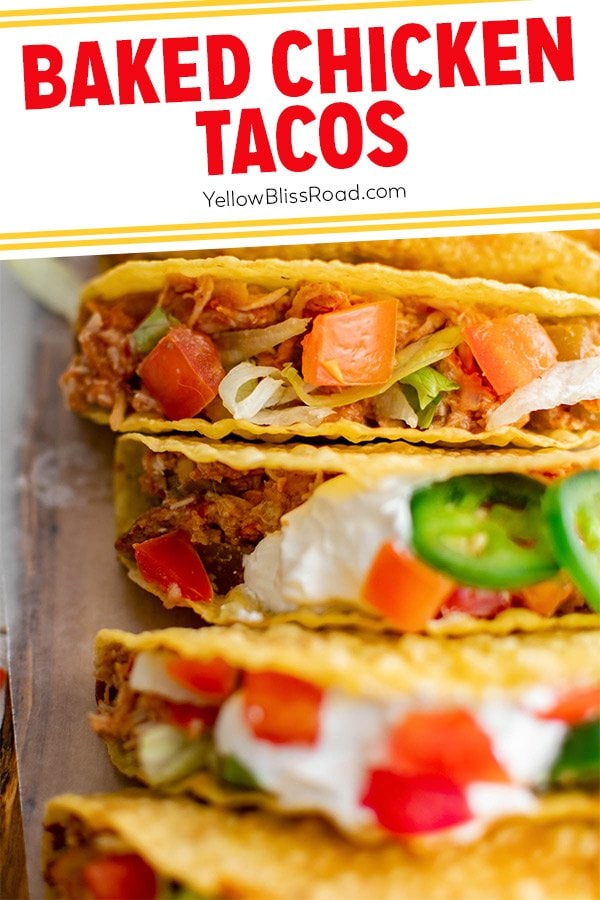
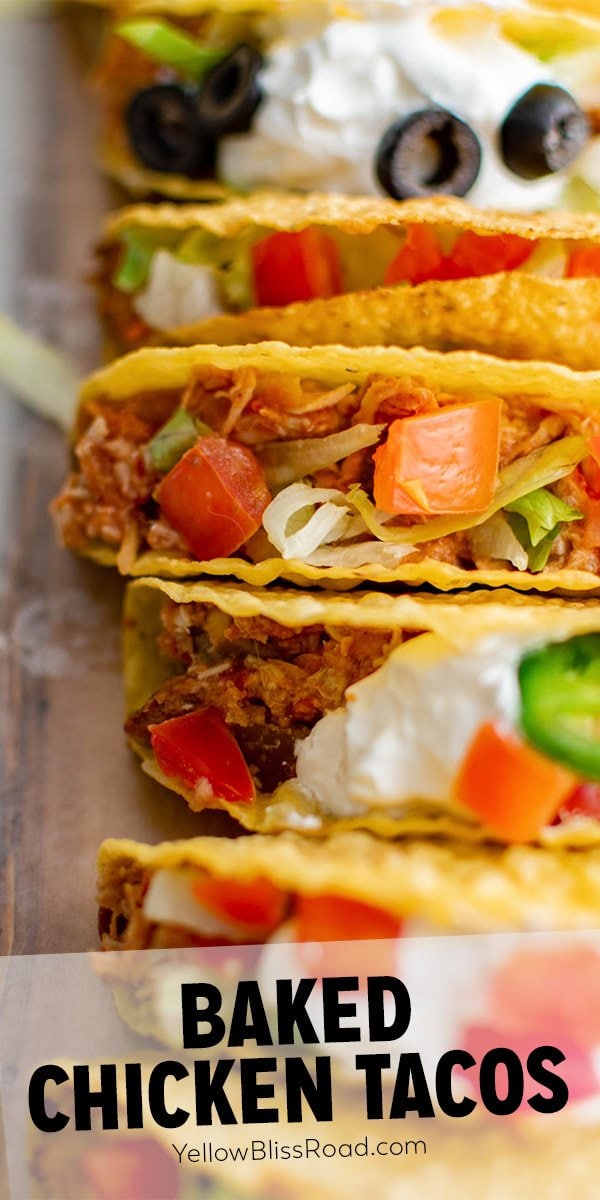
Baked Chicken Tacos are one of the best options for a low stress, big flavor dinner. These Oven Baked Tacos are full of flavor, super easy, and ready in about 20 minutes.
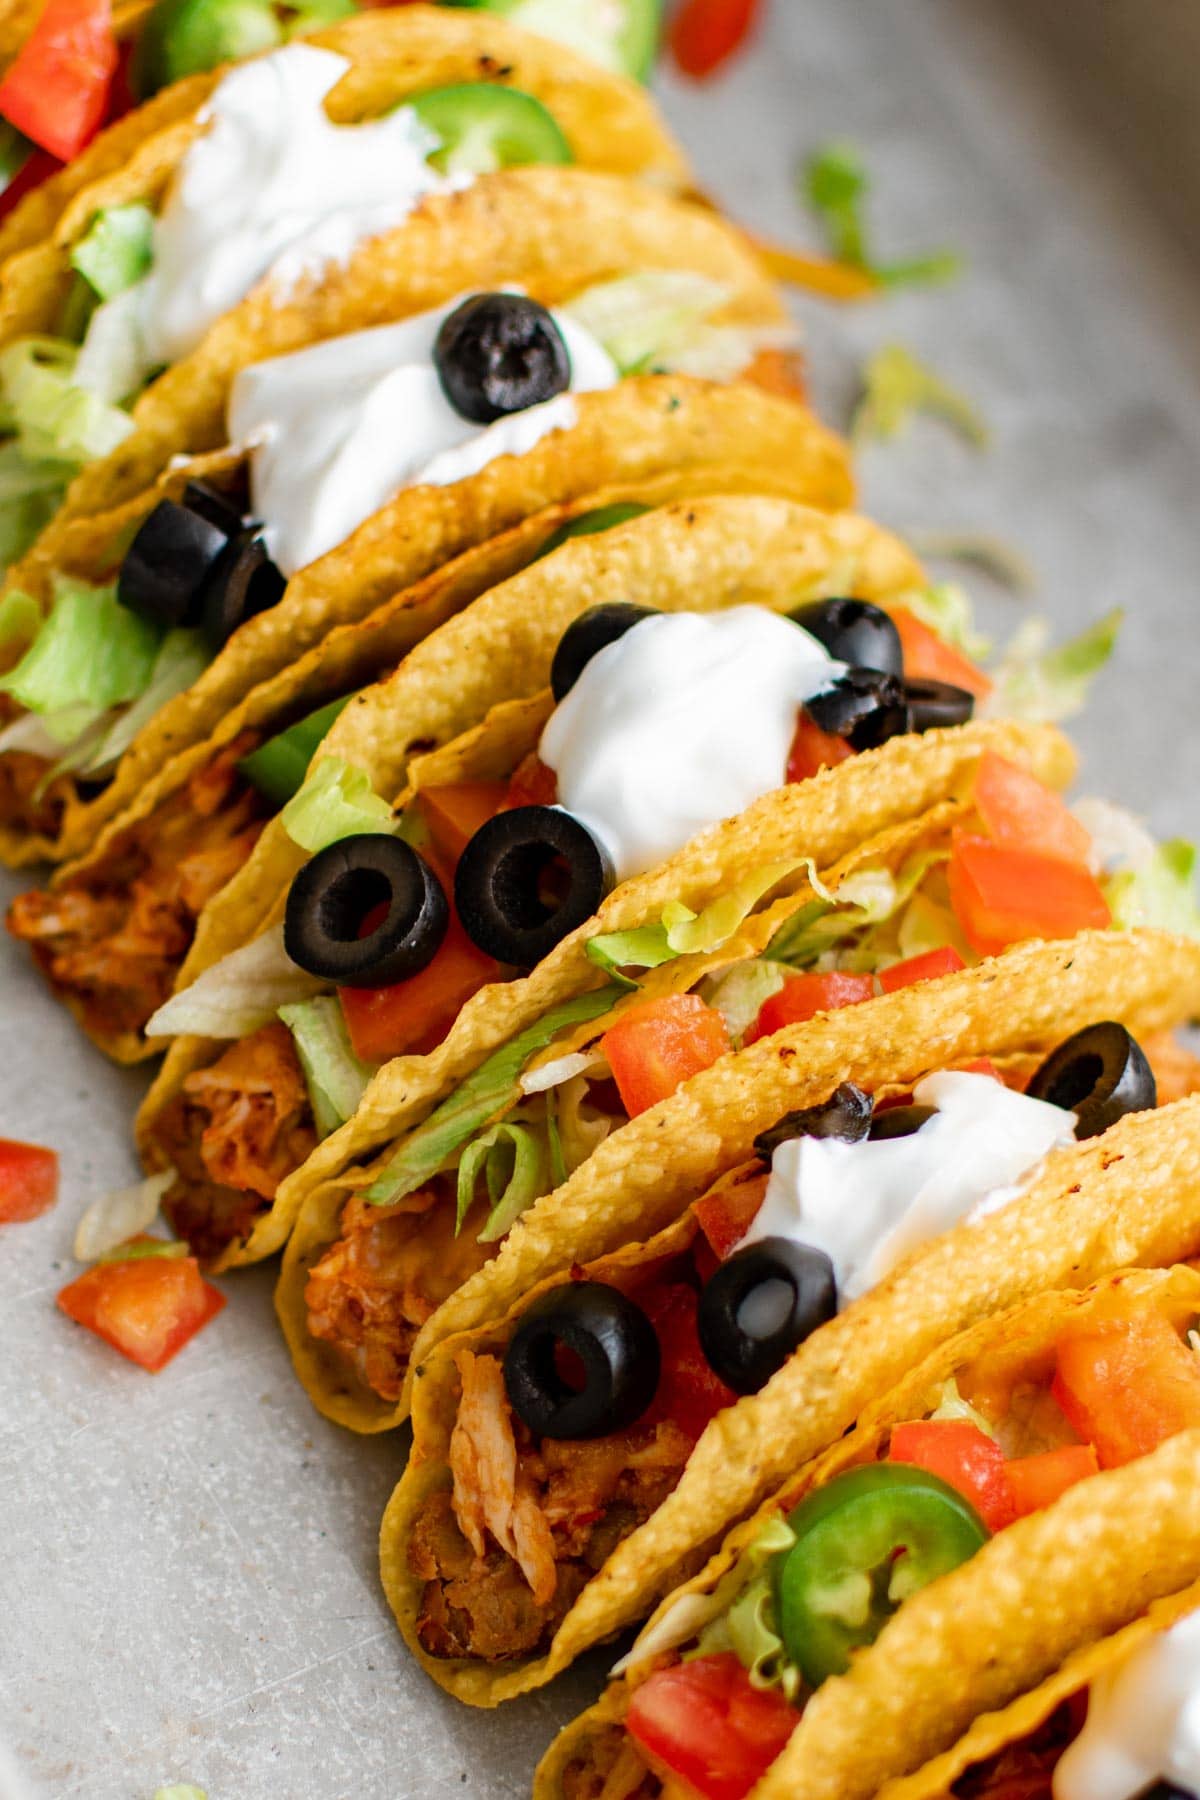
You will want to add these easy baked chicken tacos to your weekly menu pronto! Serve them to a crowd on game day or Cinco de Mayo, for parties and potlucks, or make them part of your dinner rotation – they’re perfect for Taco Tuesday! Serve with Authentic Mexican Rice and Caesar Salad for a truly spectacular dinner with very little effort.
Pin this recipe for later!Best Baked Chicken Tacos Ever
I have been making this baked chicken taco recipe for my family for years, and they absolutely love it. To keep things simple, I use a rotisserie chicken and just pluck the meat off. Whatever I don’t use for baked chicken tacos I freeze to use another time.
I combine the chicken with salsa and taco seasoning for maximum flavor. The chicken taco meat is so juicy and tender! The meat is stuffed into taco shells and loaded up with melty cheese.
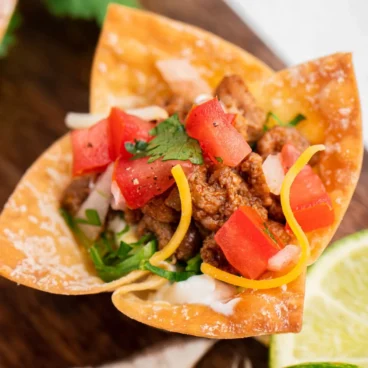
Baked tacos can be made in other flavors, too, like Ground Turkey and Black Bean Tacos. Honestly we love tacos in any flavor, like our popular Ground Beef Tacos, or super simple Walking Tacos.
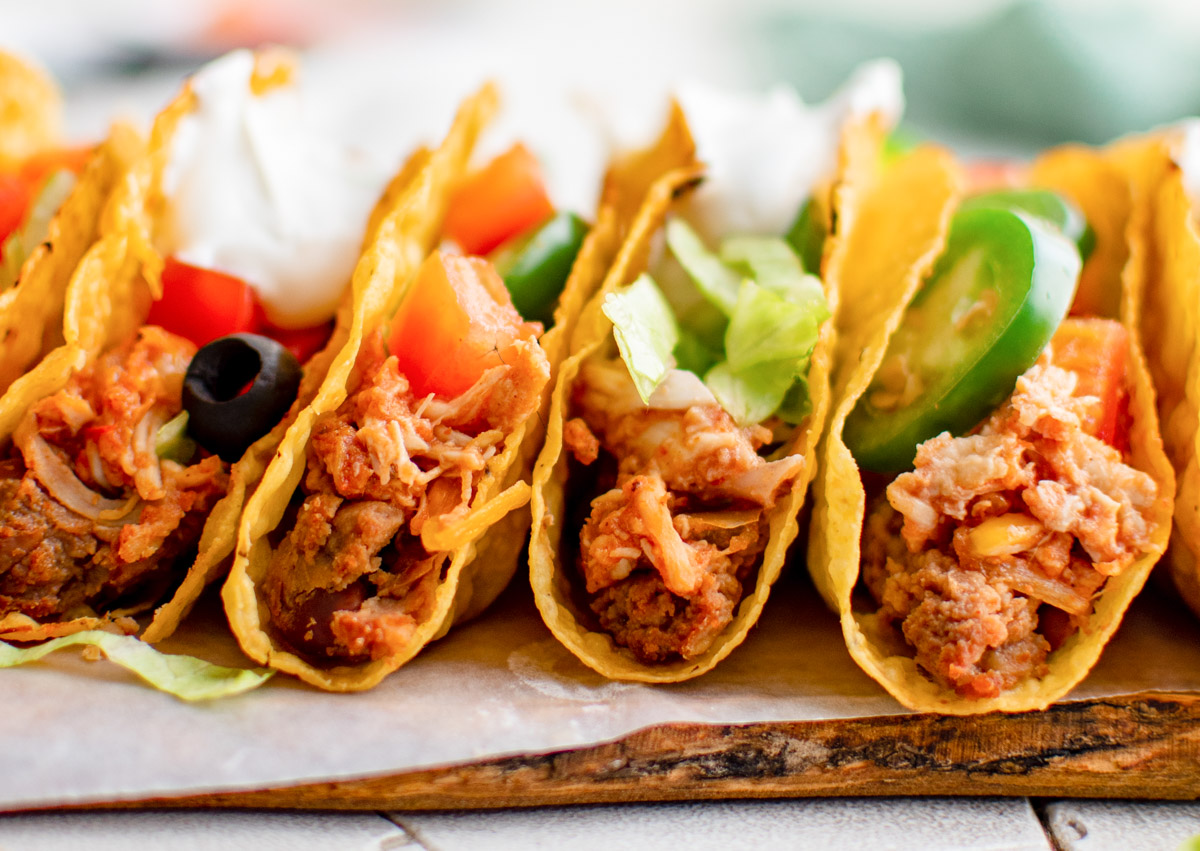
How To Make Chicken Tacos
See the recipe card below for full, detailed instructions
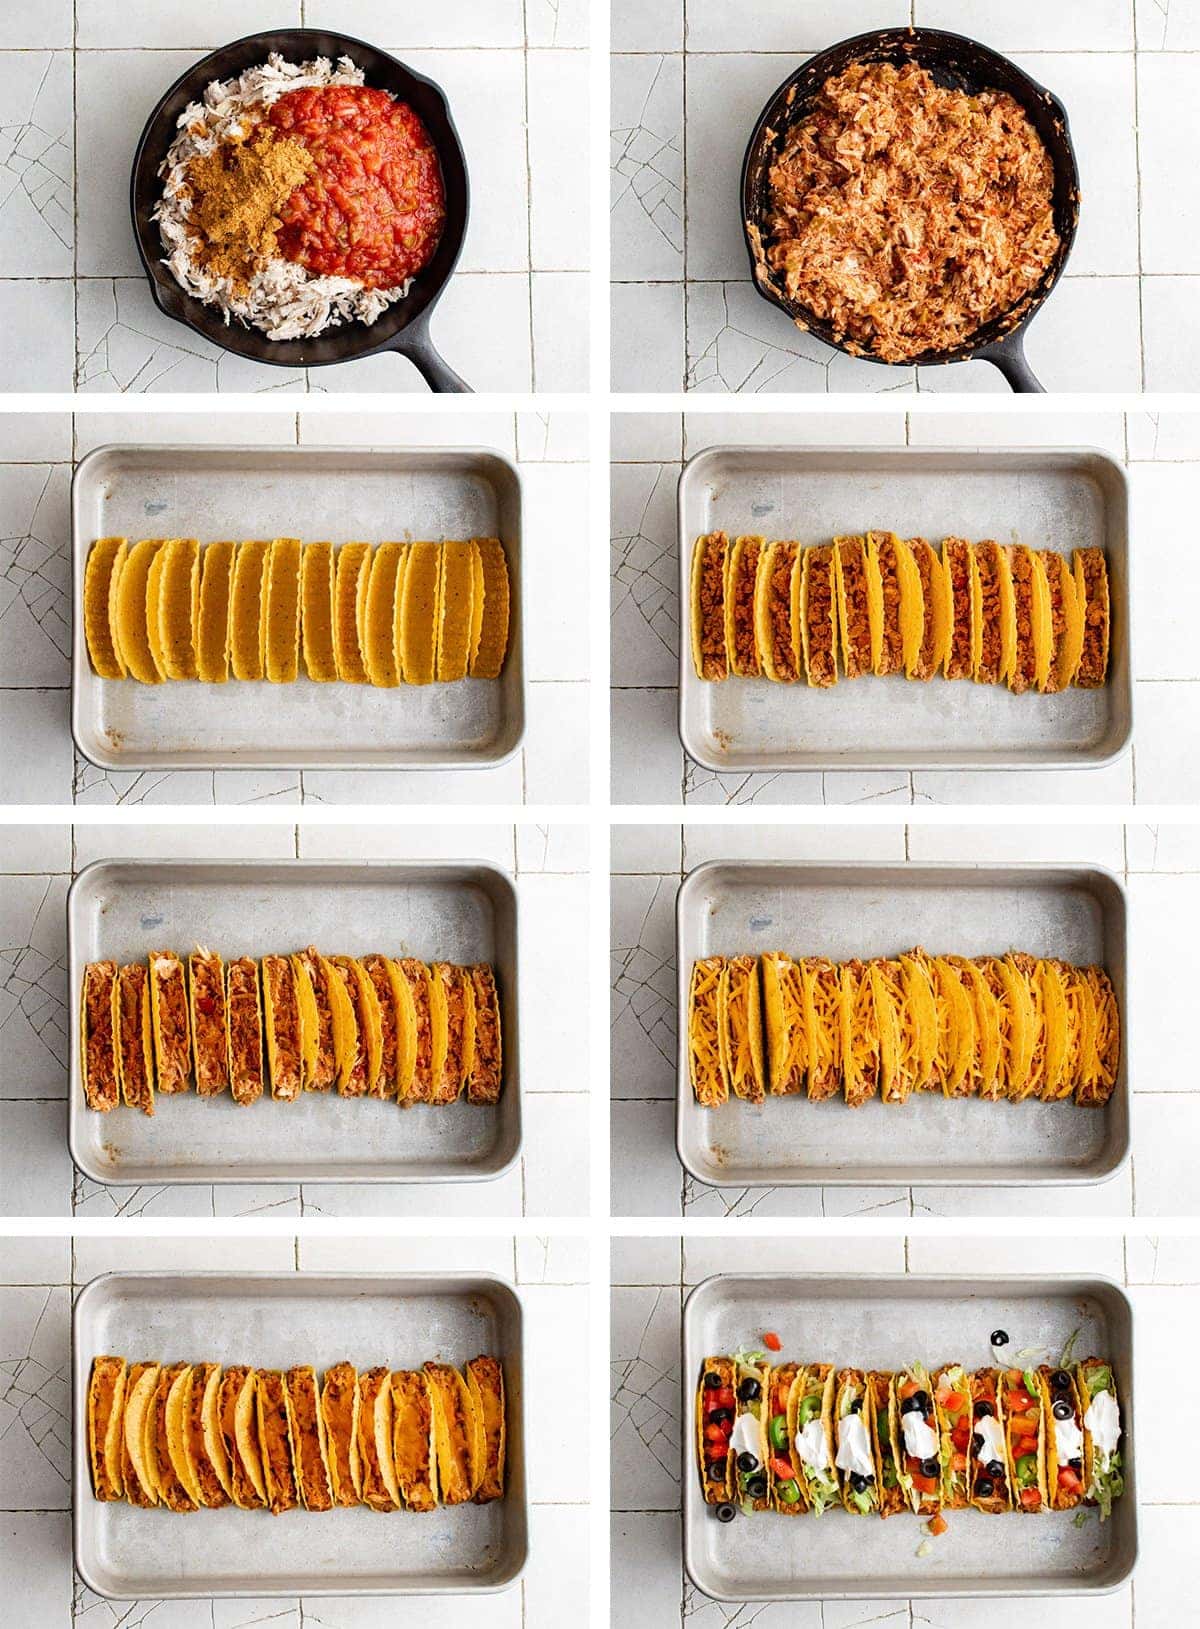
- Preheat the oven to 400°F and spray a baking dish with cooking spray and line up taco shells in the dish.
- Heat a large skillet and combine shredded chicken, salsa, and taco seasoning. Simmer for several minutes or until most of the liquid is reduced.
- Meanwhile, bake the taco shells for 5 minutes.
- Assembly: Spread a tablespoon of refried beans on the bottom of each taco shell. Top with the chicken mixture, leaving about an inch at the top for the cheese. Top with shredded cheddar. You can use as much or as little chicken as you want.
- Bake the tacos uncovered for about 8 minutes or until the cheese is completely melted.
- Serve immediately with assorted toppings.
Chicken Taco Toppings
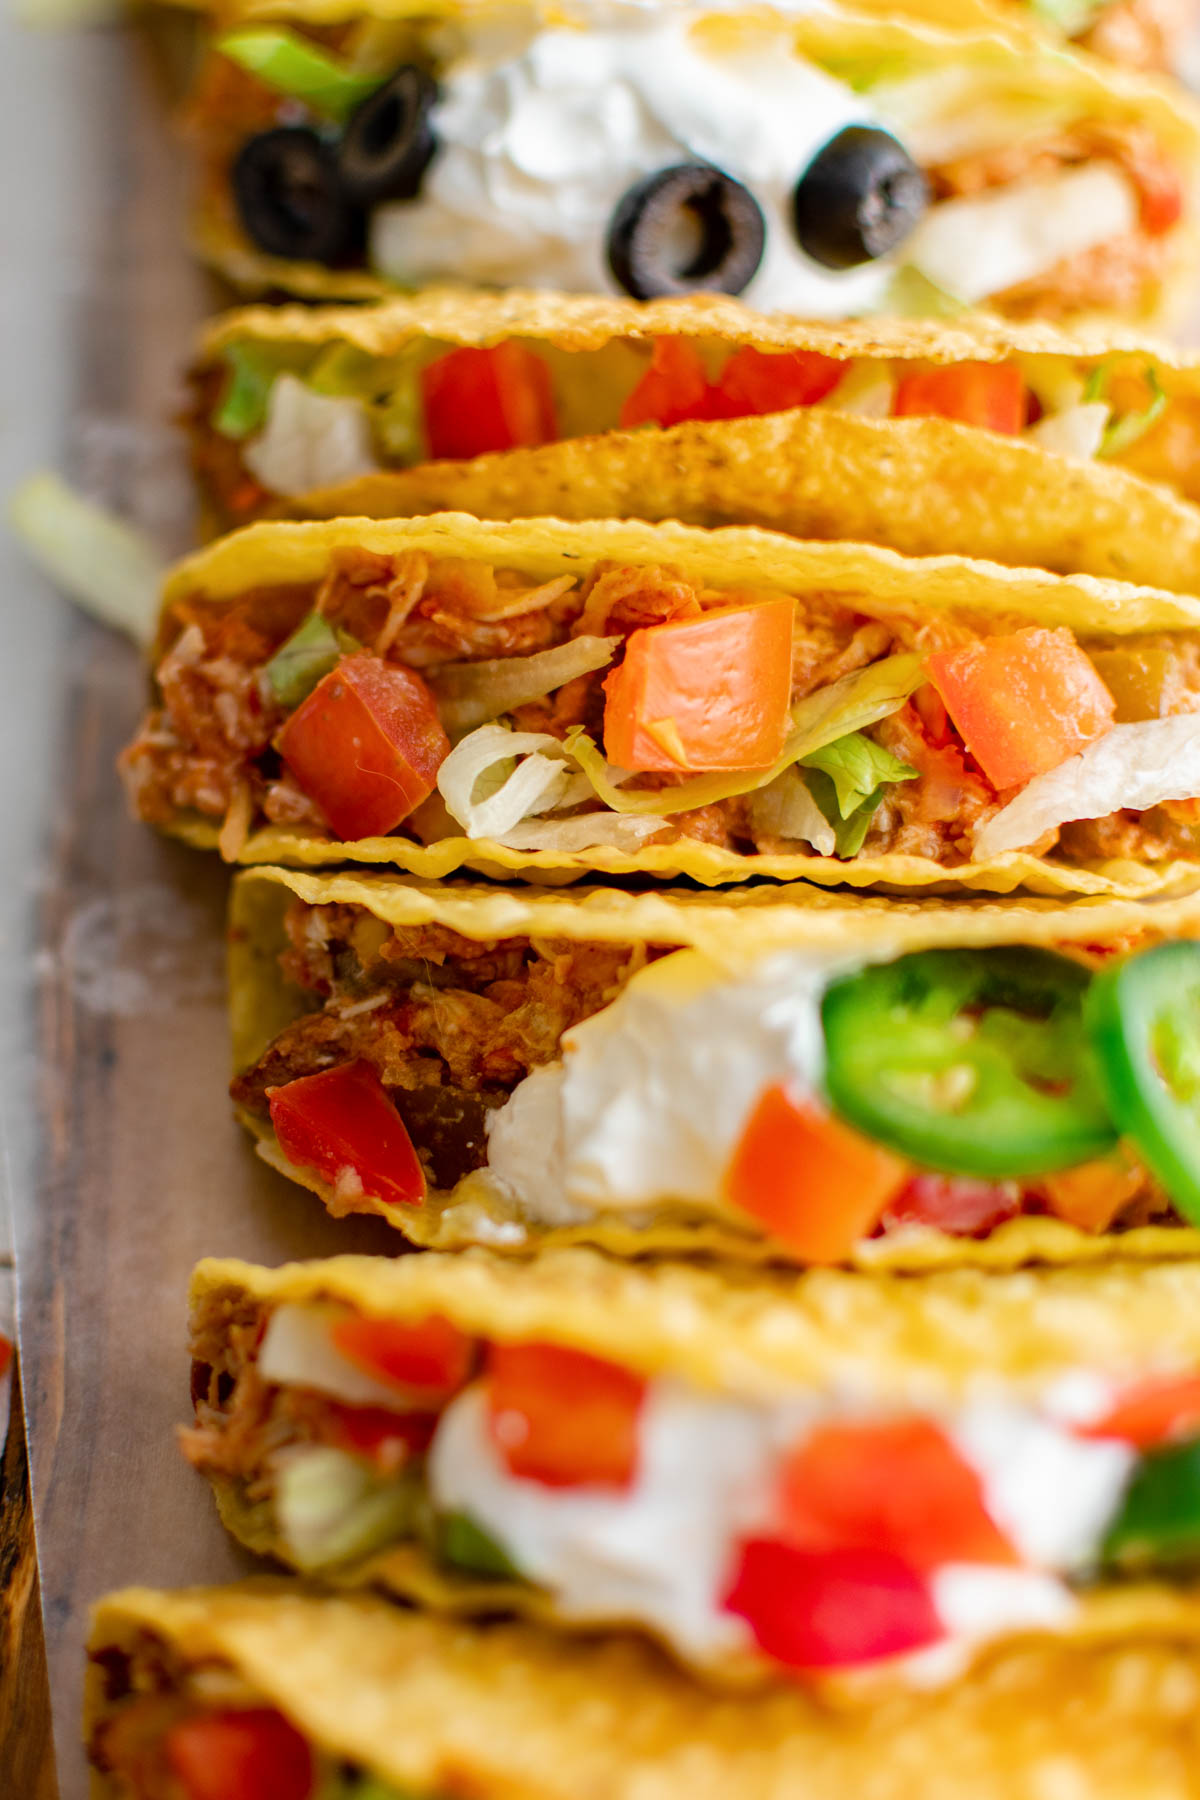
I love to set out a variety of toppings so everyone can create their own taco recipe. Here are some of our favorites:
- Diced jalapenos
- Diced tomatoes
- Extra shredded cheese or cotija cheese
- Chopped cilantro
- Caramelized onions
- Sliced olives
- Sour cream
- Guacamole
- Pineapple salsa
- Shredded lettuce
- Taco sauce
Serving Suggestions
These are great for big meals with a bunch of guests, or everyday meals for your family. Serve them as part of a big spread for a hungry crowd on game day or holidays. Serve them on their own as an appetizer, or with one of these fabulous side dishes.
Side Dishes for Taco Night:
- Cilantro Lime Rice
- Elote (Mexican Corn)
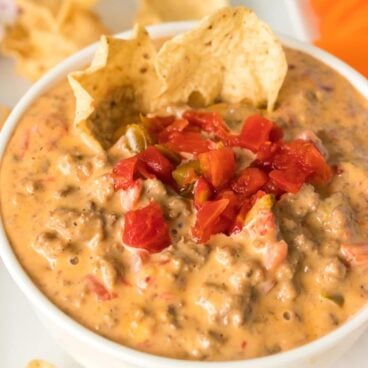
- Hot Mexican Corn Dip
- Slow Cooker Mexican Beans
- Mexican Black Beans
- Queso Blanco Dip
- Black Bean and Corn Salad
Don’t forget the cocktails! Serve these with a classic Classic Margarita or Cadillac Margarita.
Variations
You can use the method in this baked taco recipe for a variety of flavor combinations. Try some of our other favorites:
- Ground chicken, pork, or turkey – Cook the same way, simmering with some salsa and taco seasoning. Be sure to drain any grease.
- Vegetarian tacos – use caramelized onions, bell pepper, mushrooms, and black or pinto beans.
- Shredded turkey – What a great way to use up leftovers from your Thanksgiving Turkey!
- BBQ Chicken – Instead of salsa, mix in a little BBQ sauce with the chicken and stuff into the taco shells. Maybe skip the beans on this one.
Storing and Reheating
These tacos are best when eaten fresh. They tend to get a little soggy when stored. However, it can be done. Place leftover tacos in an airtight container and store for up to 2-3 days.
To reheat, the best way I’ve found is to use an air fryer if you have one. Set the temperature to 370° and air fry for several minutes or until the shell is crispy. Keep in mind that the bottom of the shell will not likely be crispy.
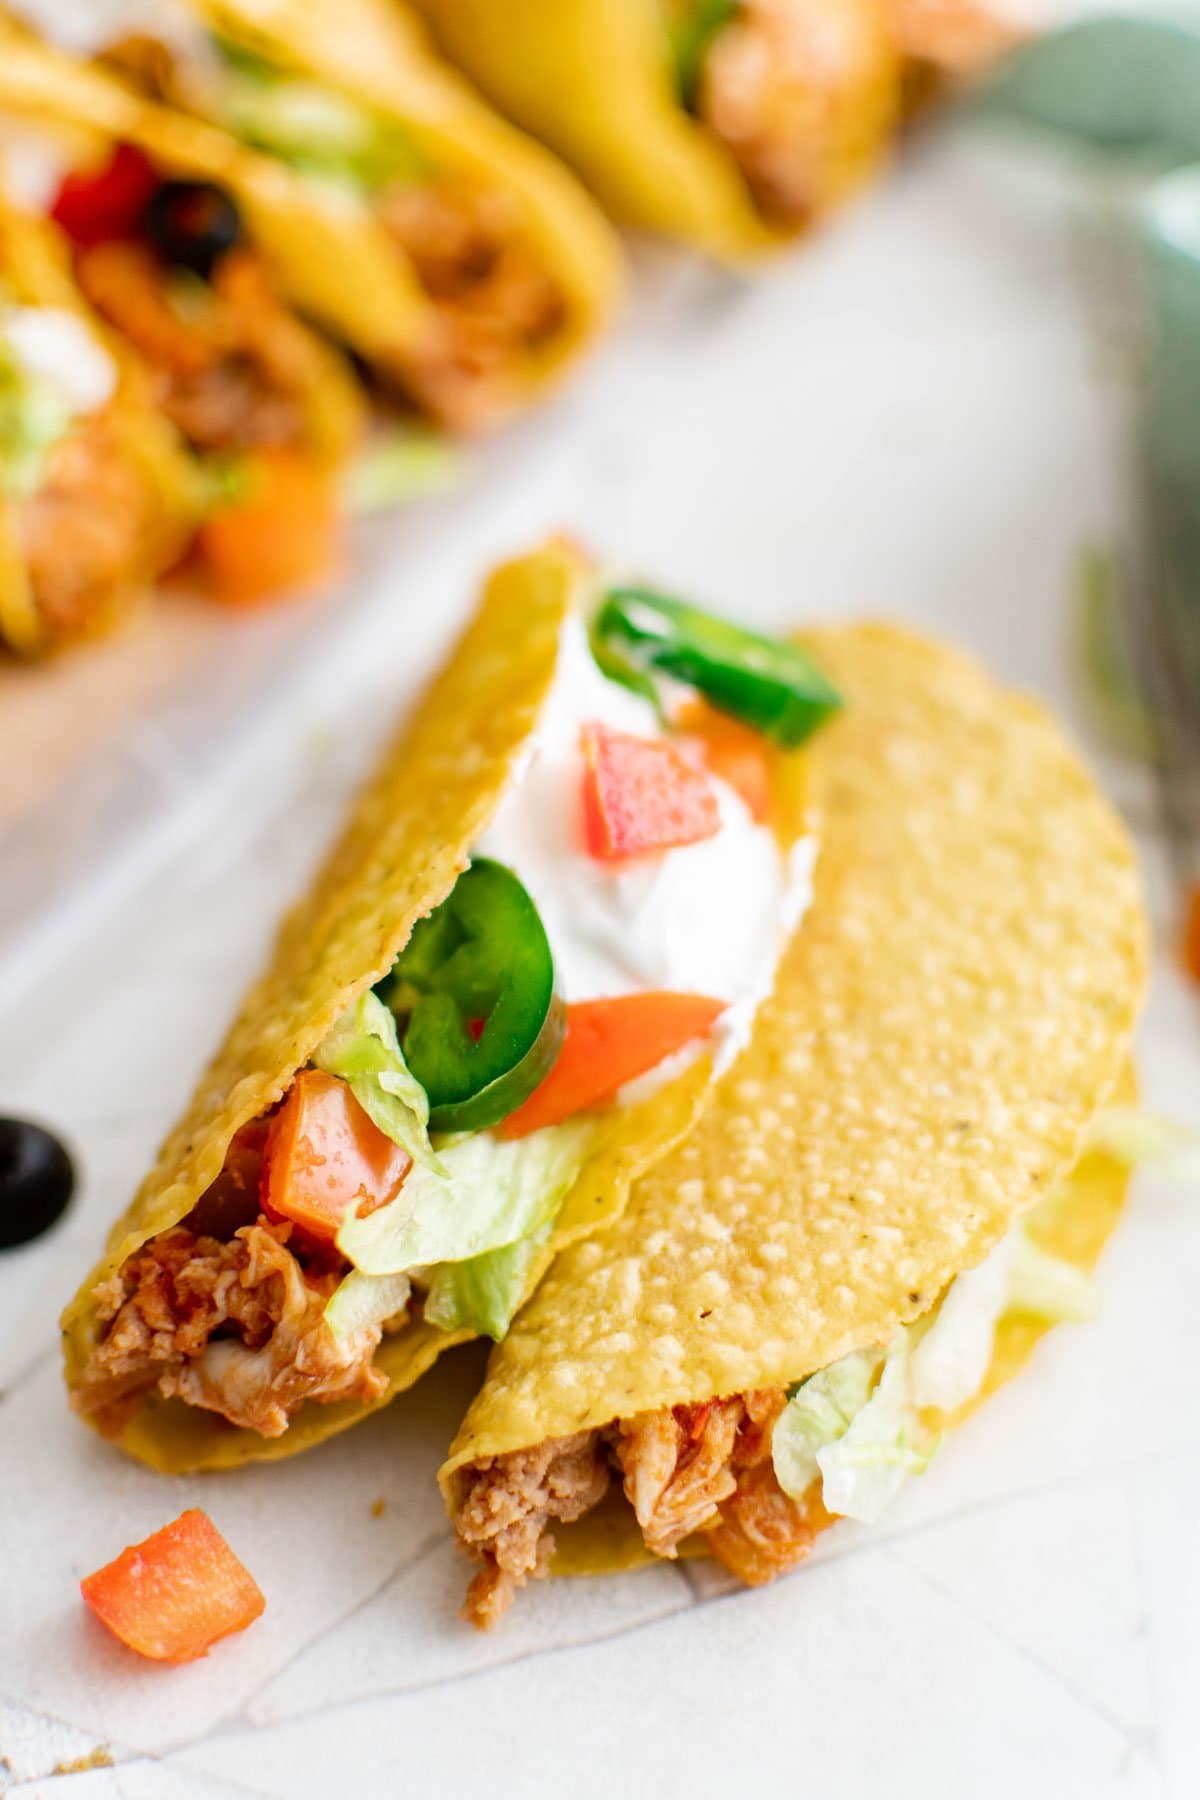
- For extra crispy shells, make sure to bake the shells for 5-6 minutes prior to filling.
- Make sure the liquid is fully evaporated and incorporated when simmering the chicken. And use a slotted spoon to transfer to the tacos so any excess liquid can drip off.
More Mexican Recipes To Try
- Sopa de Fideo
- One Pot Mexican Chicken and Rice
- Shrimp Ceviche
- Ground Beef Enchiladas
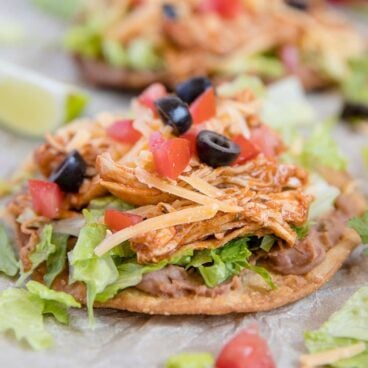
- How to Make Homemade Taquitos
- Meximelts (Taco Bell Copycat)
- Taco Bowl Recipe
Baked Chicken Tacos
Ingredients
- 4 cups cooked and shredded chicken breasts I use rotisserie chicken
- 2 cups salsa
- 2 tablespoons taco seasoning
- 1 cup refried beans
- 10-12 crispy taco shells
- 2 cups freshly shredded sharp cheddar cheese
- Toppings: shredded lettuce, diced tomatoes, sour cream, sliced olives, sliced jalapenos, etc.
Instructions
- Preheat oven to 400 degrees F. Line up taco shells in a large, greased 13×9-inch baking dish.
- Heat a large skillet over medium-high heat, and add the shredded chicken, salsa and taco seasoning. Stir to combine and simmer for 5-6 minutes or until the liquid is mostly evaporated/incorporated.
- Meanwhile, bake the taco shells for 5 minutes in the 400 degree oven to crisp them up.
- Spoon a tablespoon of the refried beans into the bottom of each taco shell and spread it end to end.
- Divide the chicken mixture into the taco shells, filling them most of the way and leaving about an inch at the top. Top with shredded cheddar. I listed 2 cups in the recipe, but you can use more or less if you desire.
- Bake chicken tacos uncovered for 7-8 minutes or until cheese is completely melted and edges are golden.
- Serve with toppings (optional) like sour cream, shredded lettuce, diced tomatoes, sliced olives, sliced jalapenos.
Notes
Nutrition
Nutritional Disclaimer Kristin Maxwell of “Yellow Bliss Road” is not a dietician or nutritionist, and any nutritional information shared is an estimate. For accurate calorie counts and other nutritional values, we recommend running the ingredients through your preferred online nutritional calculator. Calories and other nutritional values can vary depending on which brands were used.

Fantastic!
Thank you Grace!