This post may contain affiliate links. Please read our disclosure policy.
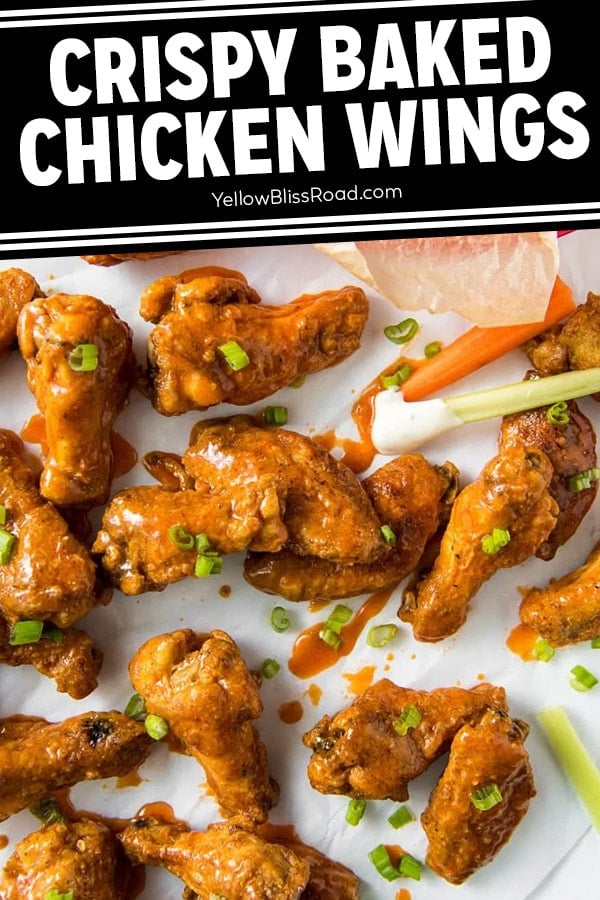
Crispy Oven Baked Chicken Wings are simple to make as a deliciously satisfying appetizer or meal. Chicken wings are seasoned and then baked for an addictively crispy skin with no greasy frying!
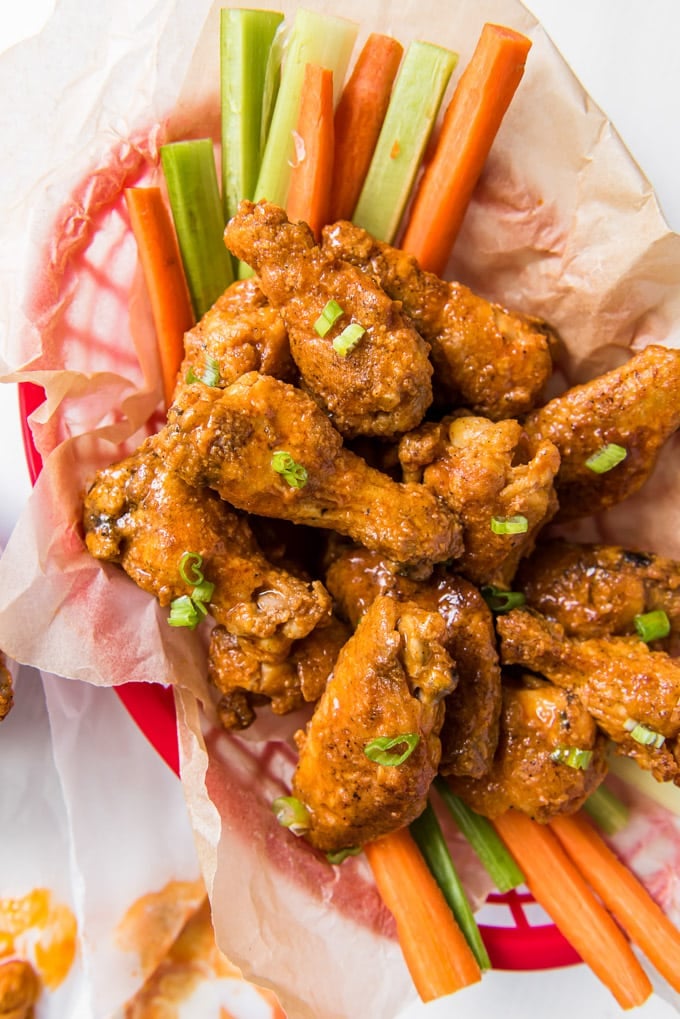
This chicken wings recipe is truly a family favorite. We serve them at parties, on game day or for family movie nights. With lots of different flavors to choose from, like Lemon Pepper, Garlic Parmesan, Salt and Pepper Wings or BBQ Chicken Wings, baked chicken wings are as easy choice that’s budget friendly and easy to prepare.
Crispy Chicken Wings are delicious, but the messy frying doesn’t thrill me. That’s why I love this baked chicken wings recipe. It’s healthier and easier than frying, because they bake up crispy in the oven with hardly any effort!
Don’t want to mess with the bone? Try my Boneless Chicken Wings!
Pin this recipe for later!The Best Crispy Baked Chicken Wings
We love finger foods for game day or just a fun family movie night! Baked Chicken Wings are almost always on the menu, and we love to serve them with some of our other favorite appetizers, like French Bread Pizza, Jalapeno Popper Dip, chips and homemade Guacamole, and Fried Ravioli.
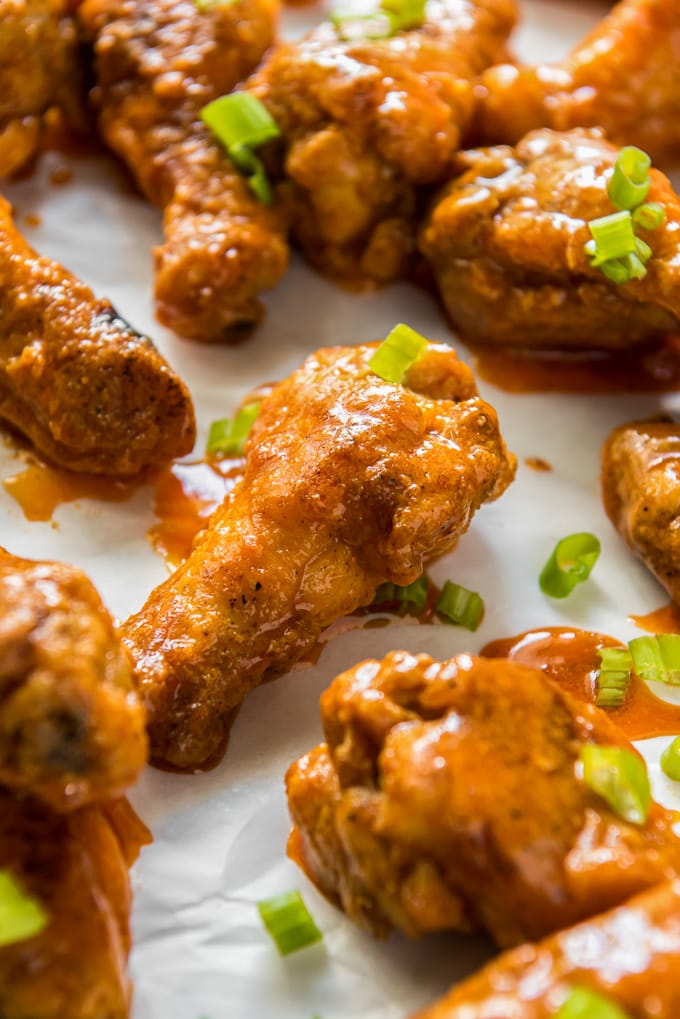
Chicken wings are somewhat of a guilty pleasure, but I can enjoy these guilt free because they are baked instead of fried. Plus I can make buffalo wings and control the heat or customize for everyone with one of my favorite sauces. Honey glazed is one of my favorites!
Ingredients
- Chicken Wings – Use a combo of flats and drumettes, or separate out and only use drumettes if you prefer. If frozen, you need to thaw first.
- Flour – Helps form a crispy coating around the chicken.
- Baking Powder – Forms a reaction with the skin and helps dry it out, which is crucial to a crispy skin.
- Cayenne Sauce – Frank’s Red Hot or something similar. This is not a wing sauce, although that can be used.
- Butter – Use real butter, not margarine, for the best flavor.
- Seasoning – Chili powder, garlic powder, kosher salt, black pepper
How to Bake Chicken Wings in the Oven
Preheat the oven to 450℉. Preheating and roasting at a high heat will help attain the crispy skin you’re looking for.
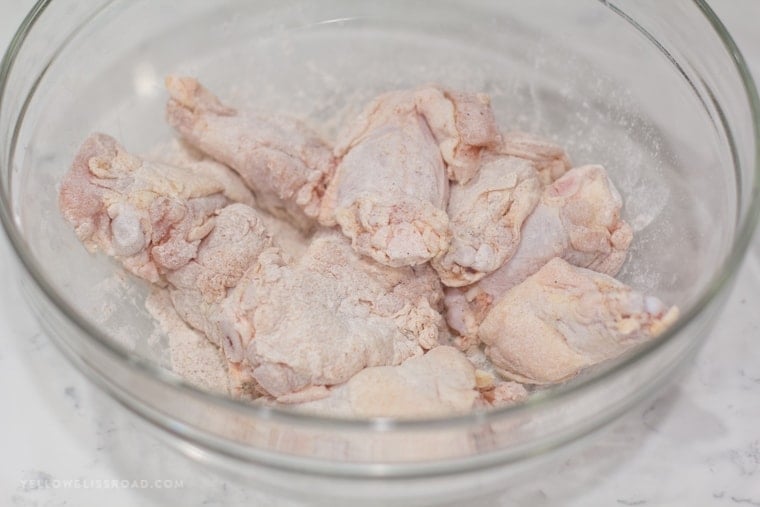
Dry and Coat: Pat wings dry with paper towels and toss them with the flour, baking powder and seasoning. It’s very important to shake off excess flour or there may be some residual flour after baking.
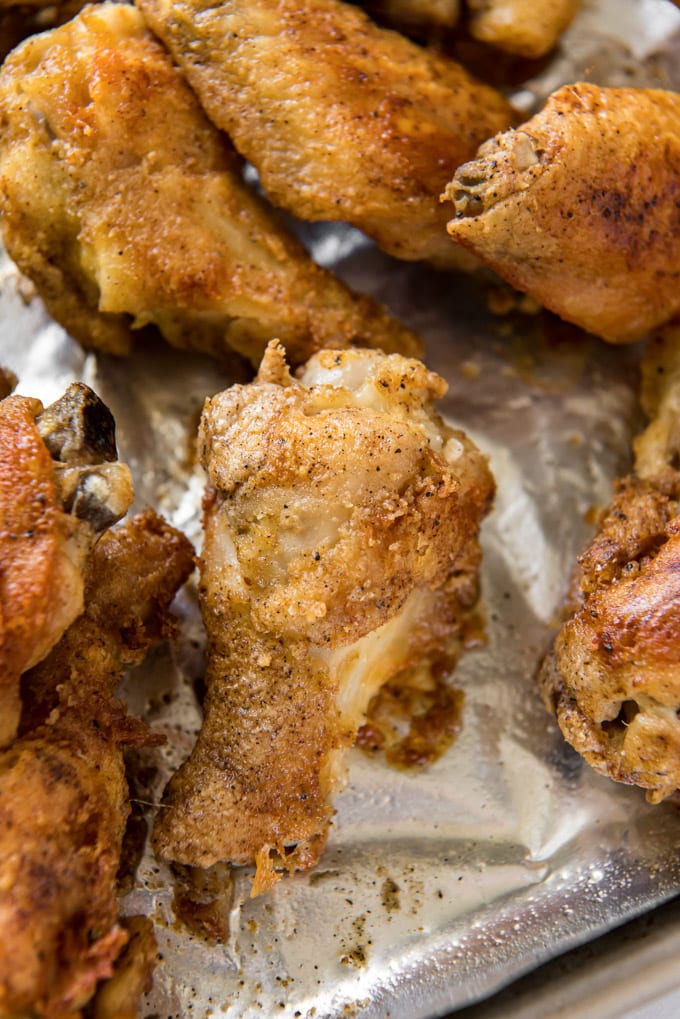
Roast: You have 2 options for baking – flat on a baking sheet or on a baking rack. If you have a rack, you’ll get better air flow and a crispier result. If you don’t, just cover a baking sheet with foil and you’re wings will still get crispy. Either way, make sure to spray with nonstick cooking spray.
Bake for about 30 minutes, flipping them about halfway through.
Saucing Your Wings
If you’re making the buffalo sauce, you can do that while the chicken is in the oven. It’s basically just hot sauce and butter, melted together. You can make it as spicy or mild as you like. You can also leave your wings unsauced – they have a great flavor already.
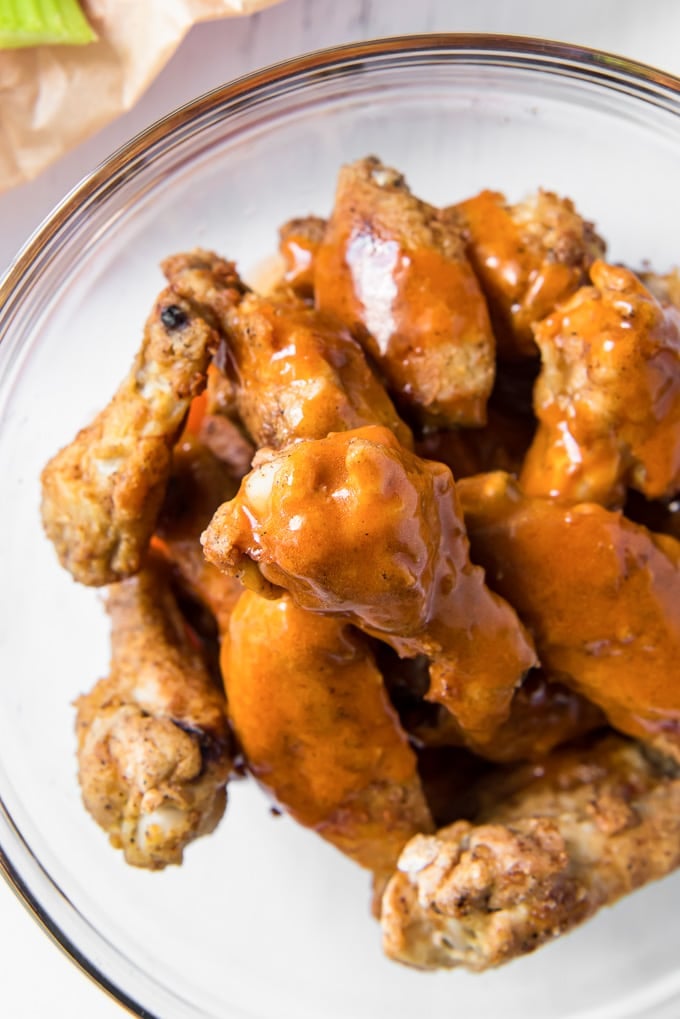
Toss baked wings in the buffalo sauce or any sauce of your choosing.
FAQs
Using my foolproof method, wings take about 30-40 minutes to bake at 450℉, or until they are golden brown and crispy. Flipping them halfway through helps them to brown evenly.
The baking powder (not to be confused with baking soda) is really what makes all the difference for crispy chicken wings. When you coat the chicken it dries out the skin leaving it crispy and crunchy when baked. The more sciency explanation is that there is a reaction when the salt and baking soda combine that changes the PH of the chicken skin.
A lot of readers have asked if this recipe works with chicken drumsticks. Spoiler alert – it does! Check out my easy Crispy Oven Baked Chicken Drumsticks.
Expert Tips for Crispy Wings
- Pat them dry. When you take them out of the packaging, you need to pat them dry really well. The dry they are the crispier they will be.
- Flour + Baking Powder. Some recipes don’t use baking powder but it really does help with the crispy skin.
- Tap off excess flour. Be sure to tap off any excess flour mixture before placing these on the rack. This will keep your wings from tasting bitter from the baking powder.
- Use the rack. If you don’t have one, get one. They are really inexpensive and super useful in the kitchen.
- Don’t crowd the pan. Space your wings far enough apart so they aren’t touching and the air can circulate around them for even cooking.
- Storage: Keep leftovers in an airtight container for up to 3-4 days.
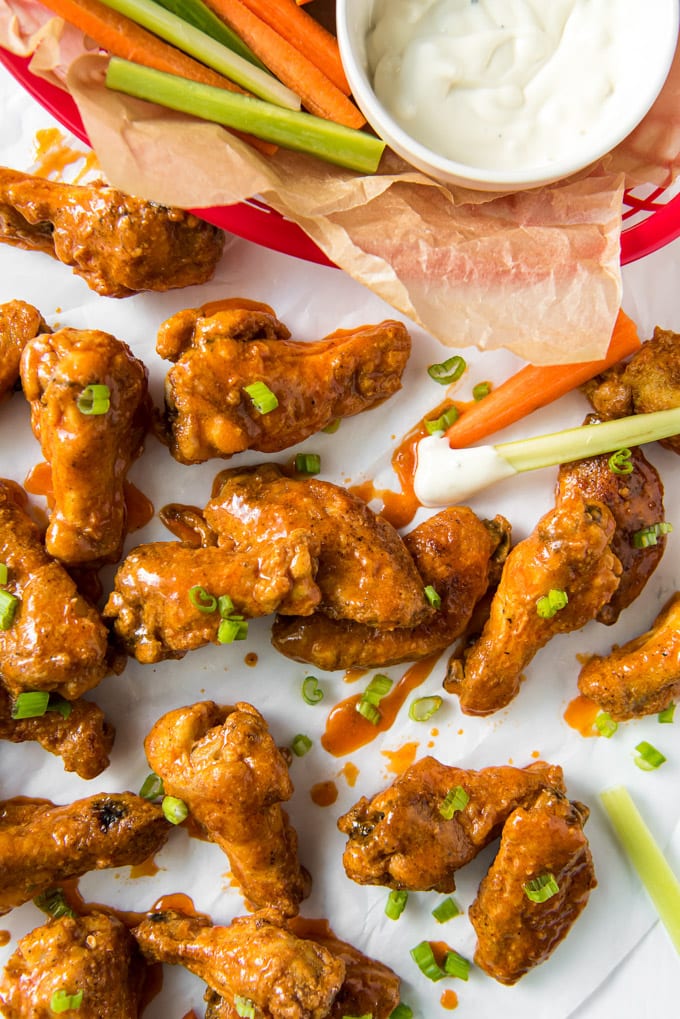
Serving Suggestions
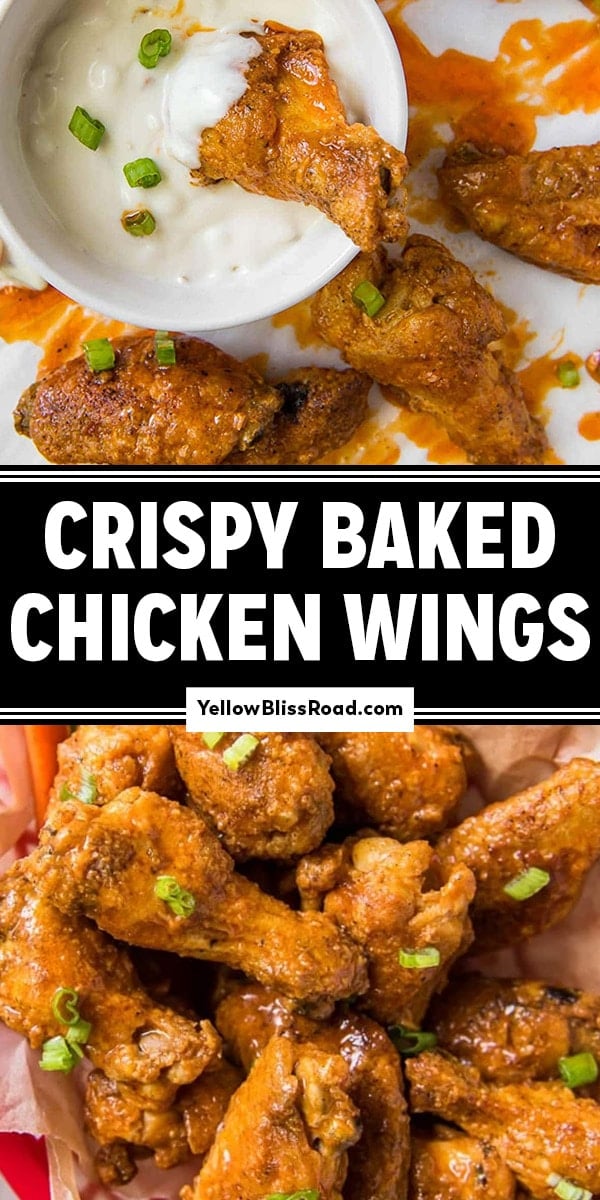
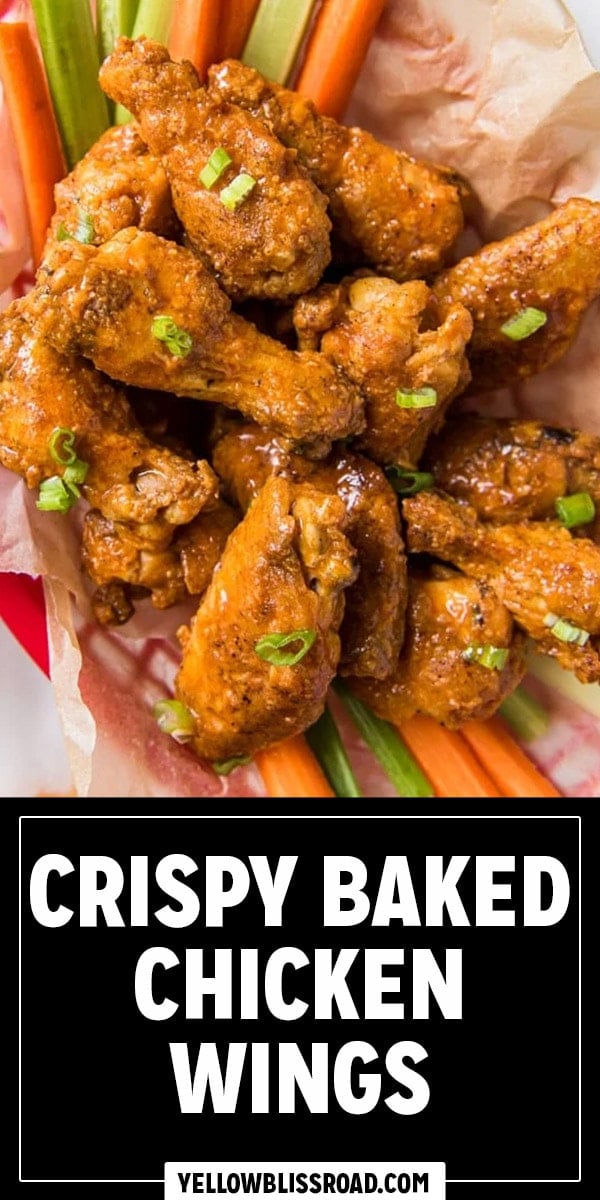
Of course you’ll want to make sure you have carrot and celery sticks to help cleanse the palette, as well as some creamy Ranch or Blue Cheese Dressing for dipping. I actually like to mix the two together for a great flavor.
If you’re looking to make these wings a meal, add some of these yummy sides:
- Garlic Bread – crunchy, buttery, and full of garlicky goodness!
- Homemade Baked French Fries – Much easier than you might think and so much better than the drive thru.
- Easy Baked Potato Wedges – Thick strips of potato coated in a homemade seasoning blend and baked until crispy.
- Macaroni Salad – A classic that has been in our family for more than 50 years!
- Simple Carrot Salad – Skip the carrot sticks and make this delicious shredded carrot salad!
- Southern Potato Salad – Tender potatoes with a creamy, tangy dressing.
Crispy Baked Chicken Wings
Ingredients
- 3 pounds chicken wings or drumettes thawed or fresh (about 3 dozen pieces)
- 1/2 cup flour
- 1 teaspoon salt
- 2 teaspoon chili powder
- 1 teaspoon garlic powder
- 1/2 teaspoon pepper
- 2 tablespoon baking powder
- Bottled Cayenne Hot Sauce like Frank’s Red Hot
- Butter not margarine
Instructions
- Preheat oven to 450 degrees.
- Rinse chicken wings and trim any excess skin. Do not remove the skin or you will lose the crispiness. Pat chicken dry.
- In a large bowl, whisk together flour, baking powder and seasonings. Add chicken and coat with the flour mixture. Shake off excess.
- Prepare a large cookie sheet by covering with foil and spraying with cooking spray.
- Arrange chicken on the cookie sheet, at least an inch apart.
- Bake for 30-35 minutes, turning once after about 20 minutes.
- While the chicken is cooking, make the sauce. Add about a ½ cup of the bottled cayenne hot sauce and a stick of butter to a small saucepan. Heat on low and stir until butter is melted and sauce begins to bubble. Taste. If the sauce needs more heat go ahead and add some in batches, or add a few dashes of Tabasco.
- Transfer wings into a large bowl. Pour the sauce over the wings and toss to coat.
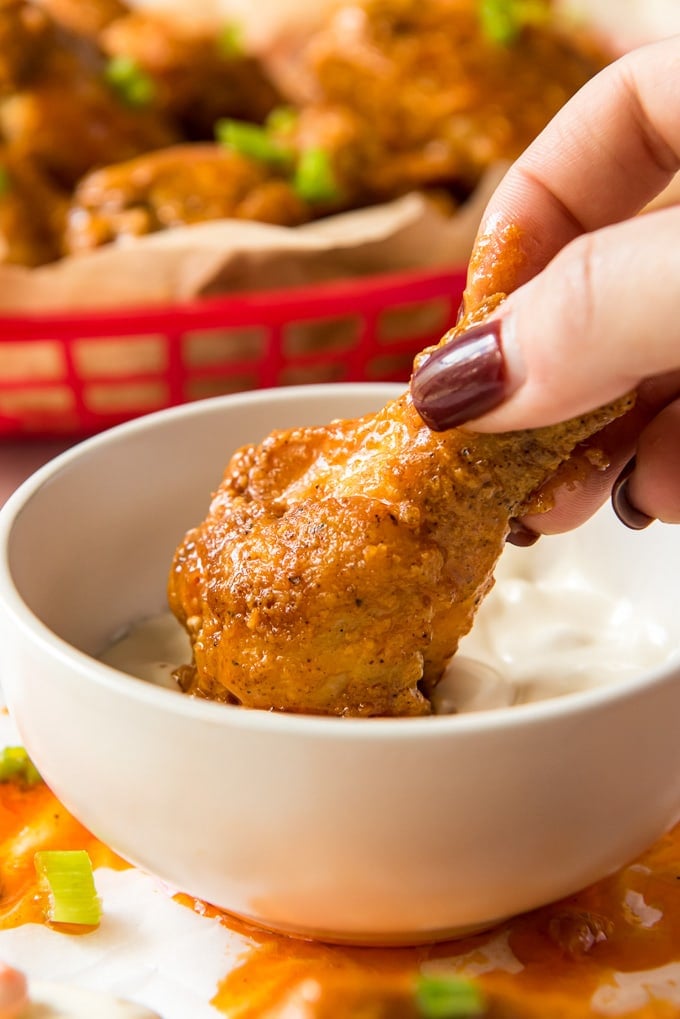
- Serve with celery and carrot sticks and a side of ranch or blue cheese dressing for dipping.
Notes
Nutrition
Nutritional Disclaimer Kristin Maxwell of “Yellow Bliss Road” is not a dietician or nutritionist, and any nutritional information shared is an estimate. For accurate calorie counts and other nutritional values, we recommend running the ingredients through your preferred online nutritional calculator. Calories and other nutritional values can vary depending on which brands were used.

These were great! Made them just as written, even if I wanted to add more garlic powder. Glad I didn’t. They were a hit as appetizers for the party I brought them to. Got several compliments and it was up against lumpia…
That’s so awesome! Fantastic feedback, thanks for stopping by.
I have been using this recipe for years! It is fantastic. Making them again tonight and experimenting with add a bit of cayenne. Thank you!
You are so welcome Ashley! Fantastic feedback, thanks for stopping by.
My son begged to have these again. They are a family recipe now.
Nice! Thanks for stopping by Courtney.
My wife likes them this way. I’ve used this recipes for years. Thanks!
You are so welcome Jared!
We love this recipe and have made it many times. Today I am making it for a Super Bowl party. Quick question, I plan on cooking the wings at home, should I wait to sauce the wings until I arrive at the party?
Hi Sherry, Sorry I didn’t see your question sooner. You would probably want to wait and sauce your wings just before serving to make sure they stay crispy. I’d love to hear how they turned out!
I want to apologize to my air fryer to cheating. Never again as this was fairly crispy but very bland
Crispy wings every time. Would recommend.
Does the baking powder need to be aluminum free? I have baking powder but it does not specify that it is aluminum free.
No, that is not necessary.
This looks yummy here in Australia we use metric measurements not sure how to convert.