This post may contain affiliate links. Please read our disclosure policy.
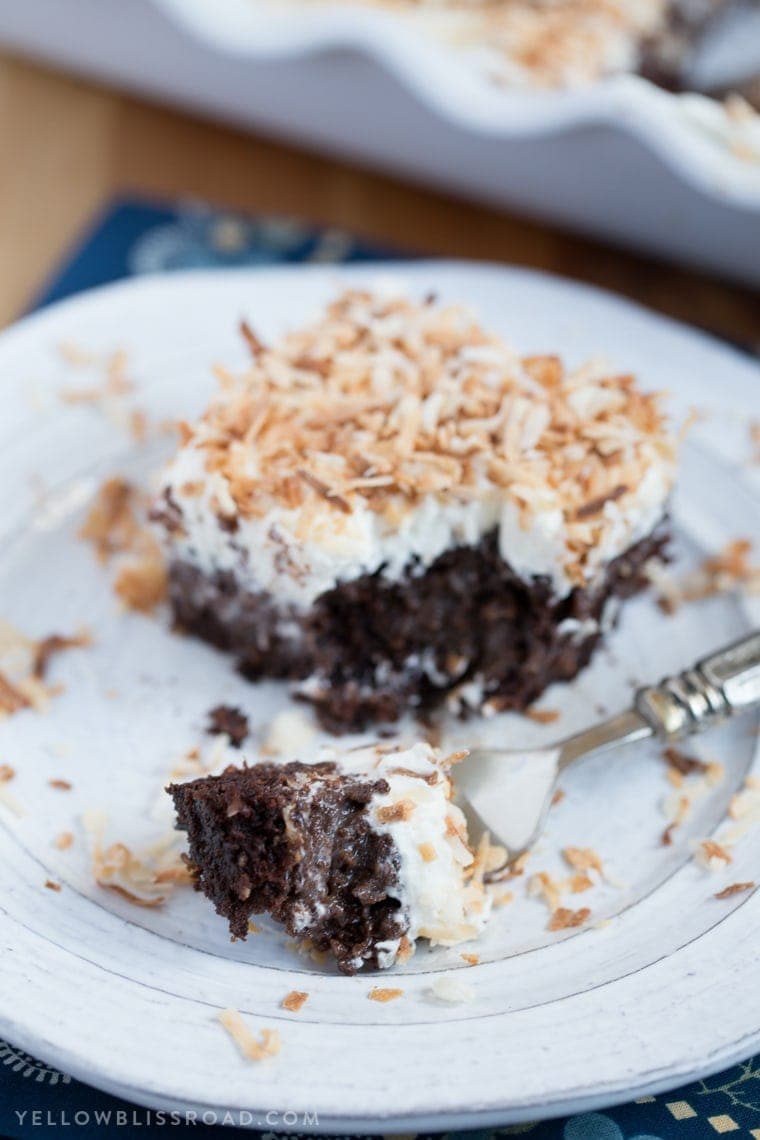
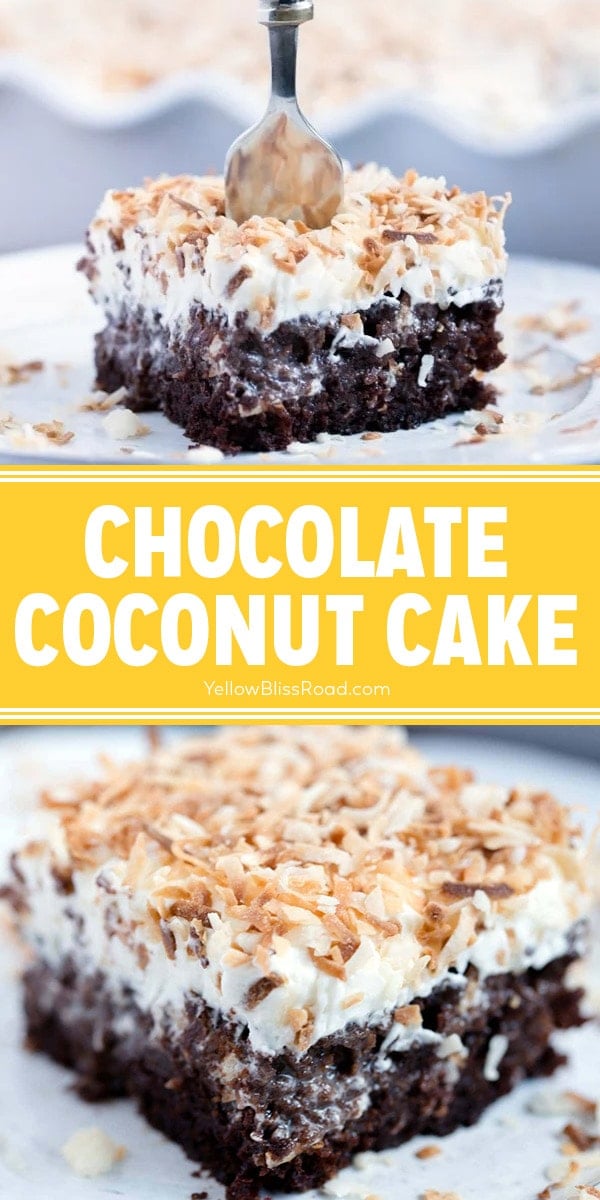
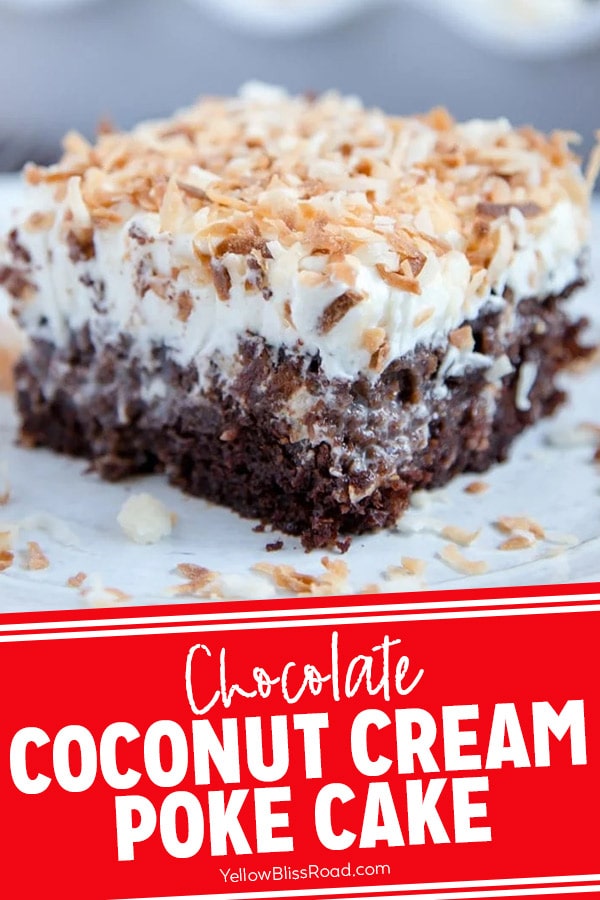
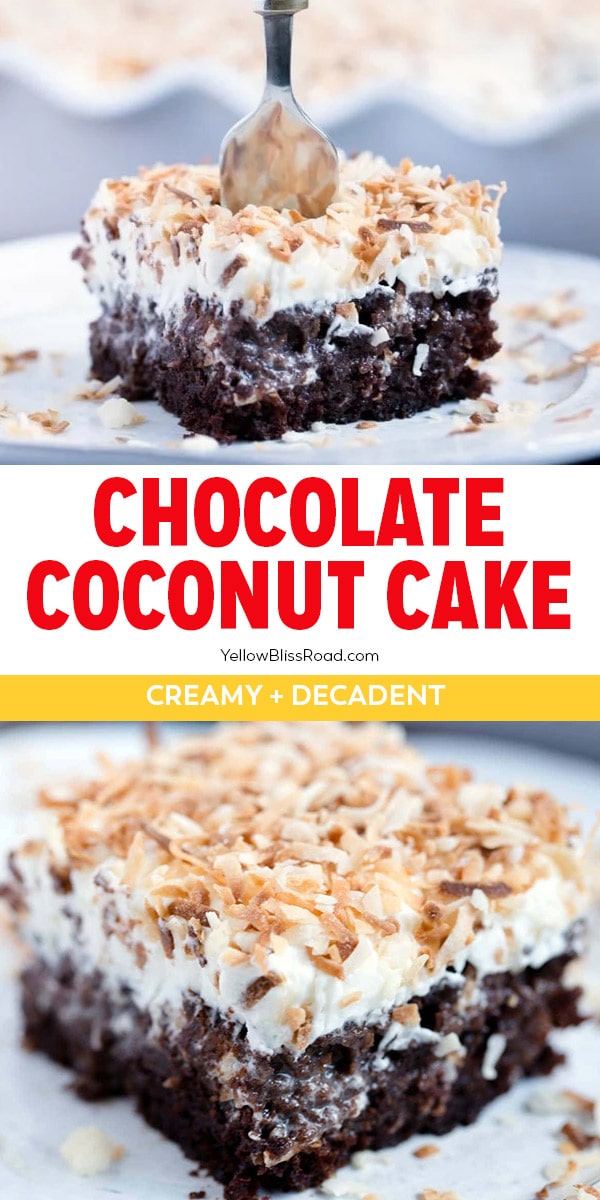
This Chocolate Coconut Cake is a triple threat – with a layer of moist, rich chocolate cake with a layer of thick coconut cream soaked in, and topped with a layer of creamy frosting and toasted coconut. This dessert wins the day, any day!
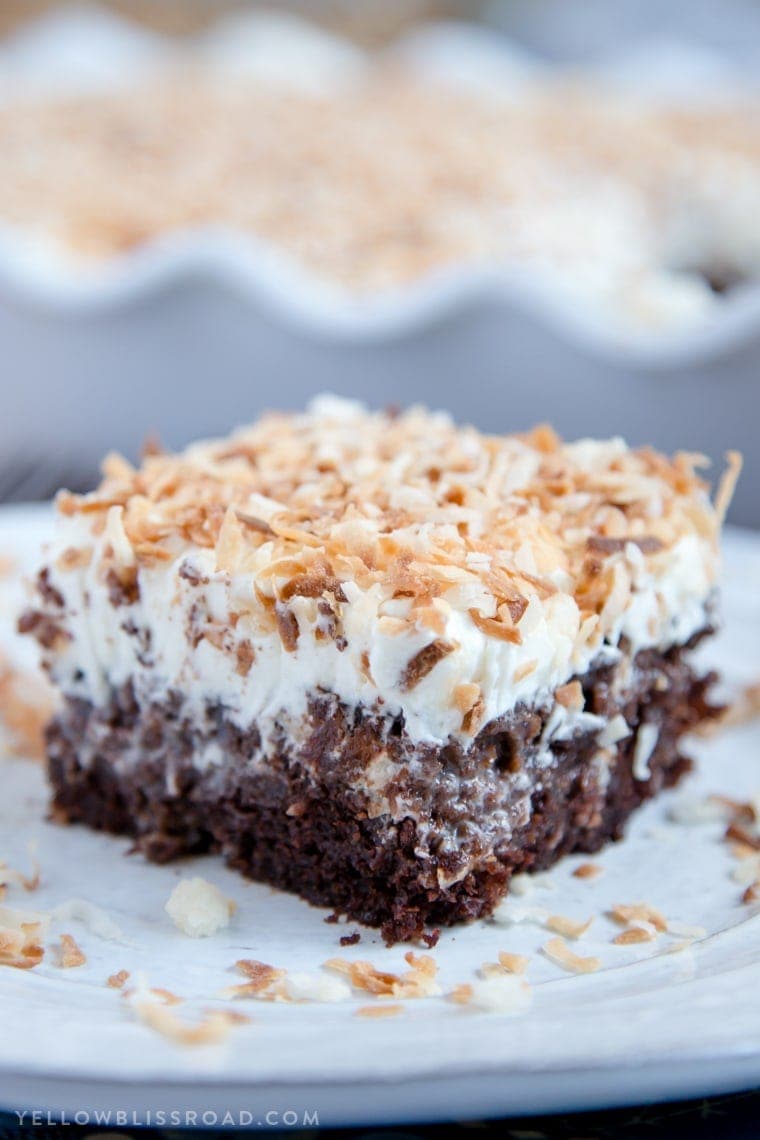
In my mind, chocolate and coconut are one of the best dessert flavor combinations. It ranks right up there with chocolate and peanut butter. The nutty, almost savory quality of the coconut pairs so well with the rich, sweet chocolate. And this Chocolate Coconut Cake definitely tops my list of favorites.
Want more chocolate cake? Try Easy Chocolate Cake Balls, Easy Chocolate Snack Cake, and Marble Cake.
Why We Love it
- Easy to make – The list of ingredients and steps make look intimidating, but I promise you it really is simple to make.
- Chocolate + Coconut – This is one of my all time favorite dessert combinations. I just love coconut!
- Everyone loves it – The great thing is the coconut flavor is subtle throughout the entire cake. And those who think they don’t like coconut might just be converted.
- Perfect for making ahead – Because there are times to chill the cake in between the steps, you can start making this cake a day or two ahead of time.
How to Make Chocolate Coconut Cake
For this Chocolate Coconut Cake, I started with my favorite from scratch chocolate cake recipe. It is so moist and delicious and has just the best chocolate flavor – not too sweet, not too bitter…it’s just right.
The chocolate cake recipe is adapted from Martha Stewart. To make it a little lighter, I swapped in Greek yogurt instead of buttermilk and a big handful of shredded coconut to the batter.
Step 1: Make the cake batter. Mix up the one bowl cake batter, pour the batter into a big cake pan and bake it until the top springs back when you lightly touch it, and a toothpick comes out clean.
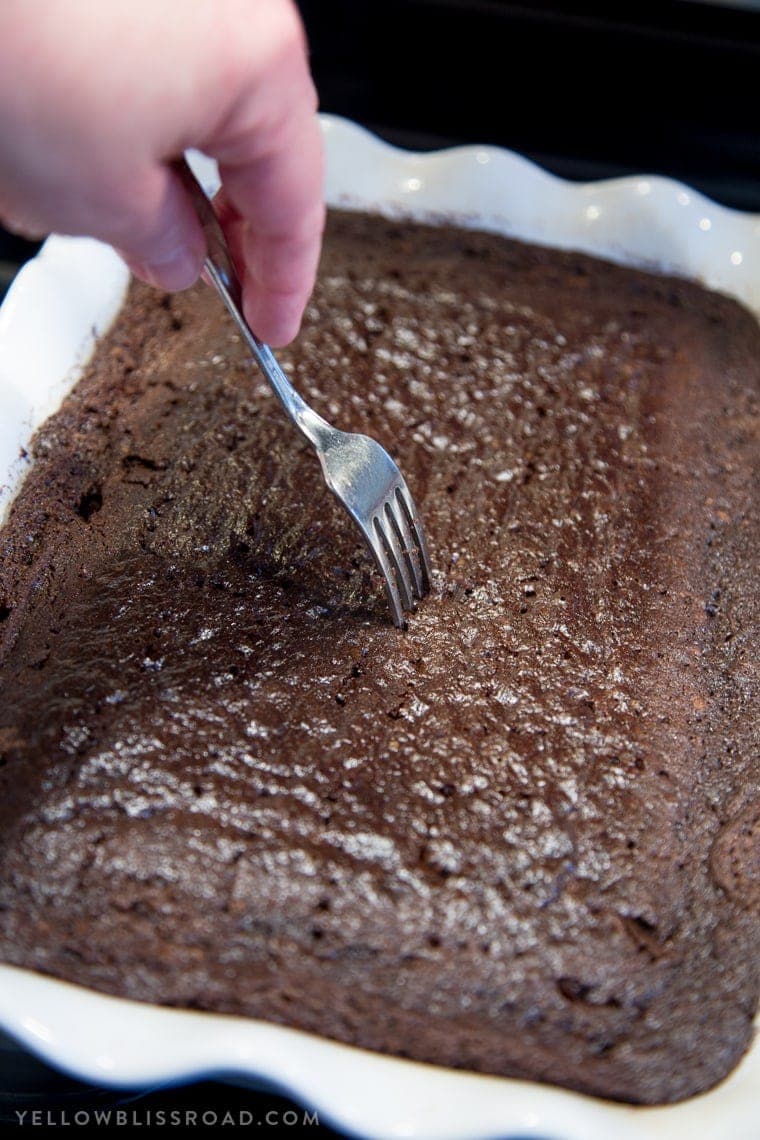
Step 2: Poke the cake. Now it’s time to poke that cake! You poke the cake a bunch of times all over with a fork so the cream can soak into a luscious layer.
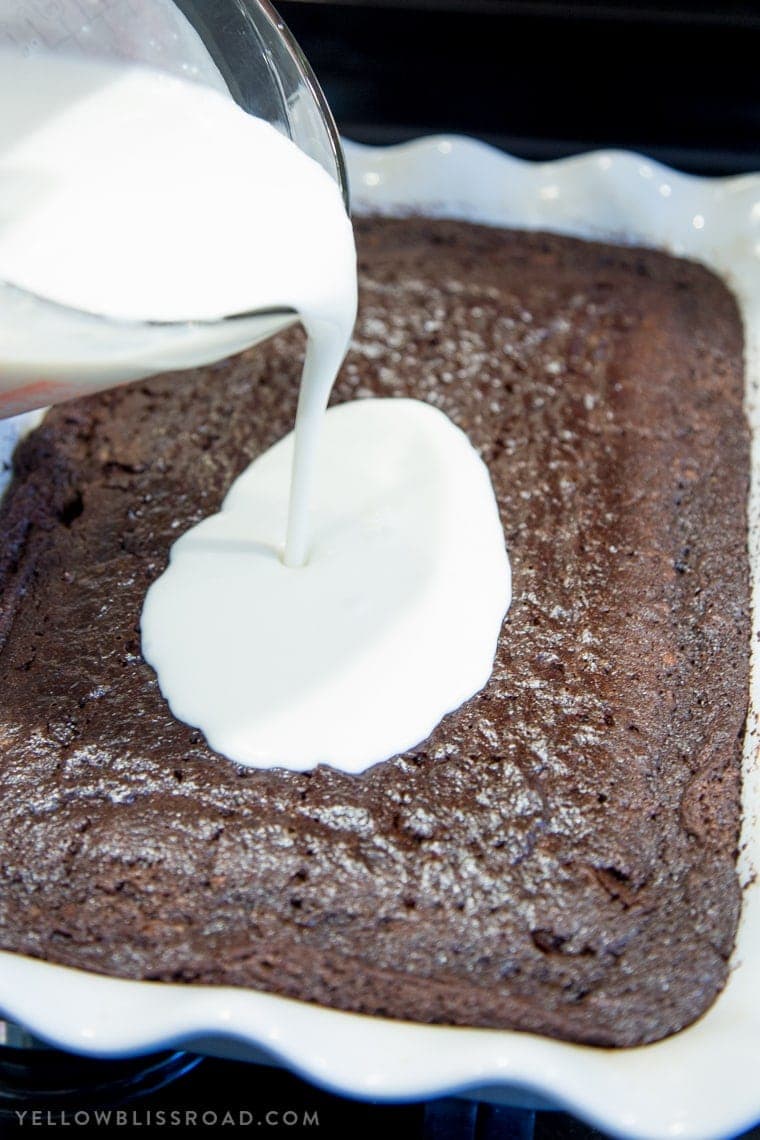
Step 3: Pour on the filling. Pour a thick layer of coconut cream and sweetened condensed milk over the top. You want to go slowly, so the holes have a chance to soak up the cream.
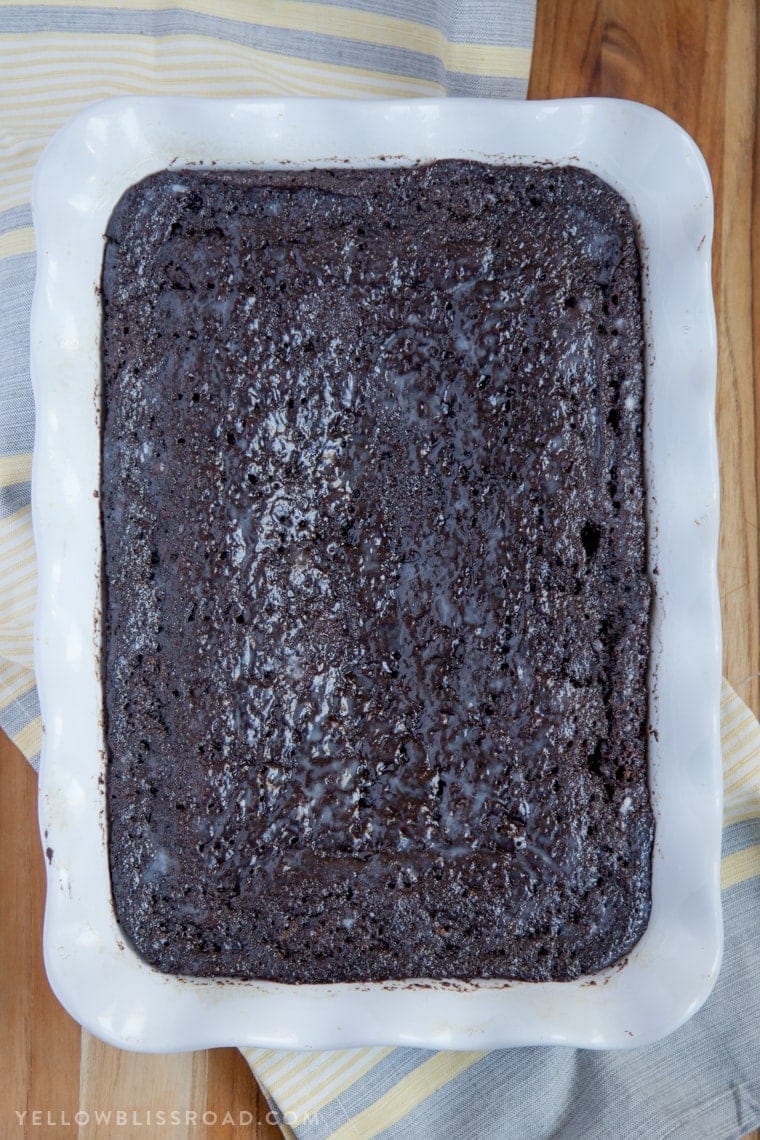
Step 4: Chill. Now (and this is an important step in the process) the cake must sit and chill in the fridge for a few hours. This allows the cream to settle into the cake, forming a thick, almost pudding-like layer. Once the cake has properly chilled for several hours, it will have a lovely sheen on the top and you won’t really be able to see any of the cream.
Step 5: Prepare the frosting. Beat the heavy whipping cream in one chilled bowl, and beat cream cheese and powdered sugar in another. Then fold them together and frost the cake. The frosting will have a light, fluffy taste and texture you’d expect from whipped cream, but cream cheese helps stabilize it and keep it from melting so fast.
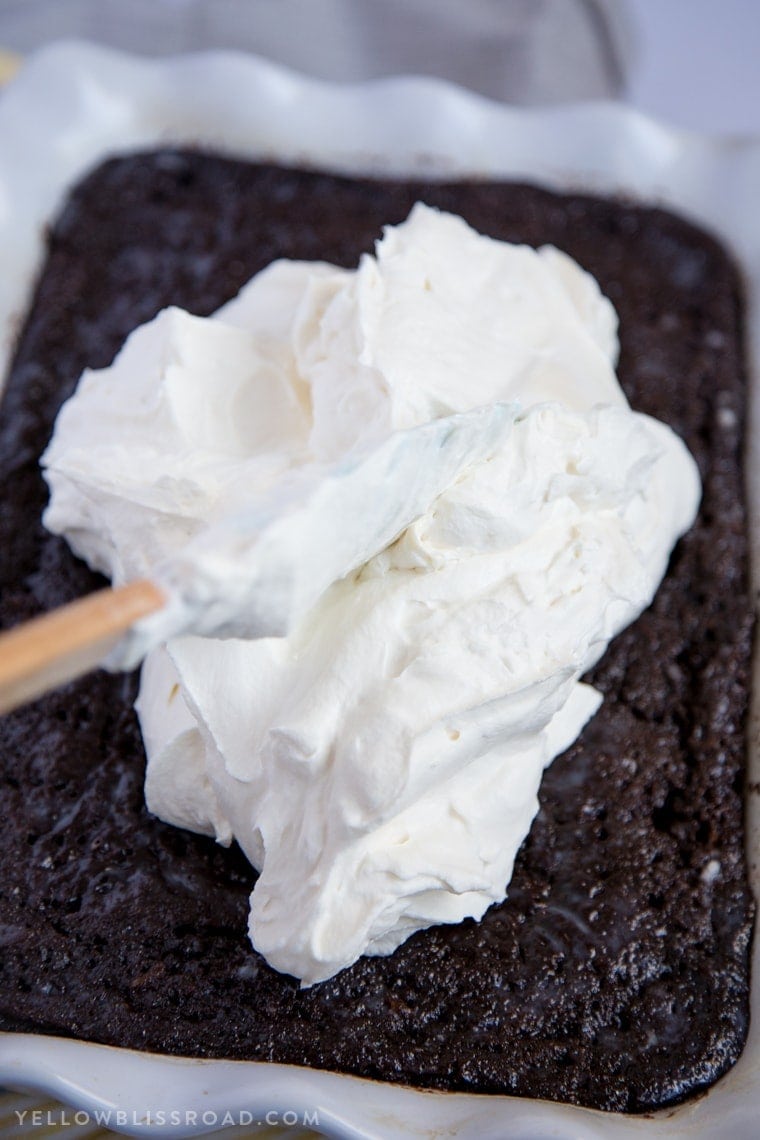
Step 6: Toast the coconut. Spread the coconut on a baking sheet (preferably a rimmed baking sheet) and bake it in the oven at 350°F for about 5-7 minutes, then sprinkle it all over the cake.
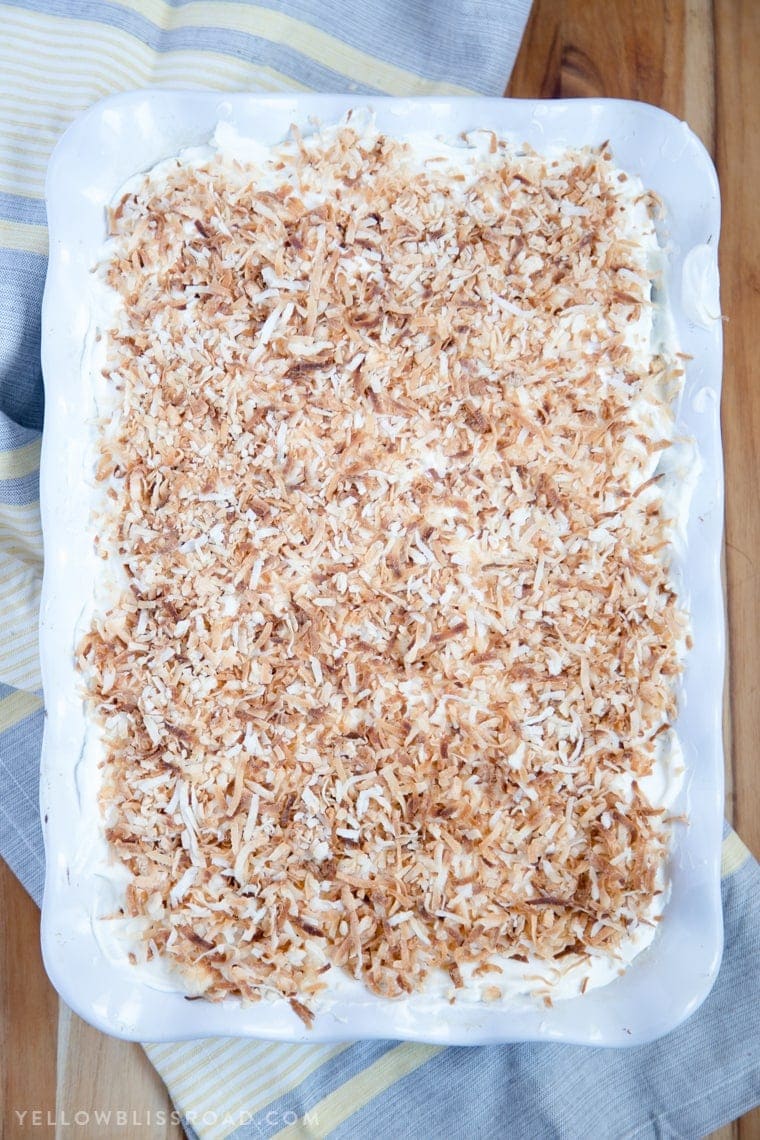
That’s it – you’re done! And you have a delicious Chocolate Coconut Poke Cake to show for it!
Storage and Freezing
Storing: leftover cake in an airtight container in the refrigerator for up to 3-4 days.
Freezing: You can freeze the whole cake right in the pan if you want. Just cover tightly with plastic wrap, then tightly with foil, and freeze for up to 3 months. Thaw in the fridge before slicing.
For freezing individual slices, I recommend flash freezing on a baking sheet, then wrapping each individual piece in plastic wrap and foil, then placing into a freezer bag.
Expert Tips
- If you’re having trouble with the fork sticking as you poke holes in the cake, wipe it clean and spray it with a little bit of cooking spray.
- For larger holes, use the end of a small wooden spoon.
- I highly recommend toasting the coconut because it adds a distinct nuttiness and also make the shredded coconut easier to chew.
- Try adding toasted sliced almonds with the coconut – tasted like an almond joy poke cake!
More Poke Cakes to Discover
- Orange Creamsicle Poke Cake
- Strawberries & Cream Poke Cake
- Lemon Lime Poke Cake
- Caramel Apple Pie Poke Cake
Chocolate Coconut Poke Cake
Ingredients
Cake
- 1 ½ cups granulated sugar
- 1 ½ cups all-purpose flour
- ¾ cup unsweetened cocoa powder
- 2 teaspoons baking soda
- ¾ teaspoon baking powder
- ¾ teaspoon salt
- 2 large eggs
- 1 teaspoon pure vanilla extract
- ½ cup plain Greek yogurt
- ¾ cup vegetable oil
- ¾ cup warm water
- 1 ¾ cup sweetened shredded coconut divided
- 13.5 ounce can unsweetened coconut cream
- 14 ounce can sweetened condensed milk
Frosting
- 1 cup heavy whipping cream
- 1 cup powdered sugar
- 4 ounces cream cheese softened to room temperature
- ½ teaspoon vanilla
Instructions
Cake
- Preheat oven to 350℉. Spray a 13-inch rectangle baking pan with nonstick cooking spray. Set aside.
- In a large bowl, whisk together sugar, flour, cocoa powder, baking soda, baking powder and salt.
- Add eggs, vanilla, yogurt, oil and warm water. Stir until well combined. Fold in ¾ cup of sweetened shredded coconut.
- Pour batter into the prepared baking pan. Tap on the counter a few times to help the batter settle.
- Bake in preheated 350℉ oven for about 30 minutes or until a toothpick inserted in the center comes out clean.
- Using the tines of a fork poke holes into the top of the hot cake.
- In a small bowl, whisk together the coconut cream and sweetened condensed milk until smooth. Slowly pour over the hot cake, using an offset spatula or the back of a metal spoon to spread evenly into the holes as you go. Cool completely and chill in the refrigerator for at least two hours or overnight.
- Sprinkle 1 cup of coconut on a rimmed baking sheet and toast in the 350℉ oven for 5-7 minutes or until golden brown. Set aside to cool. Store in a ziploc bag if making ahead more than a couple of hours.
Frosting:
- In a chilled metal bowl, beat heavy whipping cream until stiff peaks form; 1-2 minutes.
- In another large bowl, beat softened cream cheese on high until fluffy; about 1 minute.
- Add powdered sugar and vanilla extract and beat on high for 1-2 minutes.
- Gently fold whipped cream into the cream cheese mixture. Chill frosting until ready to use, or spread immediately on chilled cake.
- Frost the chilled cake with the whipped frosting. Sprinkle evenly with toasted coconut.
- Store loosely covered in the refrigerator until ready to serve.
Notes
- Frosting: Chill metal bowls and beaters or whisk attachment for at least 10 minutes in the refrigerator before using.
- Storing: leftover cake in an airtight container in the refrigerator for up to 3-4 days.
- Freezing: You can freeze the whole cake right in the pan if you want. Just cover tightly with plastic wrap, then tightly with foil and freeze for up to 3 months. Thaw in the fridge before slicing.
- For freezing individual slices, I recommend flash freezing on a baking sheet, wrapping each piece in plastic wrap and foil, then placing into a freezer bag.
Nutrition
Nutritional Disclaimer Kristin Maxwell of “Yellow Bliss Road” is not a dietician or nutritionist, and any nutritional information shared is an estimate. For accurate calorie counts and other nutritional values, we recommend running the ingredients through your preferred online nutritional calculator. Calories and other nutritional values can vary depending on which brands were used.
Hi, can I use regular full fat sour cream in place of the Greek yogurt?
Yes you can use full-fat sour cream.
It’s been two years since I made this cake for my boyfriend. Him being a chocolate and coconut lover, I knew it would be a win. I like coconut well enough, but it’s not my favorite by any means. When I tell you this is the best cake I’ve ever eaten in my life, it’s an understatement. It was moist, crunchy at times, fluffy. I thought about leaving my boyfriend and running away to marry the cake. But that’s silly right? Right?! 😅 Two years. It’s been two years and I still think about this decadent gift of life. I talk about it and my mouth salivates. If it was in front of me, I would have to hold back from biting off my boyfriend’s arm while I horked it down like a pelican. There are no words good enough to describe the excellence this cake brings. It’s very sweet so a little goes a long way. It’s worth becoming diabetic. Never in my life did a cake hit all the right notes. Don’t even think about if this is the cake for you or not. If you’re reading this, it’s chosen you too. Run don’t walk to the store. I guess what I’m trying to say is… I really, really loved it. Never stop baking. 😭
Amazing cake!! Very moist, super RICH!!
A+++
Thank you Mary!