This post may contain affiliate links. Please read our disclosure policy.
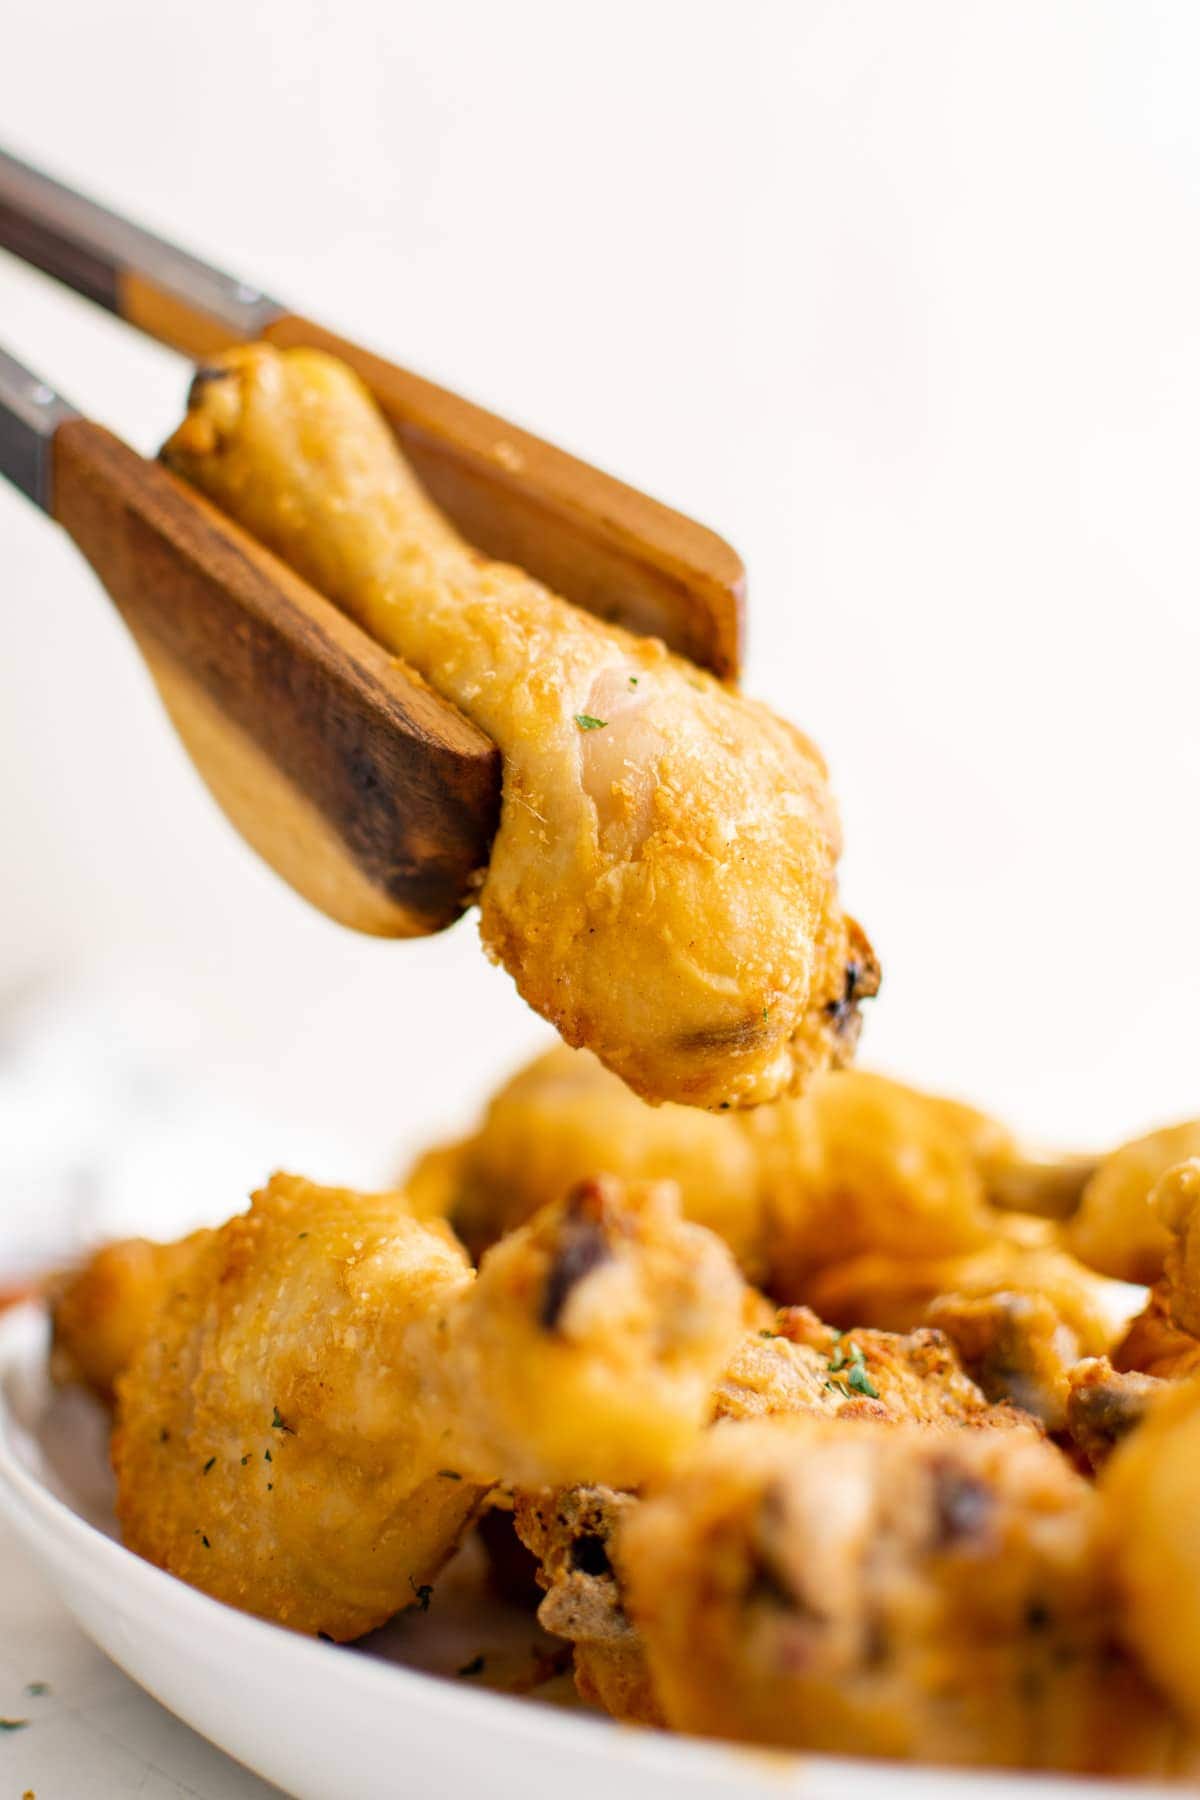
Learn how to bake chicken legs in the oven in three easy steps with my easy, crispy Oven Baked Chicken Drumsticks recipe! Simple to whip up and so much healthier than frying, these crispy chicken legs will be your new go-to for dinner.
We love chicken for dinner and have lots of different chicken recipes to choose from, like baked chicken breasts, grilled chicken thighs, and easy stovetop chicken.
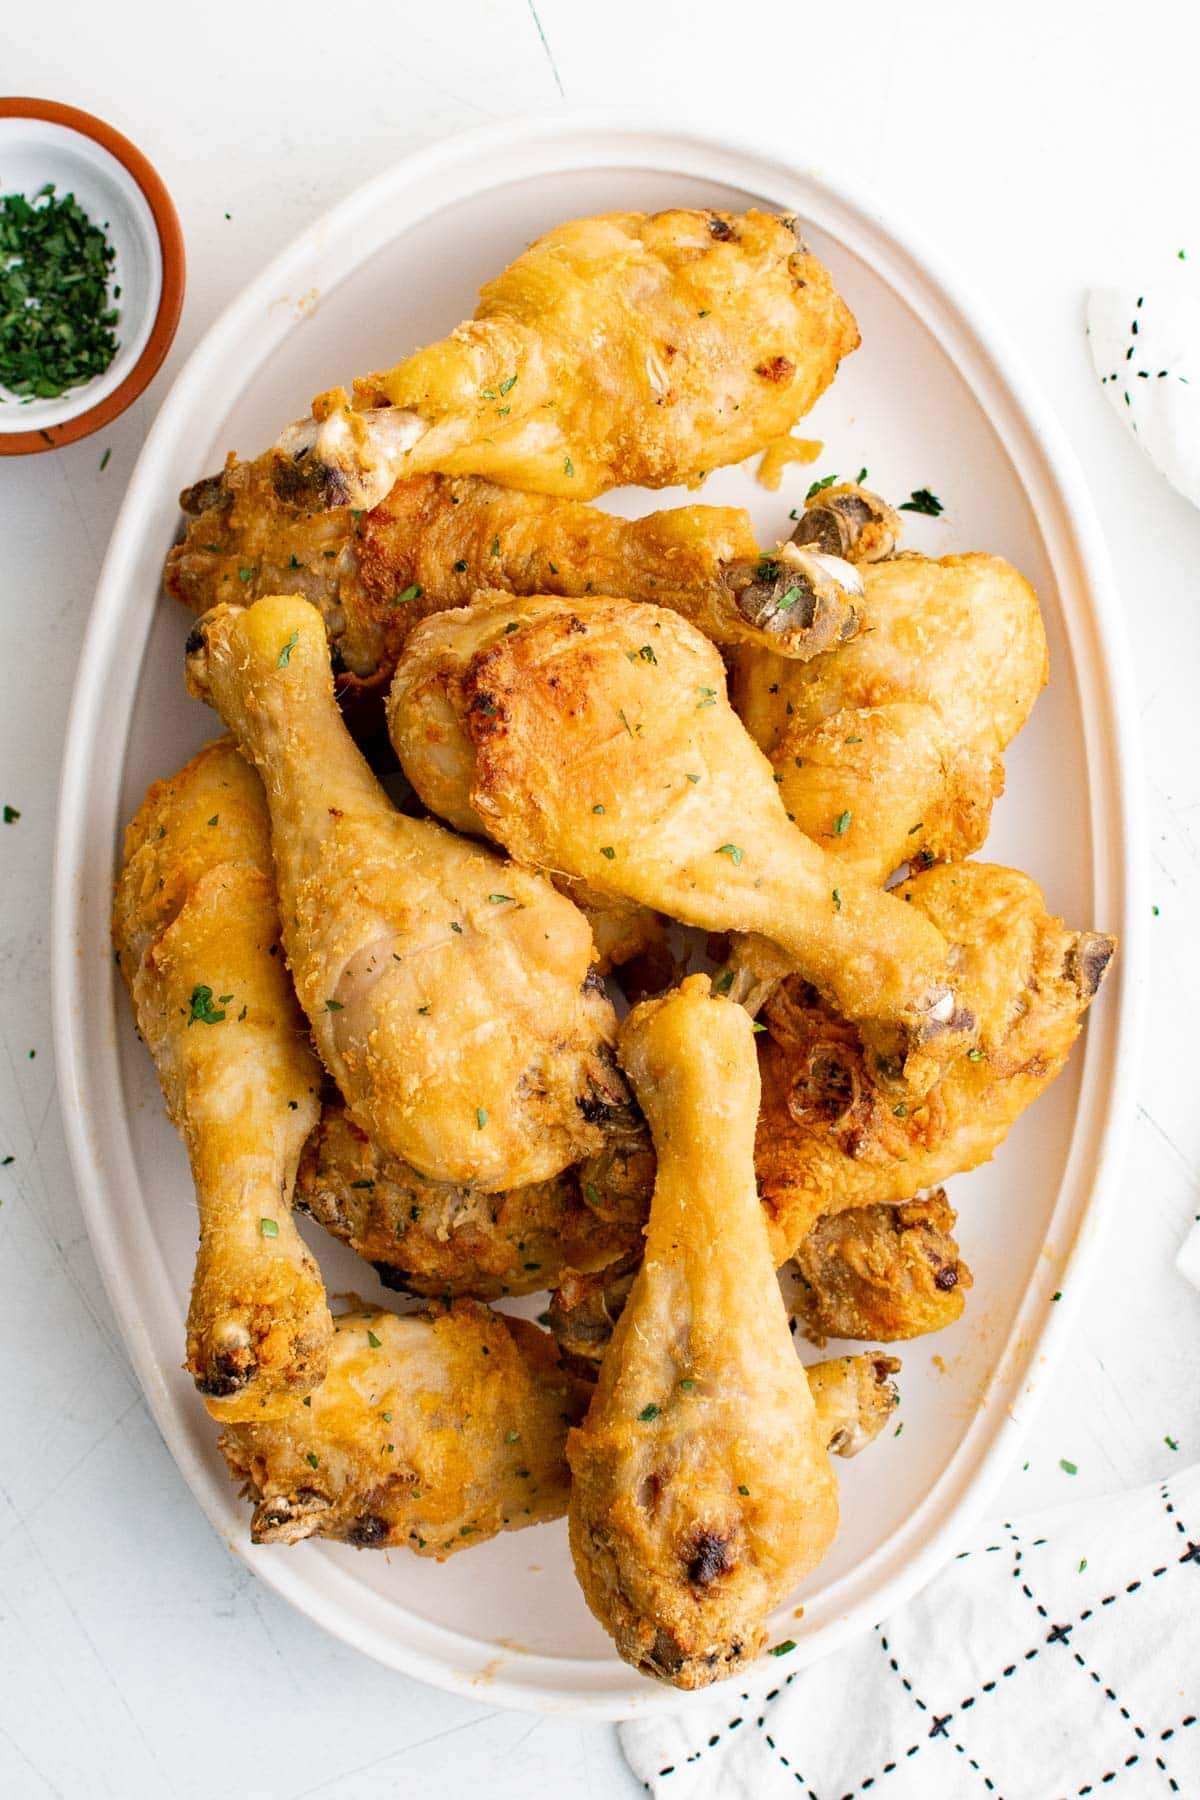
Crispy Baked Chicken Drumsticks
Everyone loves my Crispy Baked Chicken Wings so we put that method to the test to make these juicy baked chicken legs!
I’ve had lots of people ask how the baked chicken wings recipe would translate to larger pieces, like drumsticks. This recipe is a family favorite, easy to make, and completely kid-friendly!
Get crispy, juicy chicken legs without frying, using my tried and true tips and my Crispy Baked Chicken Drumsticks recipe. It’s great for a busy weeknight and uses pantry staples you already have on hand.
For more ways to cook chicken legs try my recipes for Slow Cooker BBQ Chicken Drumsticks, Air Fryer Chicken Drumsticks, and Lemon Garlic Roasted Chicken Drumsticks.
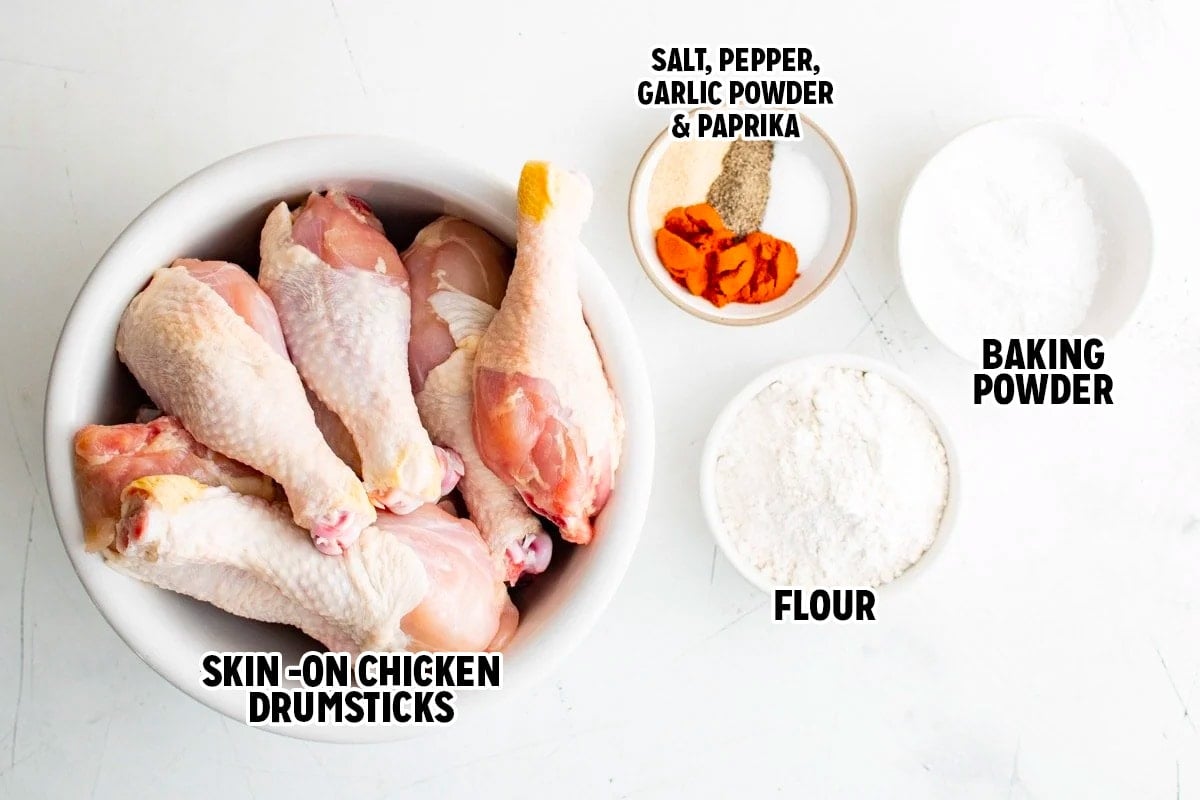
Ingredients for Crispy Baked Chicken Drumsticks
- Chicken Drumsticks – In order to get crispy skin, you need bone-in, skin-on chicken. You can trim some of the larger pieces of skin if needed.
- Coating – All-purpose flour and baking powder. The baking powder reacts with the skin and draws out the moisture, which in turn helps the skin get nice and crispy.
- Chicken Seasoning – Kosher salt, smoked paprika, garlic powder, and black pepper.
How to Make Crispy Oven Baked Chicken Legs
See the recipe card below for full, detailed instructions
You’re just three steps away from crispy, juicy chicken legs!
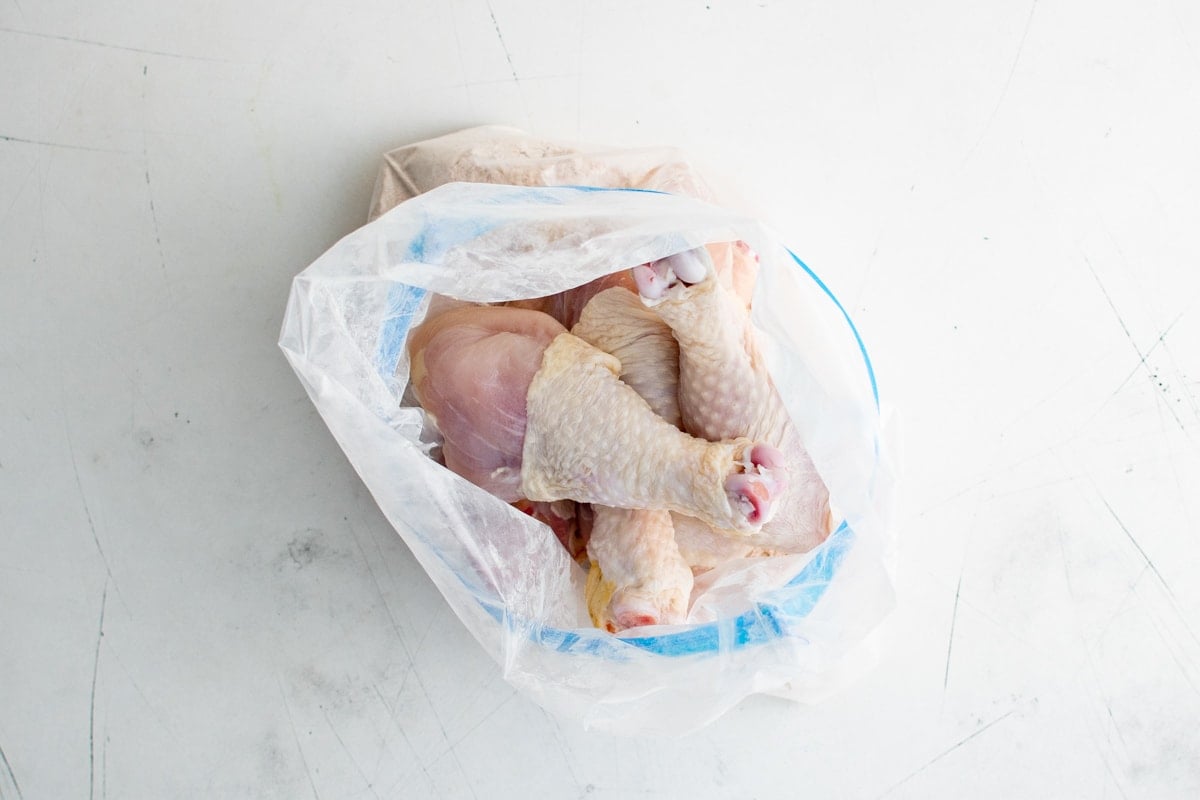
Pat the chicken as dry as possible with paper towels. The drier the skin, the crispier it will get. Place the chicken in a resealable plastic bag – you may need to do this in two batches so you don’t overstuff the bag.
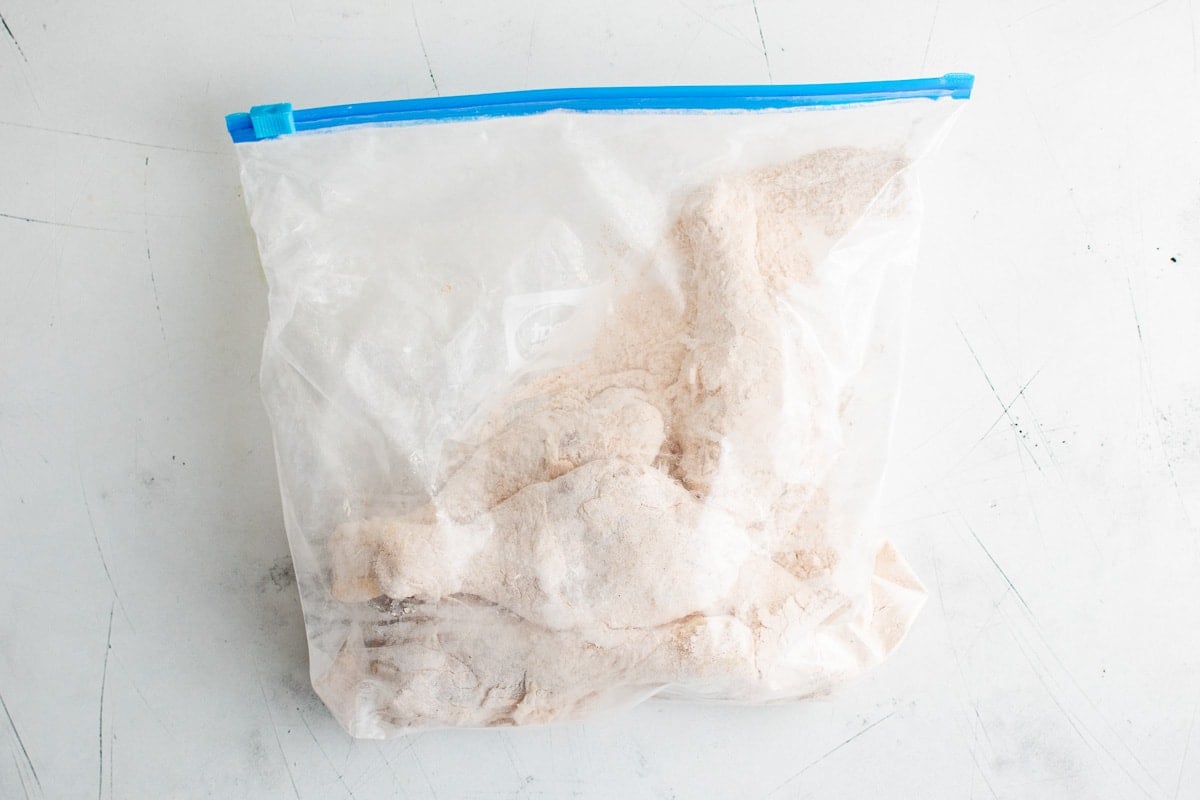
Add the flour and spices to the bag and shake it up to coat the chicken in flour, baking powder, and seasonings.
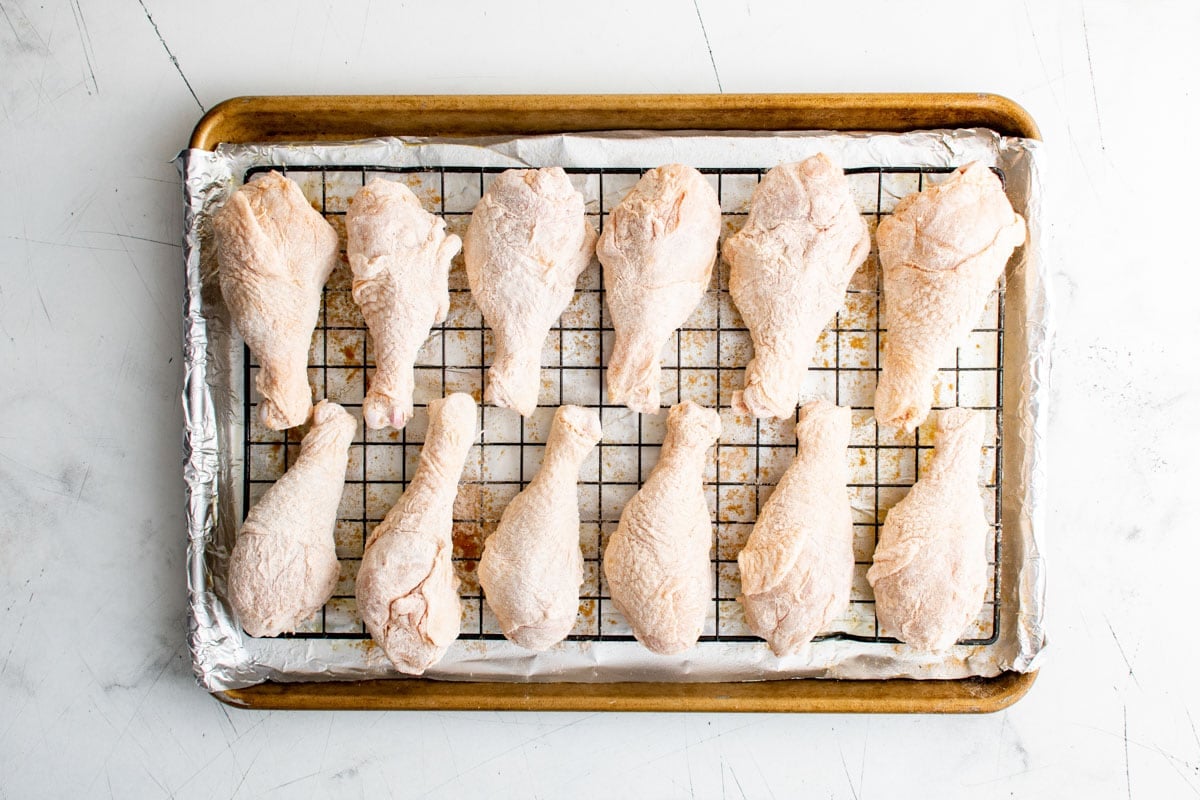
Arrange chicken in a single layer on a wire baking rack set over a rimmed baking sheet to ensure even cooking. If you don’t have a wire rack, you can place the chicken legs right on the foil that’s been sprayed with nonstick cooking spray. The wire rack helps air to circulate around the pieces of chicken so they can cook more evenly.
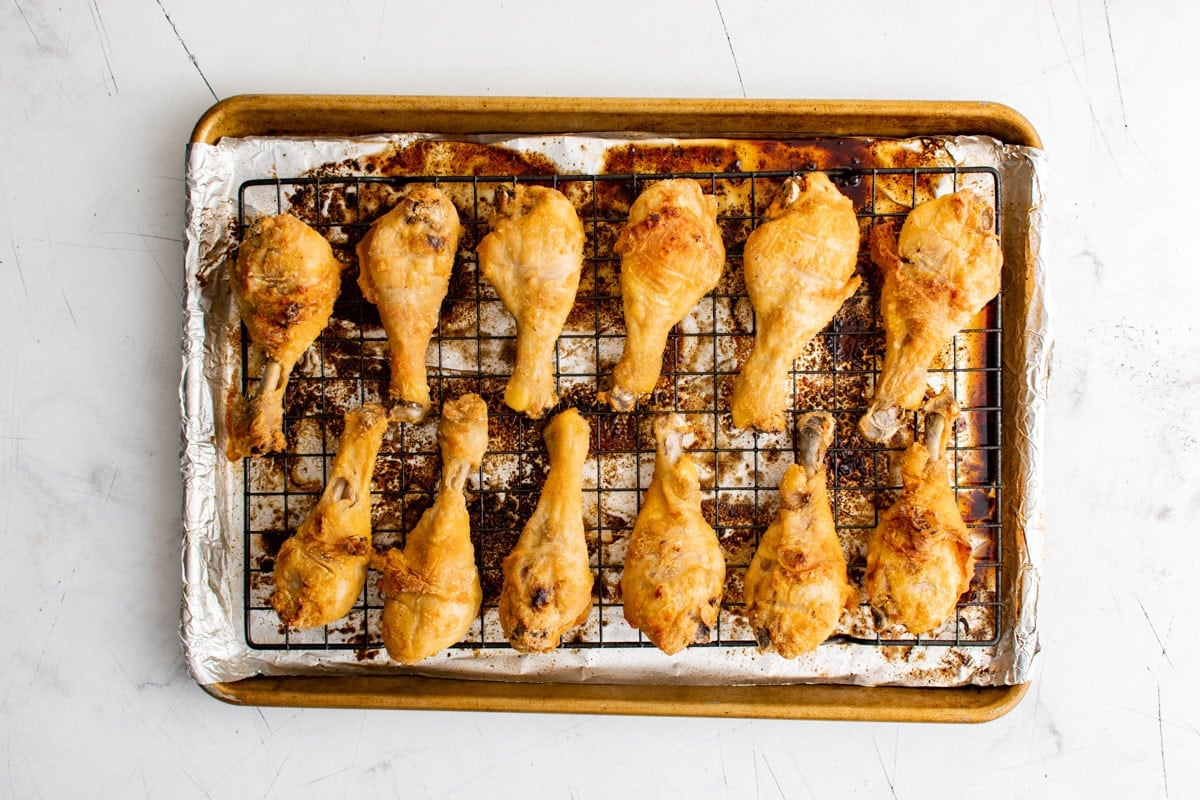
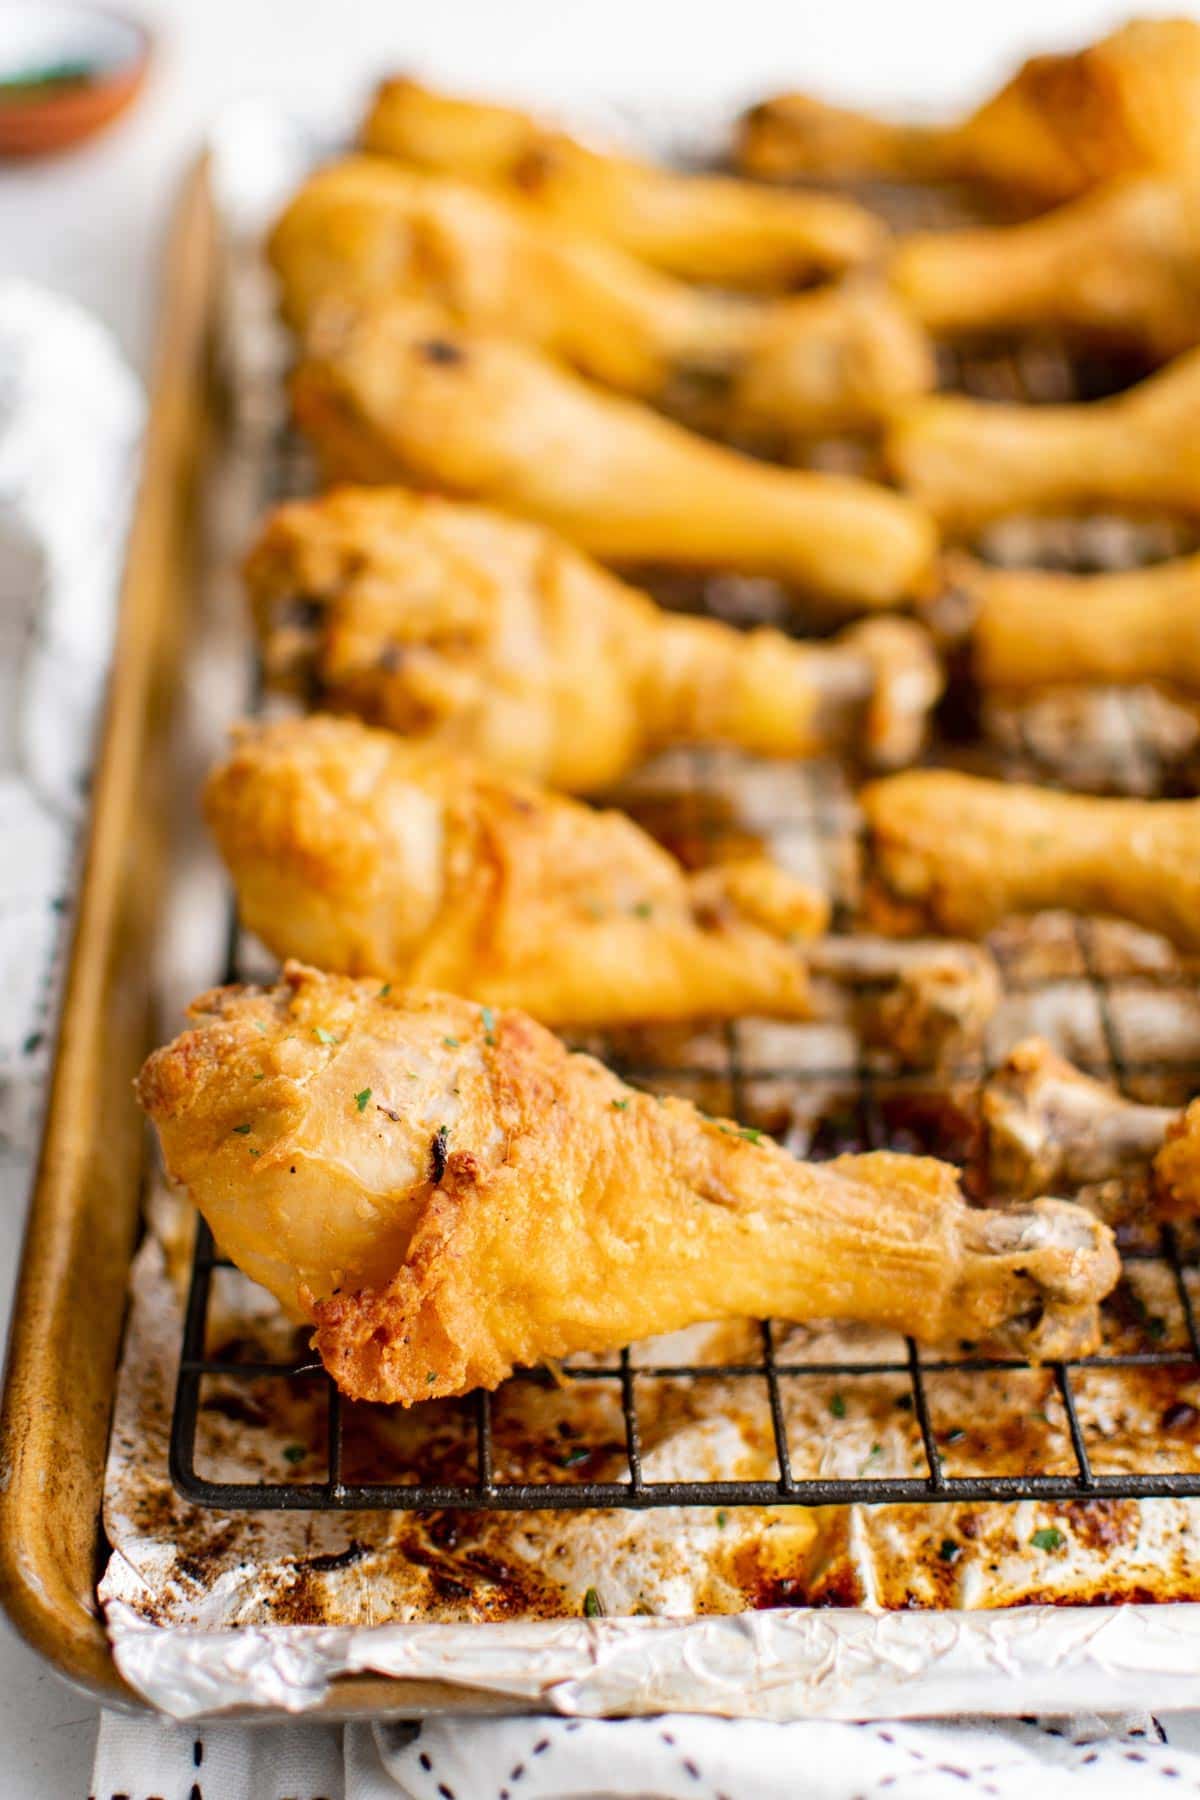
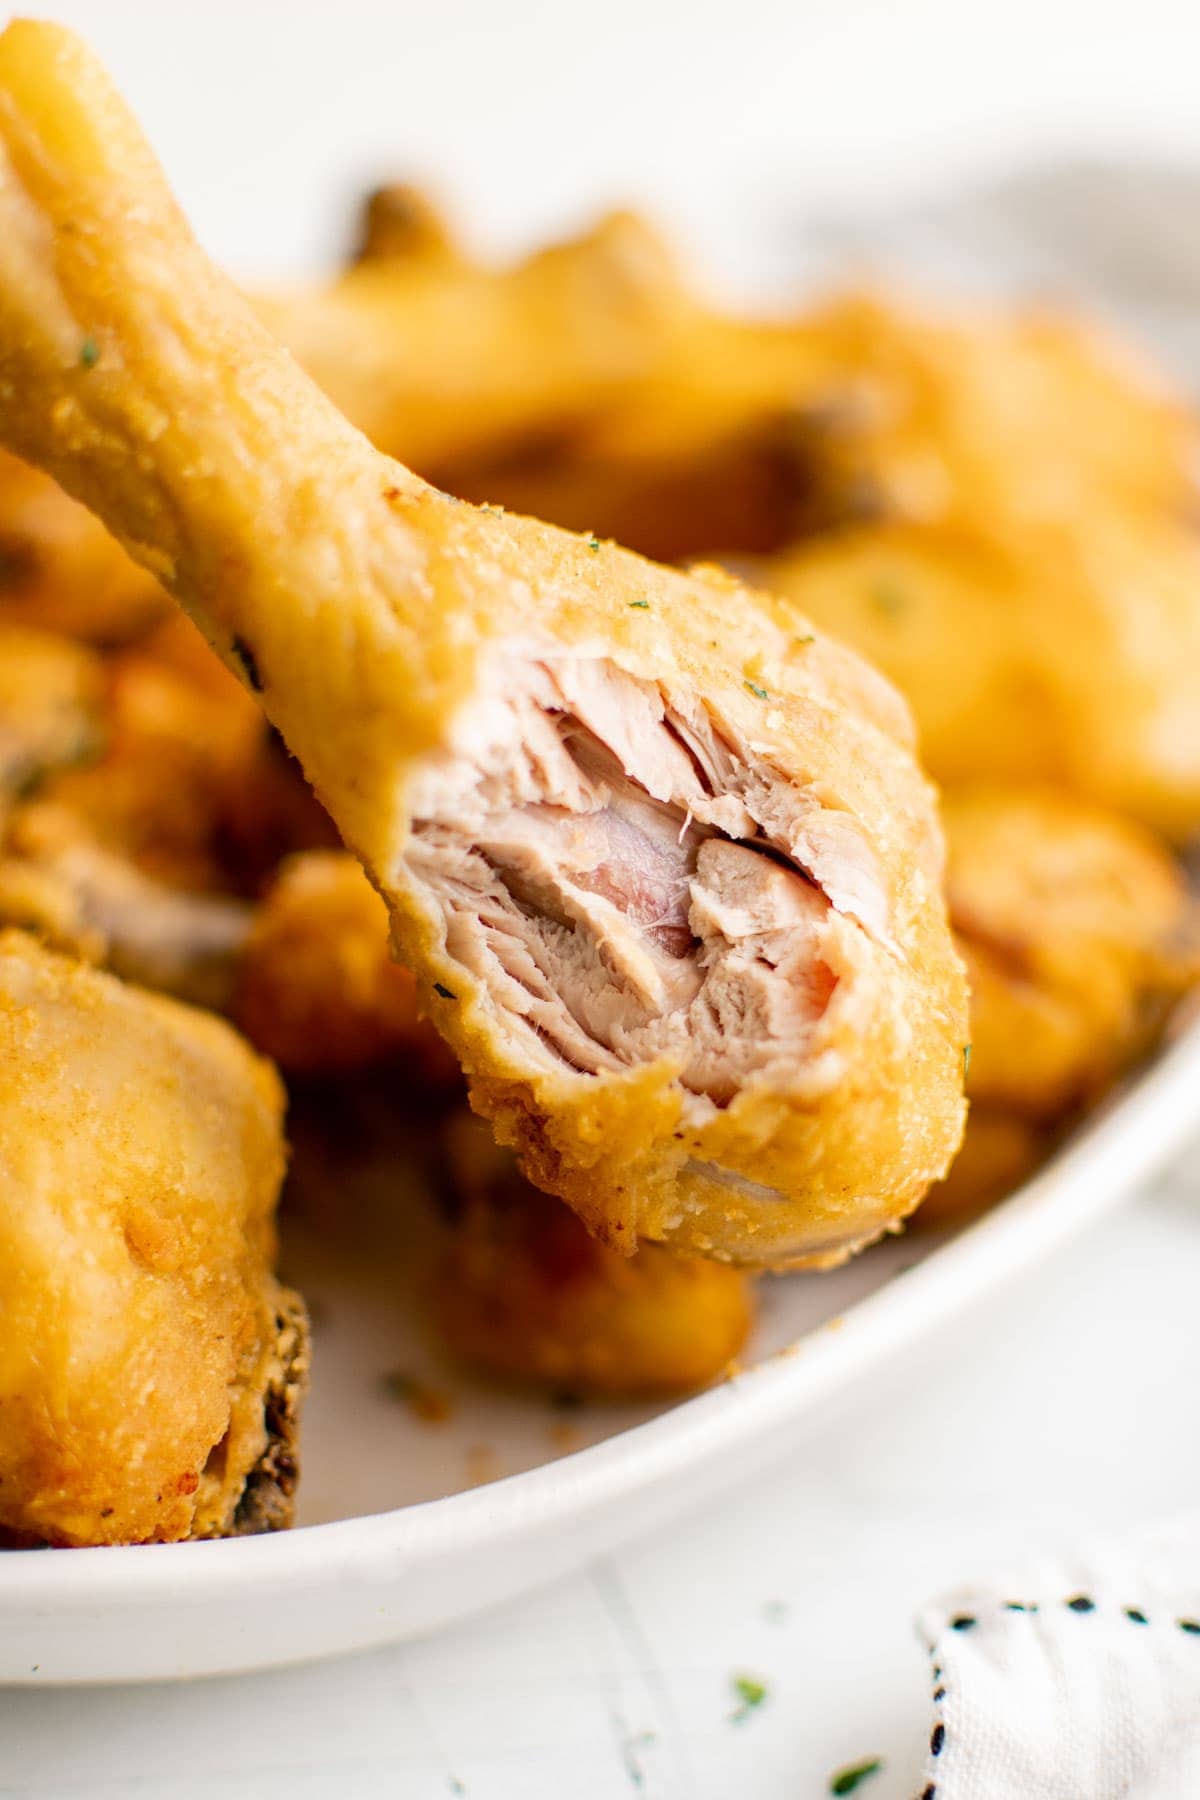
Preheat the oven to 425 degrees and bake the chicken drumsticks for about 40-45 minutes, turning them over after about 30 minutes. You’ll know they are done when the meat is no longer pink at the bone and the juices are clear. A meat thermometer inserted near the bone should register 165 degrees.
FAQs
Bake chicken legs for about 40-45 minutes, or until the juices are clear and the internal temperature registers 165-170°F.
A chicken leg refers to the entire upper leg portion of the chicken, which is the drumstick and thigh. A drumstick is strictly the lower leg. However, it’s common to hear drumsticks referred to as “legs.”
I highly recommend it so the skin is cooked and crispy on each side. However, if it’s raised on a baking rack you can get away with not turning them. Just know that they may not be as golden brown on the bottom.
Variations
- All-purpose seasoning – The coating is a simple mix of basic seasonings, flour and baking powder. You could easily swap out the spices I used for anything you like, or add a little onion powder or seasoned salt.
- Poultry seasoning – If you have poultry seasoning on hand that would certainly taste amazing. Poultry seasoning has lots of herbs, like sage, rosemary and marjoram.
- Spicy – Increase the heat level by adding some chili powder or cayenne pepper to the seasoning blend. You could also brush on some buffalo sauce towards the end and broil them.
- Ranch – Add a tablespoon of dry Ranch seasoning mix to the flour.
Serving Suggestions
This recipe for Baked Chicken Drumsticks uses an all-purpose seasoning and goes with just about anything. These are some of our favorite side dishes to serve with chicken.
- Crock Pot Mashed Potatoes – perfect for when you want creamy mashed potatoes but don’t want to cook on the stovetop.
- Cheesy Broccoli Casserole – One of my family’s all time favorite vegetable side dishes. I think it’s the cheese!
- Cheesy Garlic Bread – One of the easiest sides to whip up is some cheesy, crunchy garlic bread. I always have a loaf in my freezer ready to go.
- Baked Macaroni and Cheese – This is a great recipe when you’re looking for some kid friendly comfort food. It’s also good for feeding a crowd.
- Honey Roasted Carrots – Add a little sweetness to your side!
- Seasoned Rice with Herbs and Garlic – A classic recipe that’s full of flavor that nicely compliments the chicken.
Storage and Reheating
- Storage: Store leftovers in an airtight container or resealable plastic bag in the fridge for up to 3-4 days. Sometimes I’ll cook extra just for the leftovers, and pull the meat off to use for sandwiches and salads.
- Freezing: You can freeze cooked drumsticks for up to 6 months in an airtight, freezer safe container. Thaw completely before reheating.
- Reheating: If you want to warm up the leftovers, you can heat in the microwave for 60-90 seconds, but keep in mind the skin will not be crispy. I recommend heating at 350°F for 5-10 in the oven or in an air fryer. You can also just eat it cold!
Expert Tips
- My best tip for getting crispy skin is to really pat the chicken dry with paper towels. The less moisture in the skin, the crispier it will get. If you have the time, pat the drumsticks dry and lay the out on a baking sheet and pop them in the fridge for a few hours, or even overnight.
- The baking powder is a key ingredient for crispiness. You can use less, but don’t omit it.
- Make sure to shake off the excess flour mixture after coating.
- For easy clean up, line the sheet pan with aluminum foil before adding the baking rack.
- For a nice, golden color, spray with a little olive oil cooking spray and broil for a few minutes towards the end.
More Delicious Chicken Leg Recipes
- Crispy Garlic Parmesan Baked Chicken
- Crispy Cheesy Baked Chicken Tenders
- Instant Pot Chicken Pasta
- Slow Cooker Teriyaki Chicken
- Chicken Salad Recipe
- Dorito Chicken Casserole
- Easy Garlic Chicken Bites
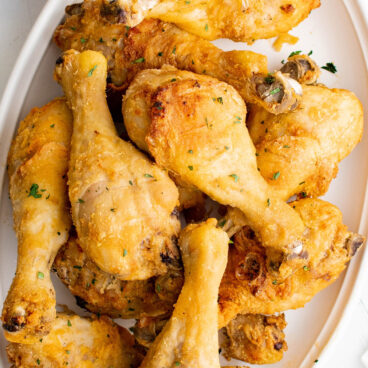
Crispy Oven Baked Chicken Drumsticks
Ingredients
- 4 pounds chicken drumsticks bone-in, skin-on
- 2/3 cup all-purpose flour
- 2 tablespoons baking powder
- 2 teaspoon kosher salt
- 3 teaspoons paprika
- 2 teaspoons garlic powder
- 3/4 teaspoon black pepper
Instructions
- Preheat oven to 425 degrees F. Line a large baking sheet with foil and set a baking rack on top if you have one. If you don’t have a baking rack just spray the foil with nonstick cooking spray.
- Pat the chicken dry with paper towels. This is really important to get super crispy skin.
- In a large zip-top bag, combine flour, baking powder, salt, garlic powder, paprika and black pepper. Place the chicken in the bag a few pieces at a time and shake to coat. Set chicken pieces skin side down on the baking rack that has been placed on top of the baking sheet (or on the foil lined baking sheet that’s been sprayed with nonstick cooking spray). Place larger pieces toward the outside; pieces can be close together but should not touch.
- Bake in the preheated 425 degree oven for 45-50 minutes, turning over after 30 minutes. Juices should be clear and temperature should register 165-170 degrees. For a more golden color, spray with olive oil cooking spray and turn on the broiler for a few minutes, watching closely to ensure the chicken doesn't burn.
- Let cool 5-10 minutes before serving.
Notes
- Make sure to really pat the chicken dry with paper towels. The less moisture in the skin, the crispier it will get. If you have the time, pat the drumsticks dry and lay the out on a baking sheet and pop them in the fridge for a few hours, or even overnight.
- The baking powder is a key ingredient for crispiness. You can use less, but don’t omit it.
- Store leftovers in an airtight container or resealable plastic bag in the fridge for up to 3-4 days or freeze for up to 6 months in an airtight, freezer safe container. Thaw completely before reheating.
- Reheat in the microwave for 60-90 seconds, but keep in mind the skin will not be crispy. I recommend heating at 350℉ for 5-10 minutes in the oven or in an air fryer. You can also just eat it cold!
Nutrition
Nutritional Disclaimer Kristin Maxwell of “Yellow Bliss Road” is not a dietician or nutritionist, and any nutritional information shared is an estimate. For accurate calorie counts and other nutritional values, we recommend running the ingredients through your preferred online nutritional calculator. Calories and other nutritional values can vary depending on which brands were used.



I have 8 chicken pieces would there be enough coating for them? Thanks
Yes, that should be fine. I usually have a little leftover depending on the size of each piece.
Kristin, my family thought this is fried chicken. It’s so yummy! Thank you for sharing this recipe
Love it, Ann! Thank you!
Kristin, on a lark, I only have 3 drumsticks and 5 thighs so I cut ( using the Chinese butcher knife) each thigh in half. I marinade them with some garlic powder, onion powder and a pinch of salt. Then, I proceed as usual using your yummy coating ingredients. In my humble opinion, the yumminess was elevated to another level! Your seasoning is spot on! I shared your recipe with my daughter, my neighbors …..Thank you very much again!
Hey Kristin!! I’m super excited to try these out tonight!! I was wanting to brush on a sweet and spicy sticky sauce I bought. Do you think I should do in mid cooking or when they are done?? Can you tell I’m new to wings and drumsticks? haha Thanks in advance!
I wouls say brush it on at the end, so they’ve had time to get that nice crispy skin. Enjoy!
Hi! Thank you for the recipe! I’ll be making it tomorrow , just wondering. Do you cover the chicken with aluminum foil when it’s in the oven? Or will it cook ok uncovered? Thanks again!
No, you want to leave it uncovered so the skin can crisp up a bit.
Hi Dear Kirstin, Thanks for this delicious recipe..I have it cooking now and it smells very good indeed.. x
Thank you Janine!
Hi Dear Kristin, Delighted to discover your crispy chicken with Psprika/Chilli powder earlier…it’s cooking now and I can tell it will be delicious…Thanks in advance. P.S. It’s a lovely change for me..generally cooking chicken with sauces
Hi I just finished making this crispy chicken legs and I set oven 425 and within half hour they were done… I live up here in canada
Can’t wait to try your recipe tonight’s supper. Read over about 10 and yours sounded more enticing. I’ll let u know after supper ,
Super crispy and the chicken was moist and delicious! I cooked them for a bit longer just to get an even crisp on both sides. Fiancé loved them as well definitely our new go to chicken drumstick recipe! Trying your wing recipe next!
Thank you for sharing!!
Thank you Courtney! So happy that you and your family loved this recipe!
Thank you for this recipe! May I comment on the step involving the ziplock bag? It sounds very convenient, but I presume few people disinfect and reuse these. So this method for marinading food generates plastic waste that could be avoided- for example, by using dishwasher safe tupperware instead (IKEA sells cheap ones made of glass, even). Given the degree of plastic pollution in our oceans etc, might be worth a try.
That’s definitely an option.
I’ve made these twice now and my family LOVES them! ?
LOOKS SO GOOD, I AM GOING TO TRY IT TODAY. THANK YOU SO MUCH FOR SHARING YOUR RECIPE ON THIS SITE.
GAYLE
I’ve necer heard of using baking powder in a coating for chicken. I am excited to try this recipe. Thanks for sharing.
For any chicken recipe calling for baking POWDER (mind you, NOT BAKING SODA) MAKE SURE YOU USE ALUMINUM FREE BAKING POWDER. Normal baking powder has aluminum in it and doesn’t work well as it tastes funny. Argo brand is aluminum free which I’ve found at Walmart. There are other brands as well. The baking powder changes the pH of the meat and helps to crisp it up.
Thanks for the tip!
Hmmm… Not sure what went wrong. I used boneless breasts but otherwise followed the recipe exactly. No flavor at all. Went with the backup plan and applied bbq sauce and the family ate it up. I didn’t expect a crispy exterior but I thought the dredge would provide enough flavor. The only thing I can think of is that the ingredients list kosher salt seperatly from salt but no quantity. Was I supposed to add more salt?
Chicken drumsticks naturally have a lot more flavor because of the fat and bone. Boneless breasts would not come out the same. Try my Baked Chicken Breasts – they are to die for!
Decided to try this for dinner tonight and the drumsticks turned out great – really crispy and yummy! However I did notice some parts of the chicken tasted a bit powdery. Should I have shaken the flour off a bit before putting the pieces on the pan? I didn’t use cooking spray as suggested because I didn’t have any on hand but instead brushed olive oil. I’d love to do this recipe because it was gooood! TIA!
Is there perhaps an alternative to the cooking spray? We don’t keep any in our house… any way around it?
You could skip it altogether, or brush a little olive oil on top. It just helps get the chicken crispy.
Thank you so much! I actually put a spray nozzle on our olive oil and they turned out great!
in the ingredient list you only list chili powder but in the directions you mention paprika… so do you use chili powder or paprika? I feel there’s a definite difference between tastes depending on what you use!
Good catch Carrie! I’ve used both, so when I wrote it I probably was thinking of both. I prefer paprika, but chili powder works great too.
Thanks a lot Kristin I cooked this at the fire station and it was a hit! Firehouse #28 loves your recipes.?
Yay! So happy to hear you all enjoyed this recipe. Thank you all for your service!!
Holy smokes these came out crispy! Next time I’ll be more prepared and have buttermilk (and at least a couple extra hours) on hand, but I brushed these with a little homemade ‘hot chicken paste’ just after removing from the oven and they could not have turned out more terrific.
10 out 10!
So glad you enjoyed them!
Woow… looks yummy! Gotta try it soon. Thanks for the recipe!
By far amaze balls! I hate to be he turd that adjusts and posts. But only thing I did was I didn’t g ave flour. So I super blended Pablo and added a sprinkle of sugar. But wholly cow, spot on on cooking time and spraying the oil. What a clever idea! Thank you!