This post may contain affiliate links. Please read our disclosure policy.
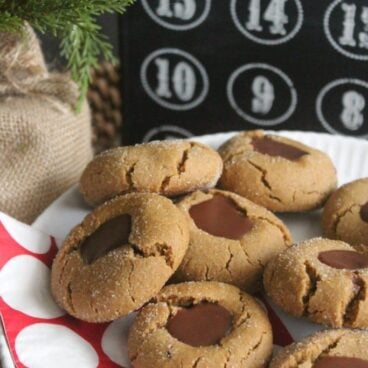
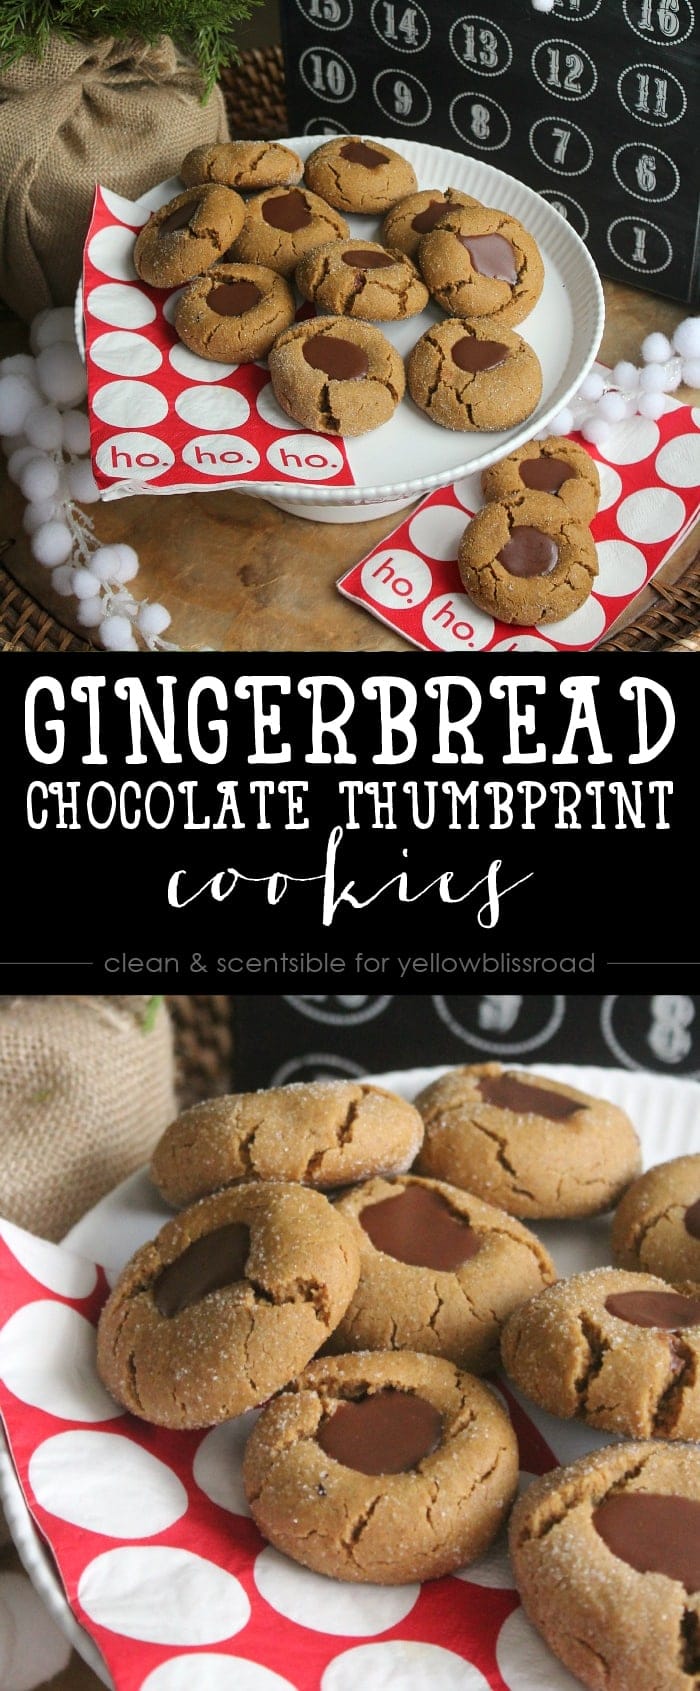
These Gingerbread Chocolate Thumbprint Christmas cookies are soft and chewy with the perfect hint of chocolate!
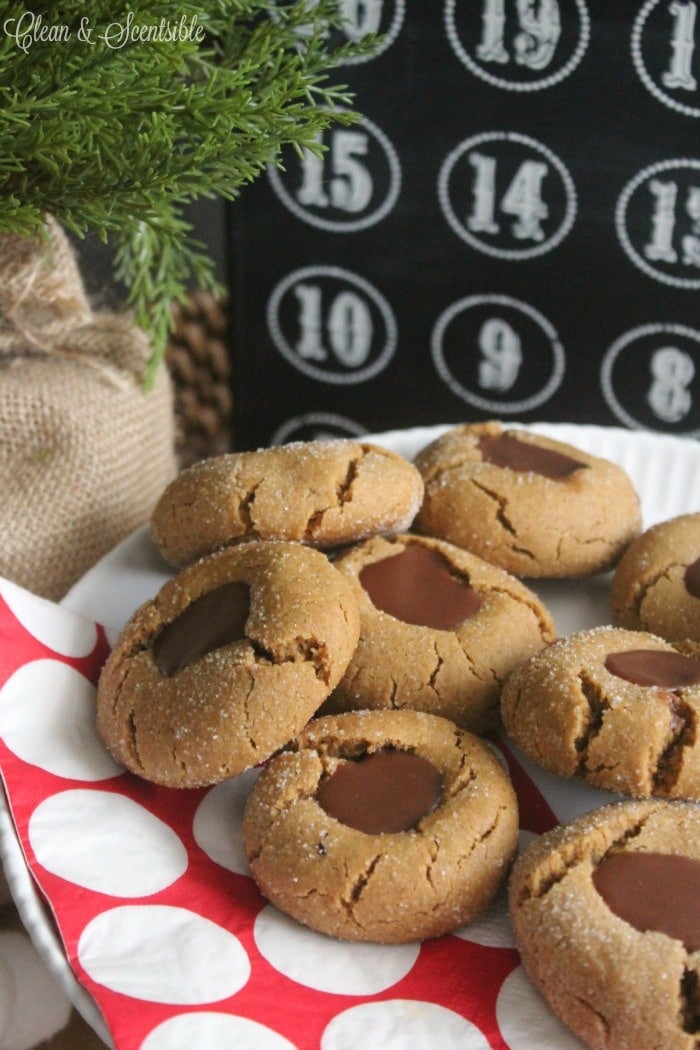
Hello! It’s Jenn here from Clean and Scentsible. I absolutely LOVE Christmas time and all of the activities that go along with it. I’m not usually much of a baker, but I make an exception at Christmas and love trying new holiday recipes. Today I wanted to share these gingerbread chocolate thumbprint cookies with you that I adapted from the Purdy’s catalog.
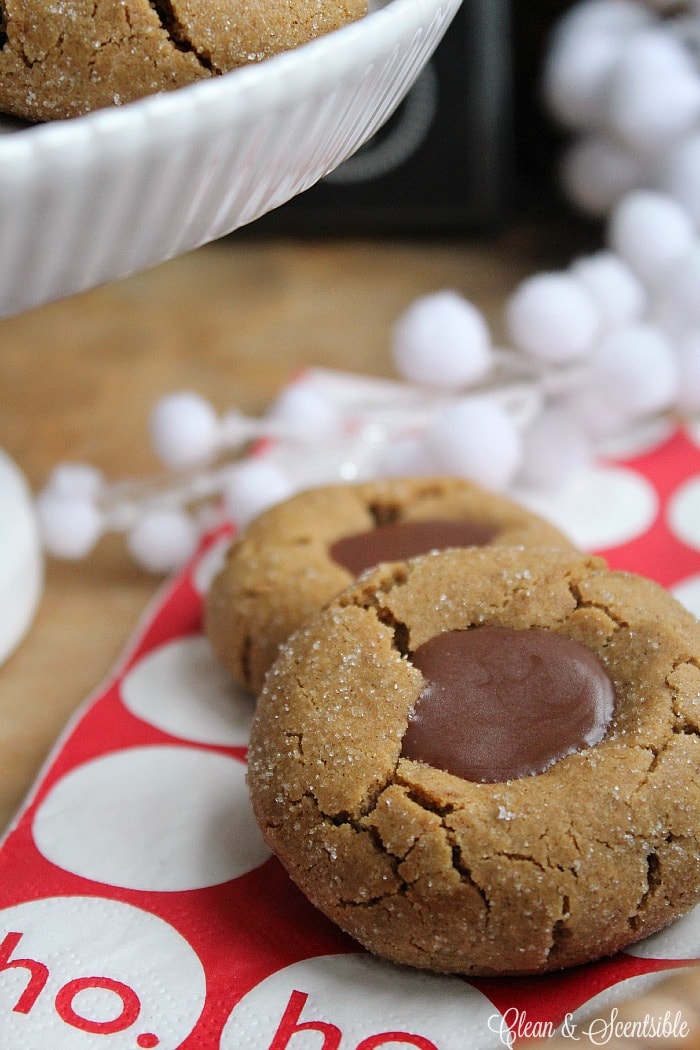
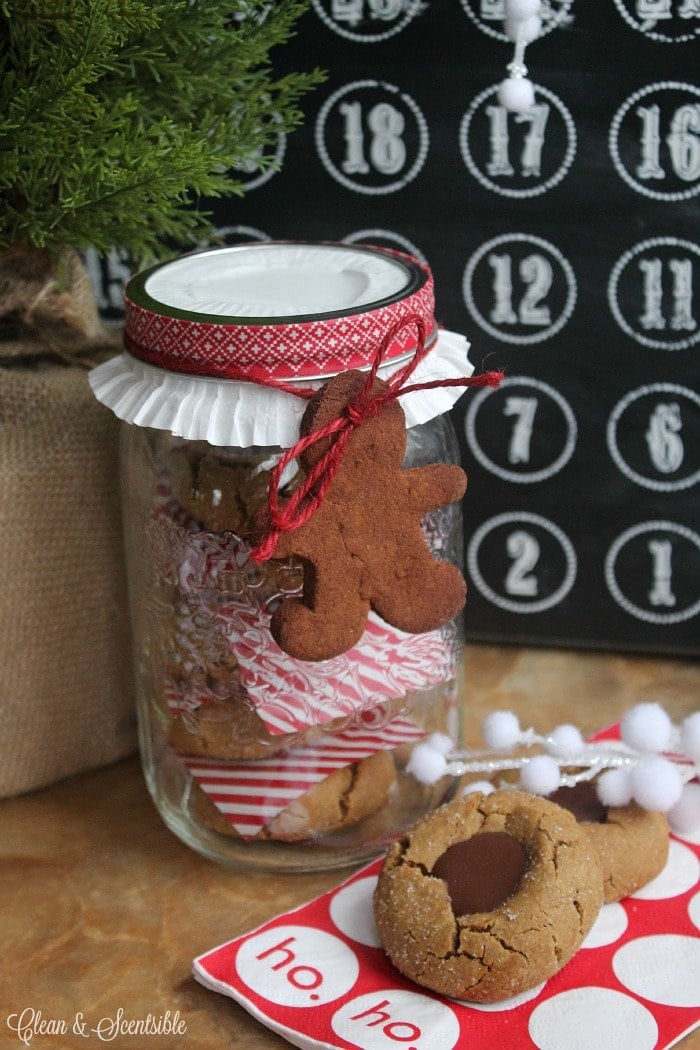
The cookies can be stored in an airtight container in the fridge for up to 1 week or can be frozen. Place parchment paper over top of the cookies if you are stacking them as the chocolate mixture does not completely harden. For a fun packaging idea, head on over to Clean and Scentsible and learn how to make these gingerbread ornaments. They are perfect for decorating or adding to gifts!
I hope you enjoy them and I wish you all a very merry holiday season!
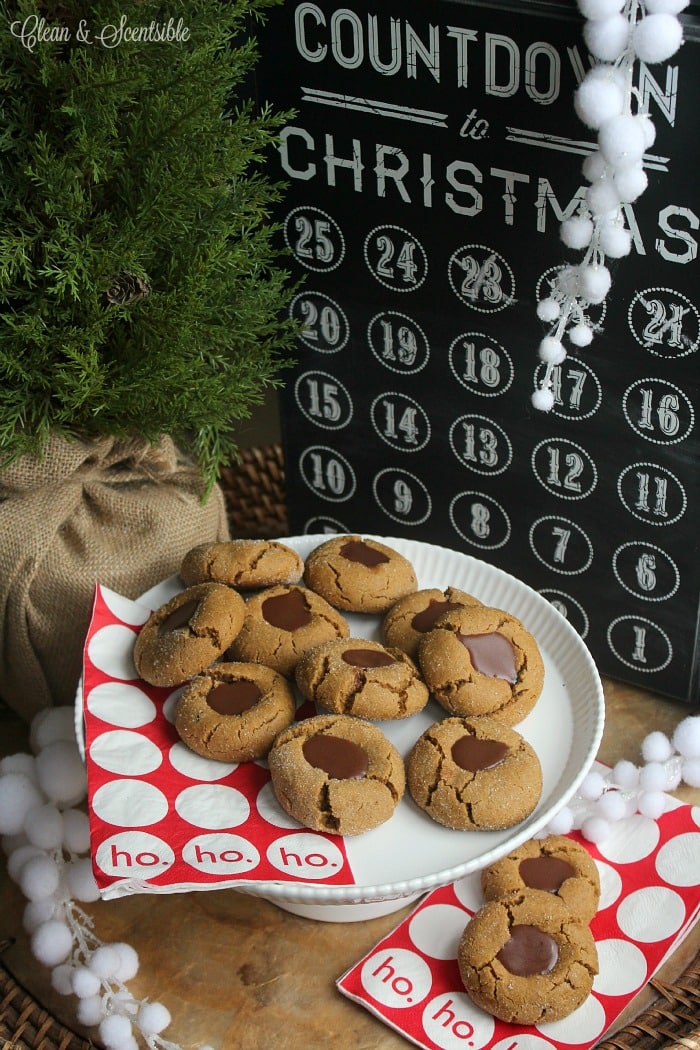
Gingerbread Chocolate Thumbprint Christmas Cookies
Ingredients
Cookies
- 3 cups all purpose flour
- 2 teaspoons ground ginger
- 2 teaspoons cinnamon
- 1 teaspoons baking soda
- 1/4 teaspoons ground nutmeg
- 1/4 teaspoons salt
- 3/4 cups butter softened
- 1 cup brown sugar firmly packed
- 1/2 cup molasses
- 1 egg
- 1/4 cup sugar
Filling
- 125 mL whipping cream about 4 ounces
- 150 grams dark chocolate, chopped about 5 ounces
- 1 tablespoon butter
Instructions
Cookies
- Preheat the oven to 350F.
- Mix flour, ginger, cinnamon, baking soda, nutmeg and salt in a large bowl. Set aside.
- Beat butter and brown sugar in a large bowl with an electric mixer on medium speed until light and fluffy.
- Add the molasses and egg. Beat well. Slowly beat in flour mixture on low speed until well mixed.
- Shape dough into 1 - 1.5 inch balls. Roll in granulated sugar and place 2 inches apart on an ungreased cookie sheet.
- Bake 10-12 minutes until cookie edges just begin to brown. As soon as the cookiescome out of the over makes a "thumbprint" using your thumb or the back of a measuring spoon.
- Cool for a couple of minutes on the cookie sheet before transferring to a cooling rack and cool completely before adding the filling.
Filling
- Heat whipping cream over medium heat until bubbles form.
- Remove from heat and add chopped chocolate until smooth. Add butter and continue stirring for another 2 minutes.
- Let the chocolate cool slightly to thicken and spoon into thumbprints.
Notes
Nutrition
Nutritional Disclaimer Kristin Maxwell of "Yellow Bliss Road" is not a dietician or nutritionist, and any nutritional information shared is an estimate. For accurate calorie counts and other nutritional values, we recommend running the ingredients through your preferred online nutritional calculator. Calories and other nutritional values can vary depending on which brands were used.
If you get a chance, I would love to have you follow along on Facebook, Instagram, or Pinterest. For more Christmas ideas, you might also like these posts.

Christmas Chalkboard and Cupcake Liner Bunting


Thanks so much to Kristin for having me!
Jenn xo
For more Christmas cookie ideas, try these:
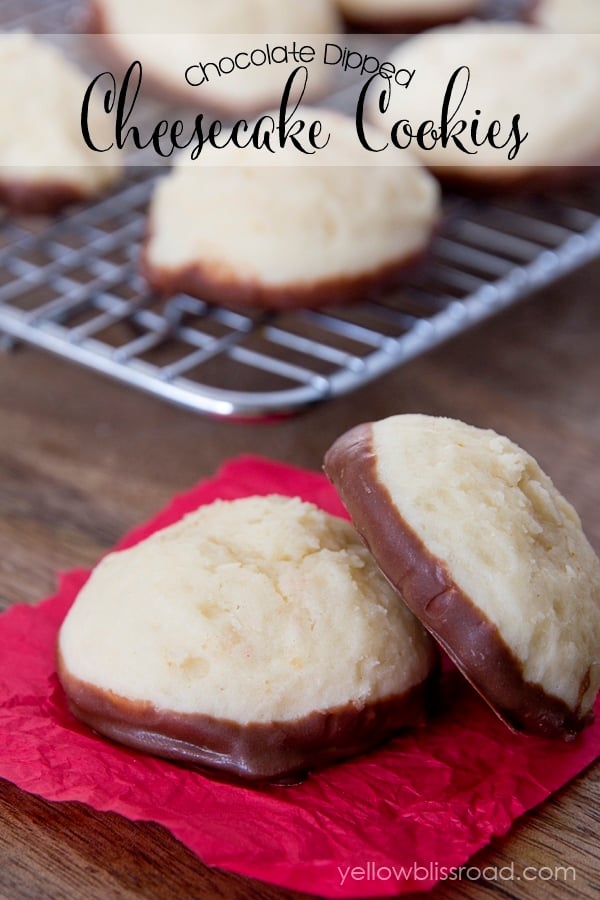
Chocolate Dipped Cheesecake Cookies

Four Ingredient (nut-free) Snowball Cookies




My first batch resulted in flat cookies, so I took the rest of the dough and chilled in the fridge for an hr or so, I made one cookie to see if it worked and it did, I will now make the rest.
I spoke too soon… it started to flatten but, at least i can still fill it with some chocolate.