This post may contain affiliate links. Please read our disclosure policy.
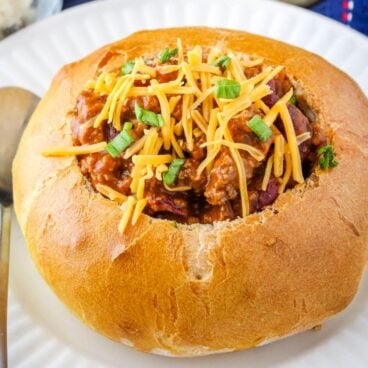
Homemade Bread Bowls are a delicious way to serve up your favorite soups! Make them fresh in your own oven for a dinner upgrade your family will love!
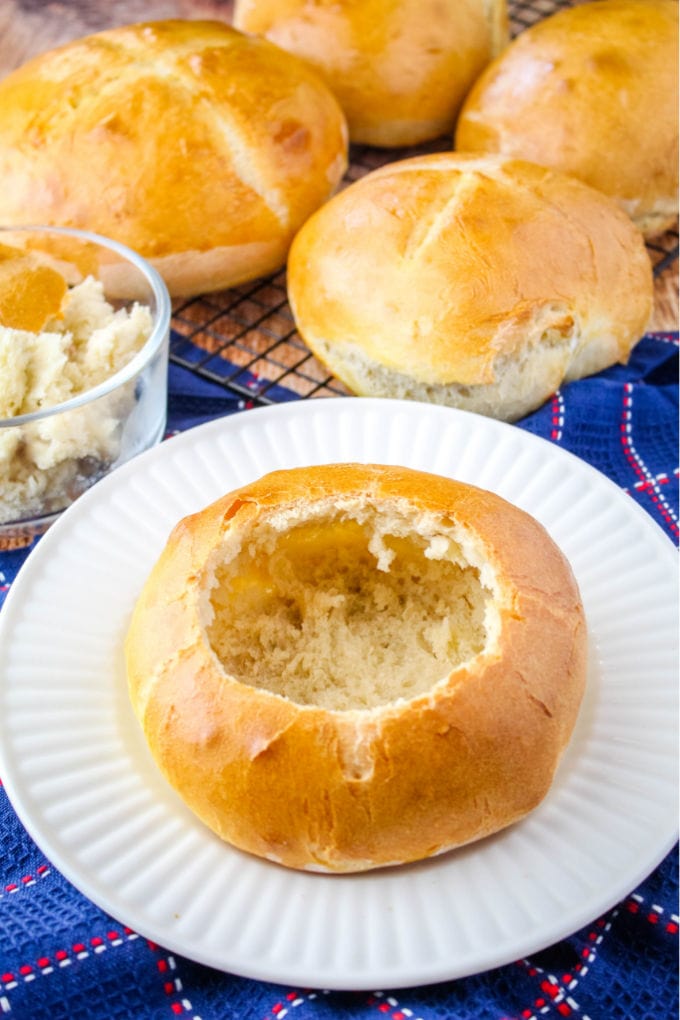
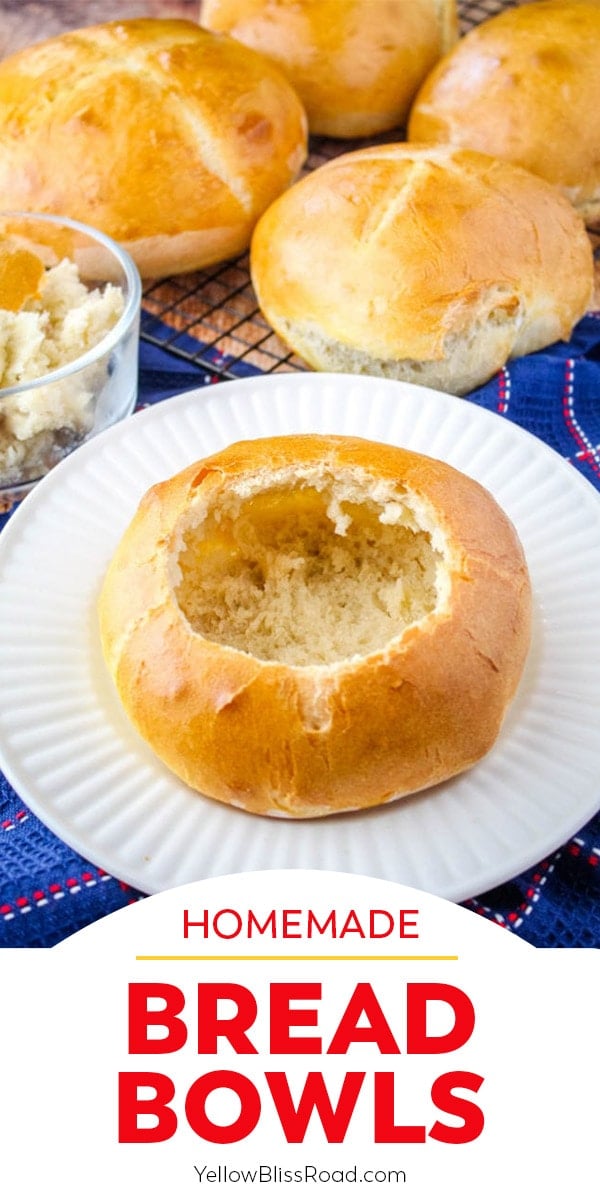
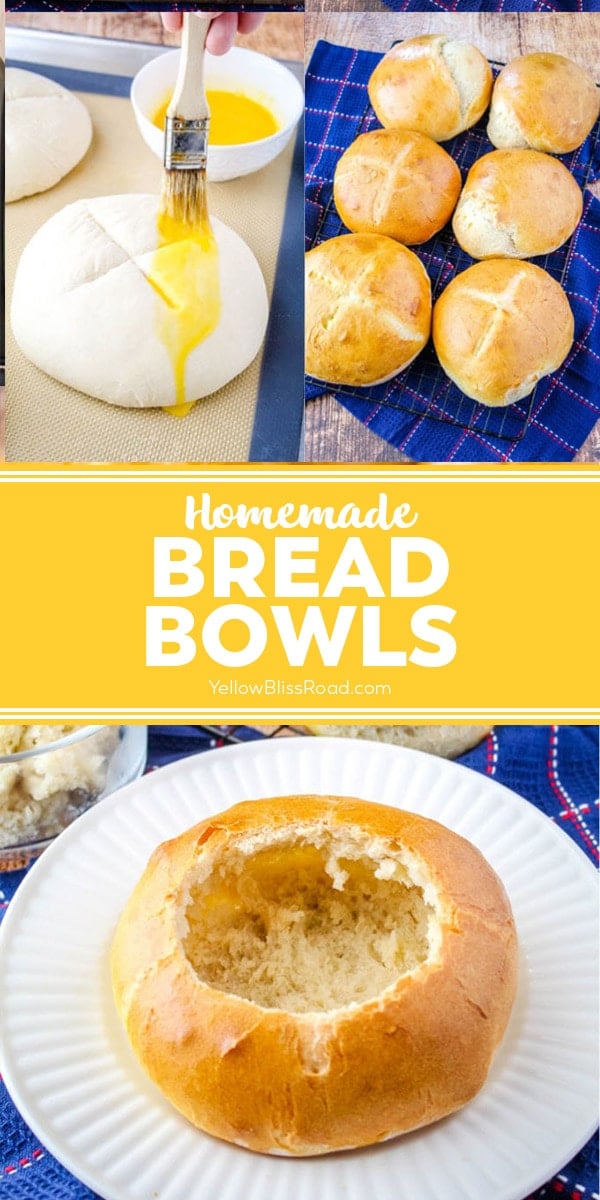
When it comes to delicious ways to make your favorite foods even better, nothing beats homemade bread bowls. These edible bowls give any meal that comforting feel. It’s as simple as baking up a batch of oversized dinner rolls, cutting open the top, and scooping out the bread inside. Then you’re ready to fill them!
The best part about this bread bowl recipe is that you can make them ahead of time and freeze them for later.
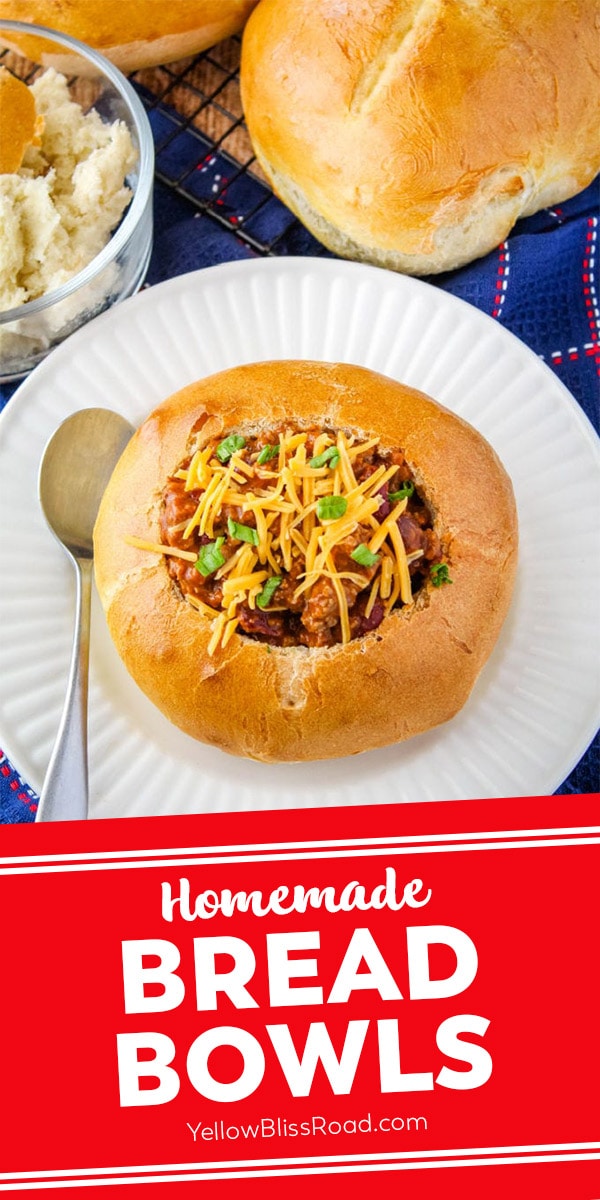
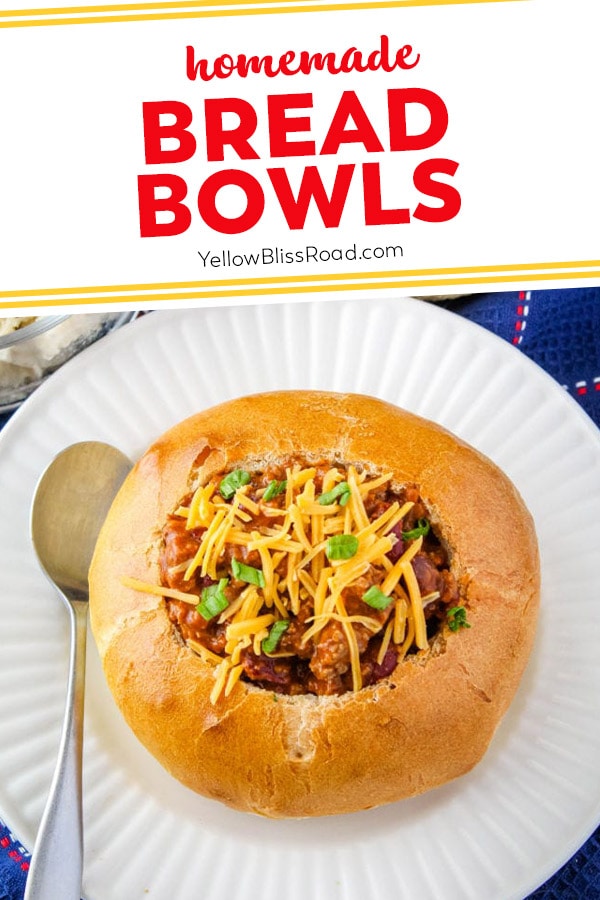
If you thought soup couldn’t get any better, add a bread bowl to the equation! It’s the perfect vessel for all your favorite soups, like Broccoli Cheese Soup and Hamburger Soup. You can even serve up your favorite dips, like Chili Cheese Dip in them.
The best part is that once you’re done, you can eat the bowl. The insides have all those yummy bits of bread that soaked up your soup or dip. It’s too good to share!
Bread Bowl Ingredients
- Water – for blooming (growing) the yeast.
- Active dry yeast – Make sure to buy “active” dry yeast, not the instant or rapid rise kind. Active Dry Yeast is mixed with water and “blooms” so you know it’s alive and will work for your bread. Instant is just mixed in with the flour and you won’t know if it’s bad until you’ve wasted all the ingredients.
- All-purpose flour – I used plain old all-purpose flour for this recipe. You could also use bread flour if you have it, or want to buy a bag. Bread flour has a higher protein content and produces more gluten while kneading. If you swap out for bread flour, your bread bowls will rise more creating a larger vessel for your food. All-purpose works just fine too though. Whichever you have on hand is fine.
- Sugar – a subtle sweetness to help balance the flavor.
- Salt – adds flavor.
- Melted butter – for a soft texture and crispy crust.
- Oil or non-stick cooking spray
- Egg – whisk and brush on top for shine.
How To Bake Bread Bowls
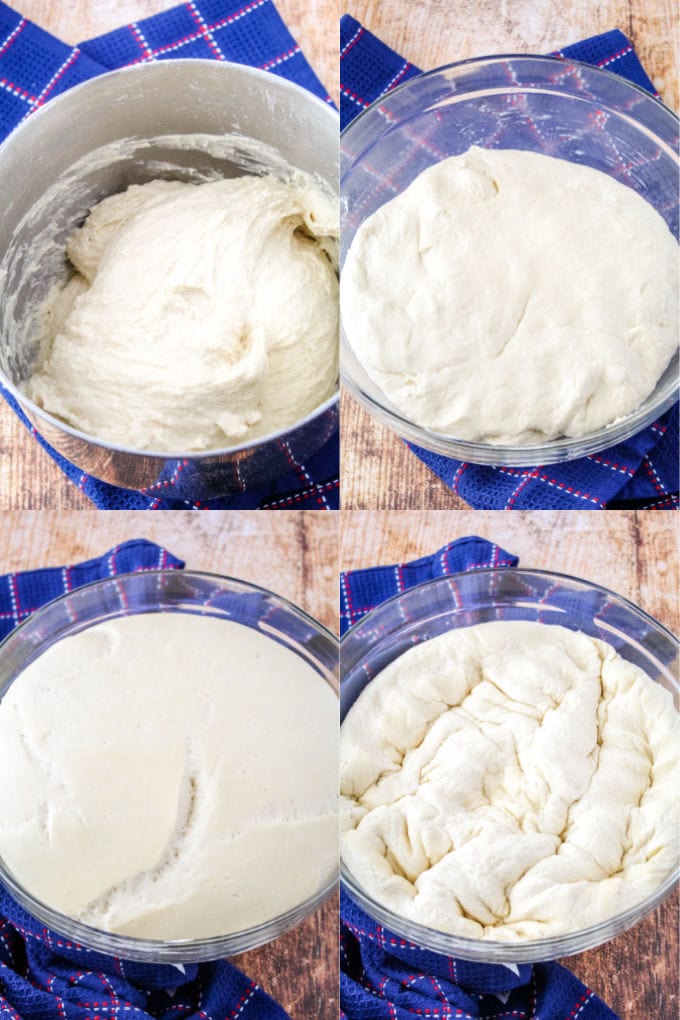
I used a stand mixer with the dough hook attachment. It’s quicker and less work.
However, you can absolutely make this recipe with a hand mixer and then knead the dough on a floured surface to develop the glutens.
- Bloom the yeast by mixing it with water and letting it stand. It will be foaming and have a distinct “yeasty” smell.
- Mix in flour, sugar, salt and melted butter. The flour is added in two batches to ensure it all gets incorporated. You want a soft, thick dough that’s slightly sticky. Add more flour as needed (up to 2 cups) to get the right texture. I had to add 1 cup of flour to my dough.
- Once the dough is ready, place it in a greased bowl and cover it for about 90 minutes to rise and double in size.
- Punch down the dough to remove any air bubbles, then turn it out onto a lightly floured surface.
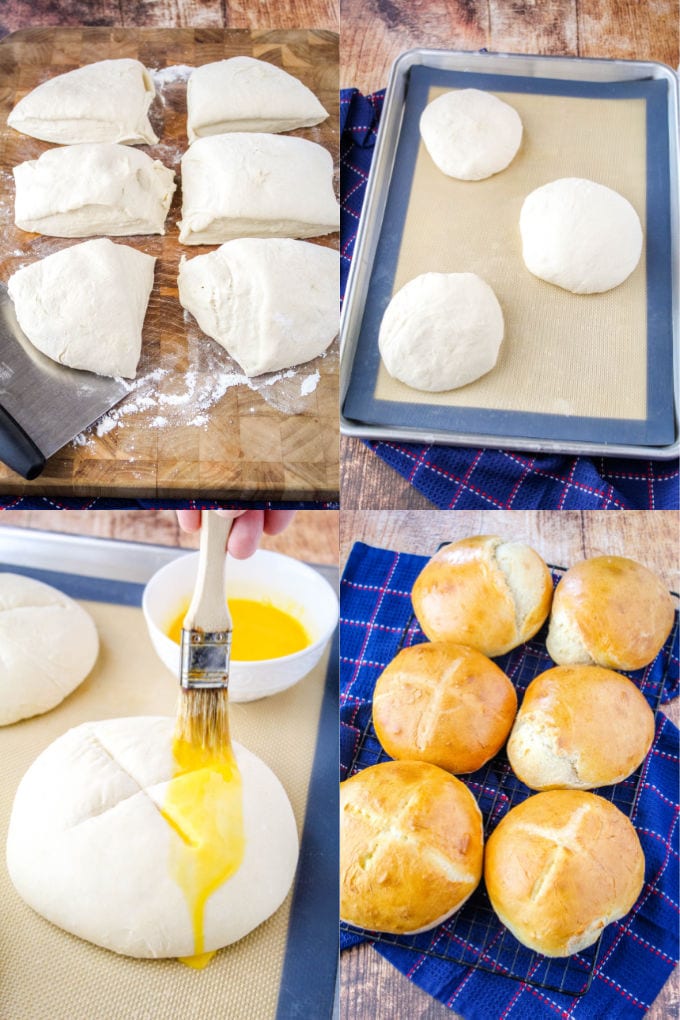
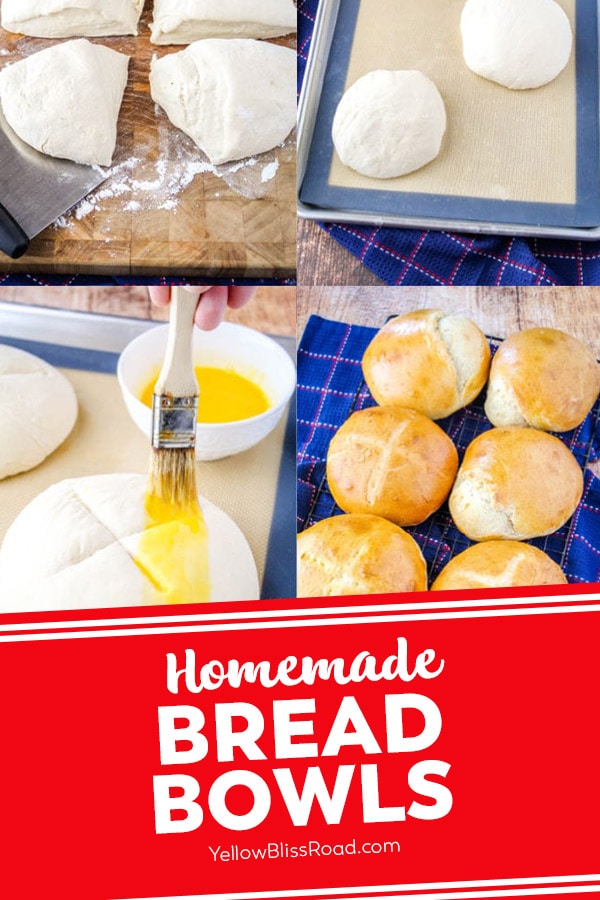
- Form the dough into a uniform shape and thickness, then use a dough cutter or knife to cut into 6 equal portions. You can just eyeball this. It’s not a big deal if they’re not exactly the same size.
- Line two baking sheets with parchment paper or silicone baking mats. Use your hands to form each dough piece into a round and place three dough rounds onto each baking sheet. You want to leave plenty of space so they can expand but not touch while baking. Let the dough rest for another 20 minutes.
- Now it’s time to bake! Preheat your oven to 400 degrees F. Then use a knife to cut an X into the top of each dough round. Don’t skip this step. (see why below)
- Beat an egg and brush onto the surface of each dough round. This gives that shiny look to the crust. You could also use just and egg white if you prefer.
- Bake the bread bowls for 30 minutes until golden with a firm crust, then take them out and let them cool.
How To Form the Bowls
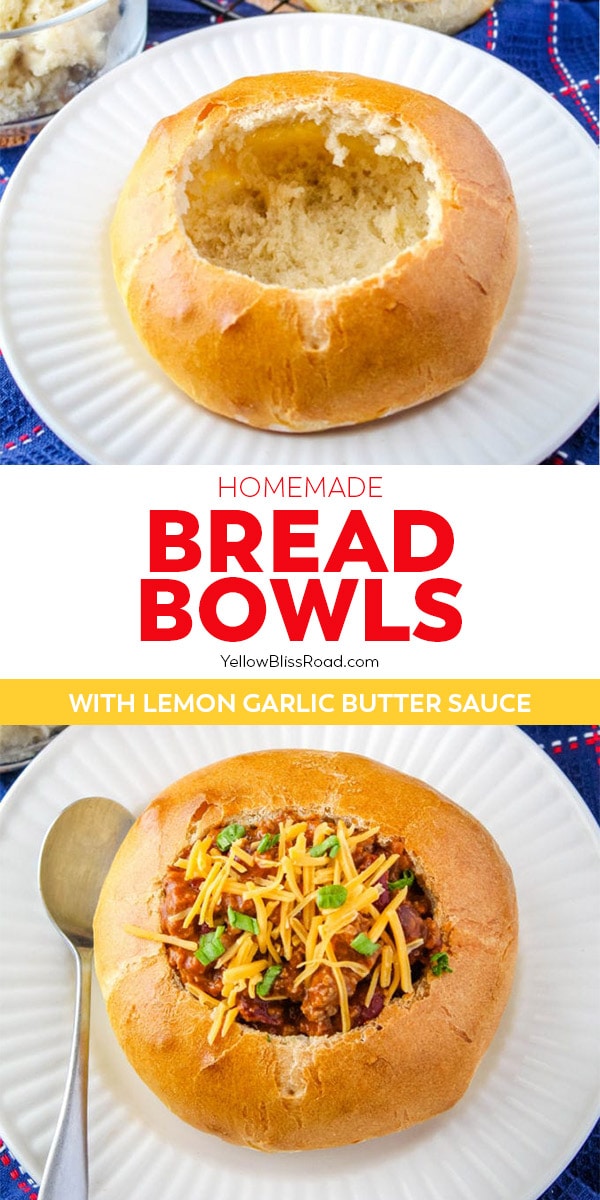
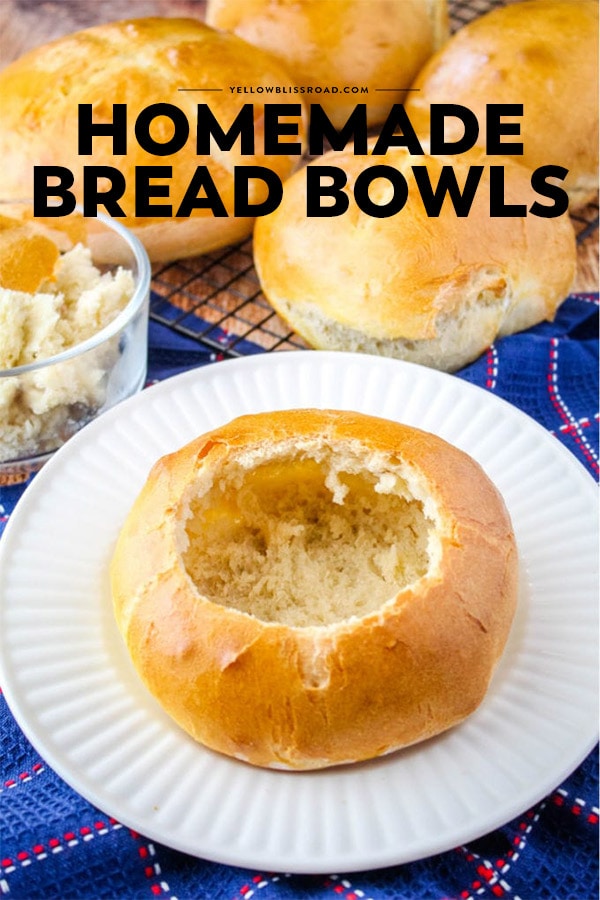
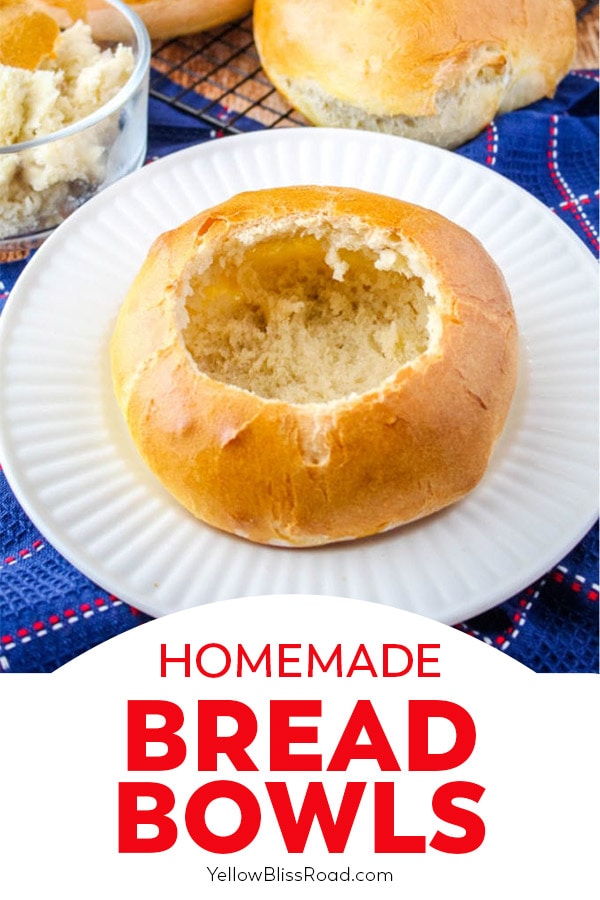
To make the bread bowls, cut a circle in the top of each bread. Remove the circle piece of crust and then use your hands to scoop out the bread inside. (You can save this bread to use for your dip, snacking, or a small french toast casserole.) Leave some bread attached to the walls and bottom though. You shouldn’t be able to see the crust from the inside. Fill with your favorite soup and serve immediately.
Top Bread Bowl Tips
- Why do you score the top? Notice in the image below three of the six loaves of bread baked up funny with a weird side burst thing. I did that on purpose to show you what happens if you skip the X on top. The X scored into the dough helps the bread bake evenly and directs the gases inside toward the top of the loaf as the dough expands. No weird abscess on the side of your bread bowl. PSA for today – don’t forget to score the top of your dough!
- What Kind of Bread is Good for Bread Bowls? This recipe is a basic bread dough plus a little sugar and butter. Many restaurants use sourdough for their bread bowls, but I prefer a basic bread dough. When I tear it apart to get the soup soaked insides I taste the soup and bread, not tangy sourdough.
How Do I Keep the Bread from Getting Soggy?
Two things will help you with this:
- Leave some bread attached to the crust on the inside of the bowl. The crust is strong and will hold up against the liquid inside, but a little bread buffer gives the liquid something to soak into before taking over the crust.
- Thicker soups tend to help with the soggy factor. They don’t have as much thin liquid and it takes longer to soak into the bread.
That being said, you can put your favorite Italian wedding soup in these bowls without trouble. Just don’t break through the crust while removing the inside of the loaves and you’ll be just fine.
Freezing Bread Bowls for Soup
To freeze your bread bowls for later, remove the tops and scoop out the bread inside like you normally would. Then wrap the bread bowl in plastic wrap and foil. Place in your freezer for up to 3 months.
When you’re ready to use the bread bowls, pop them in the fridge overnight to thaw or let them thaw on your countertop until they are at room temperature. I like to place the bread bowls in a warm oven to heat them slightly before filling them.
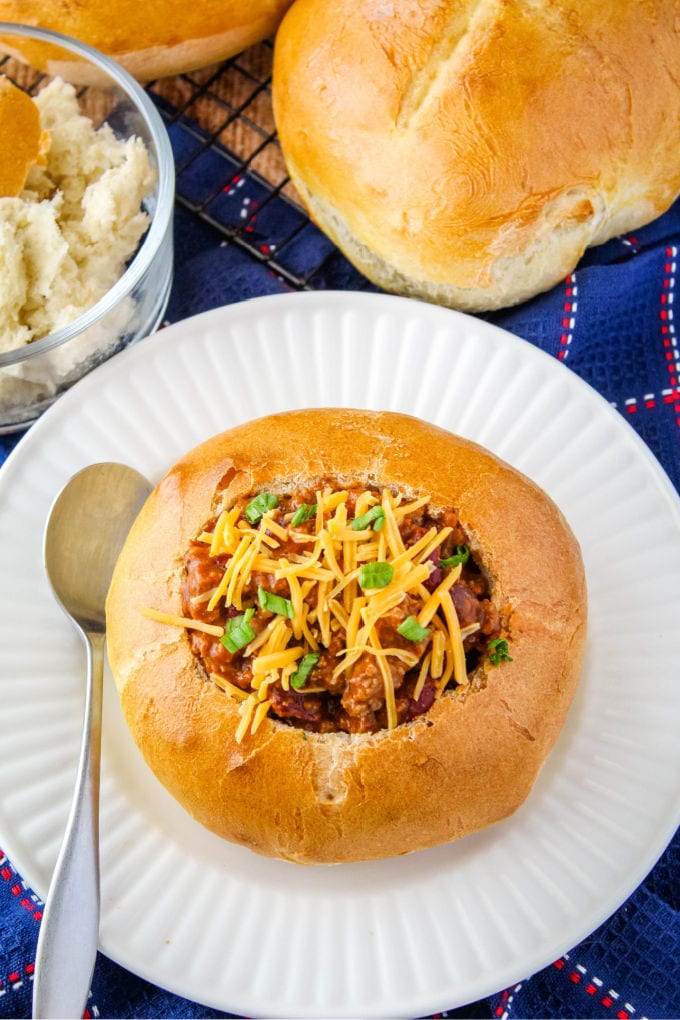
Some of my favorite soups to serve in bread bowls are Homemade Chicken Soup, Turkey Chili, and Sweet Corn Chowder. They’re comfort food favorites at my house and when I serve them in bread bowls everyone has a clean plate, the bowl included!
Homemade Bread Bowls
Ingredients
- 3 cups warm water (105 to 110 degrees F)
- 2 packets active dry yeast
- 8 cups all-purpose flour (see note)
- 1 tablespoon sugar
- 1 tablespoon salt
- 4 tablespoons unsalted butter melted
- 1 tablespoon water
- 1 egg
Instructions
- Place the warm water and yeast into the bowl of a stand mixer with the dough hook attached. Stir to combine. Scrape down any yeast that sticks to the sides of the bowl. Cover with a towel and let rest for 5 minutes until mixture is foamy.
- Remove towel from bowl. Add 4 cups flour, sugar, salt, and butter to the mixing bowl. Mix on low speed for 2 minutes, until flour is almost incorporated.
- Add 3 cups of flour and mix for 5 to 6 minutes on low speed. Check the dough. You should have a thick, soft dough that's a little bit sticky. If the dough if pretty sticky, add another cup of flour and mix until just combined.
- Grease a large bowl with a light coating of butter, oil, or non-stick cooking spray. Turn the dough into the bowl. Use your hands to roll the dough around so it's greased on all sides. Cover and let rest for 90 minutes in a warm area.
- Line two baking sheets with either parchment paper or silicone mats. Set aside.
- After resting, the dough should be doubled in size. Remove the towel and use your hand to punch down the dough to remove air bubbles.
- Turn the dough out onto a lightly floured surface. Sprinkle more flour on top of the dough and form it so there is a uniform thickness. Use a knife or pastry cutter to portion the dough into 6 queal pieces. (You can just eyeball it.)
- Form each piece of dough into a round shape and place onto one of your prepared baking sheets. Repeat with remaining dough. Each baking sheet should have 3 dough pieces with room to spread. Let the dough rest for another 20 minutes.
- Preheat oven to 400 degrees F. Cut an X in the top of each dough. (This helps your bread bowls bake evenly.)
- In a small bowl, beat together 1 tablespoon water and the egg. Brush egg wash over each dough piece coating the entire surface. (You can also use just the egg white.)
- Bake for 30 minutes. Remove from the oven and let cool completely.
- Once cooled, cut a circle in the top of each bread and remove it. Then use your hands to scoop out the bread inside, leaving some attached to the walls of your bowl. This will give the soup something to soak into without breaking through the crust. Portion your favorite soup into each bowl and serve.
Notes
Nutrition
Nutritional Disclaimer Kristin Maxwell of "Yellow Bliss Road" is not a dietician or nutritionist, and any nutritional information shared is an estimate. For accurate calorie counts and other nutritional values, we recommend running the ingredients through your preferred online nutritional calculator. Calories and other nutritional values can vary depending on which brands were used.

Thank you so much! This was a great way to bring fun to my dinner ideas. My girls helped and we had an amazing time spending time together.
You are so welcome Jelyna! Thanks for stopping by.