This post may contain affiliate links. Please read our disclosure policy.
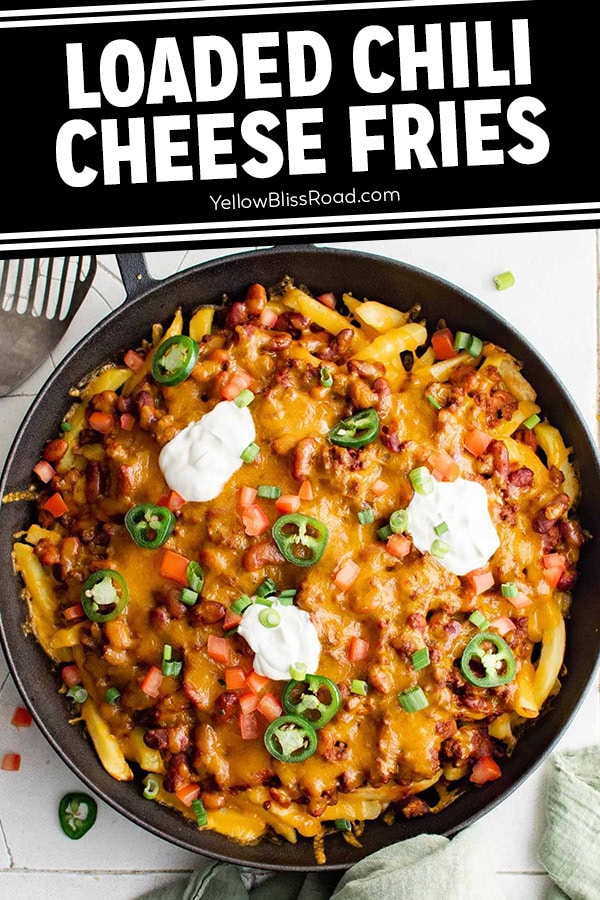
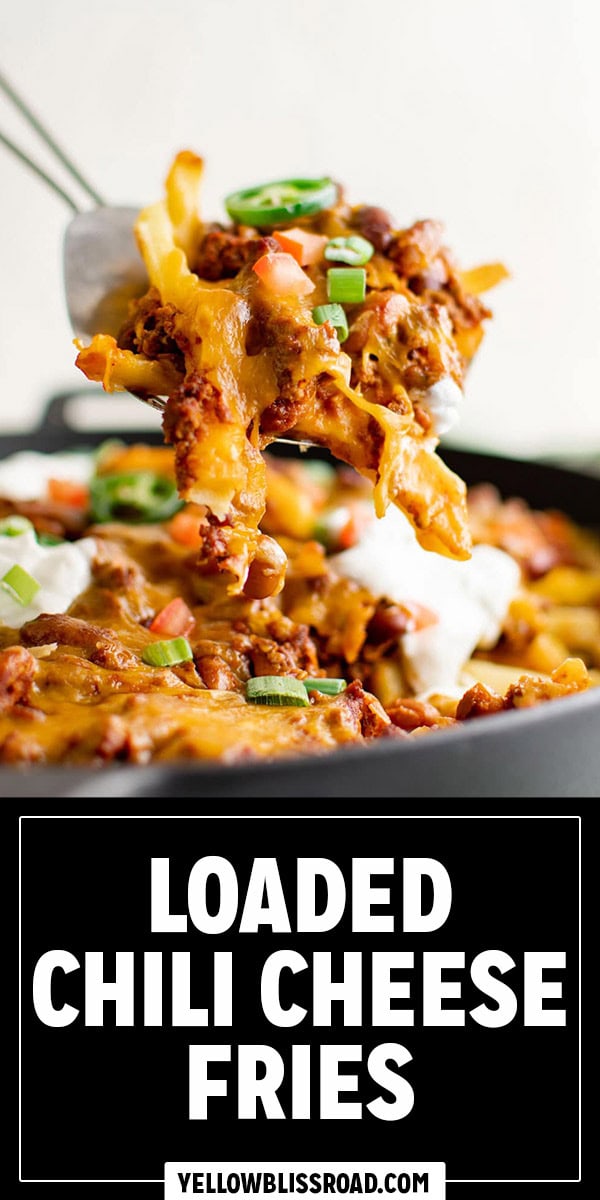
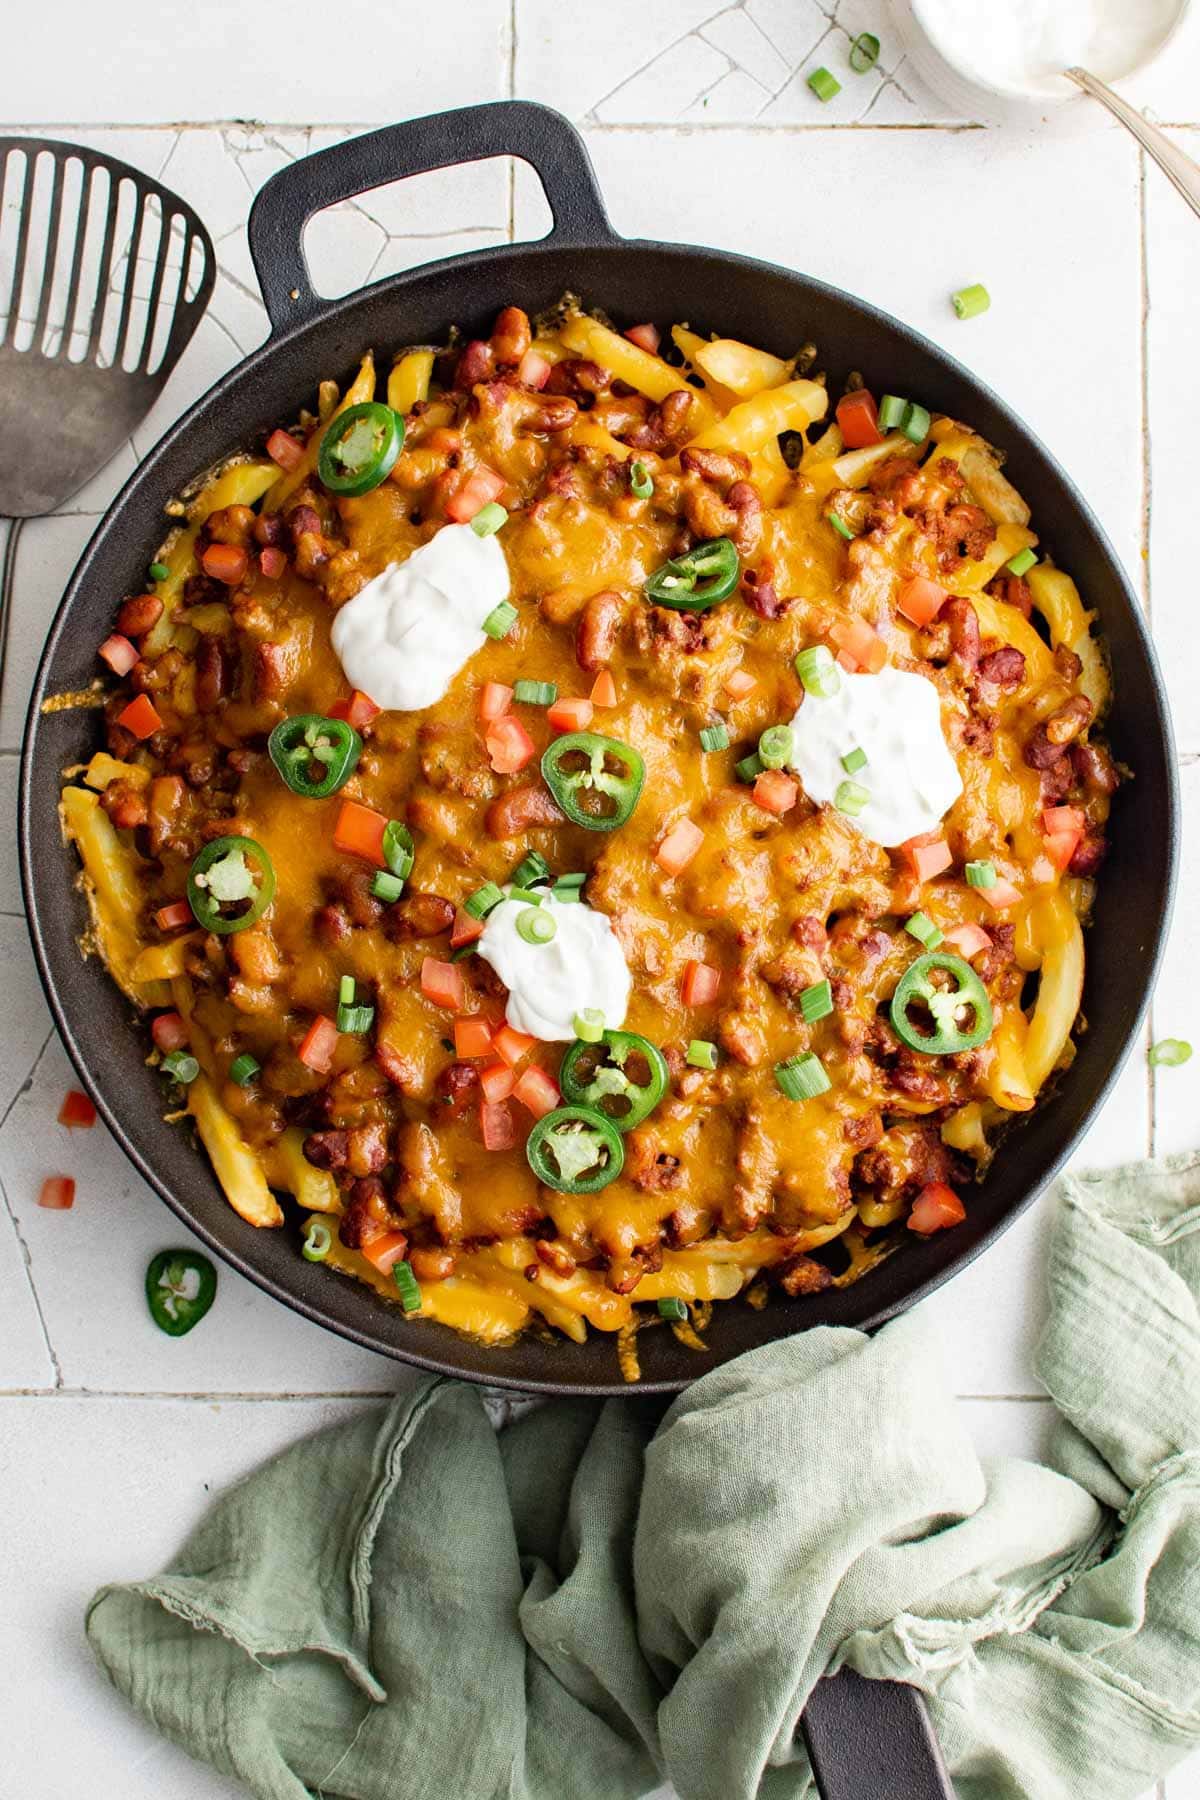
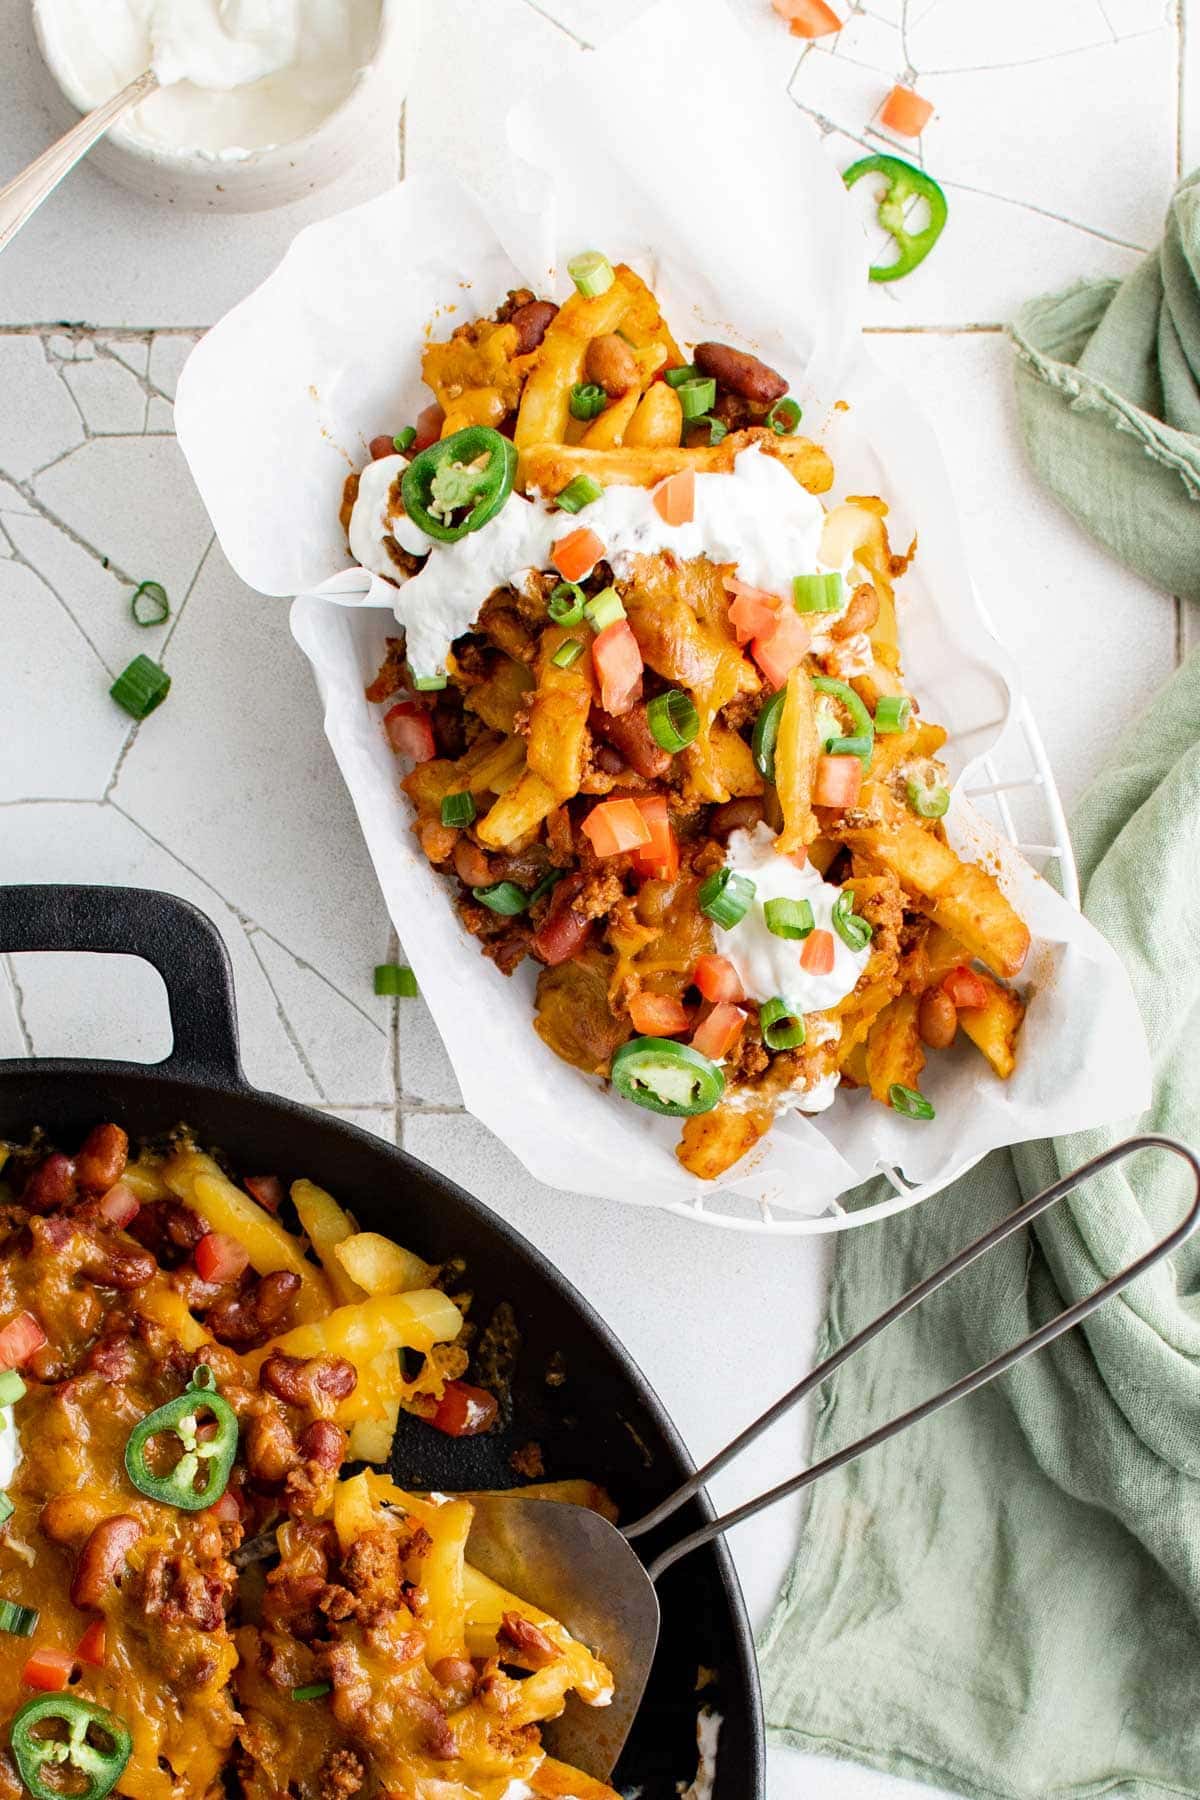
Loaded Chili Cheese Fries are packed to the brim with spicy, meaty, cheesy goodness. Take a bag of frozen french fries and pile on the cheese, chili, and toppings of your choice for a quick, 30-minute meal that’s sure to squash even the biggest hunger.
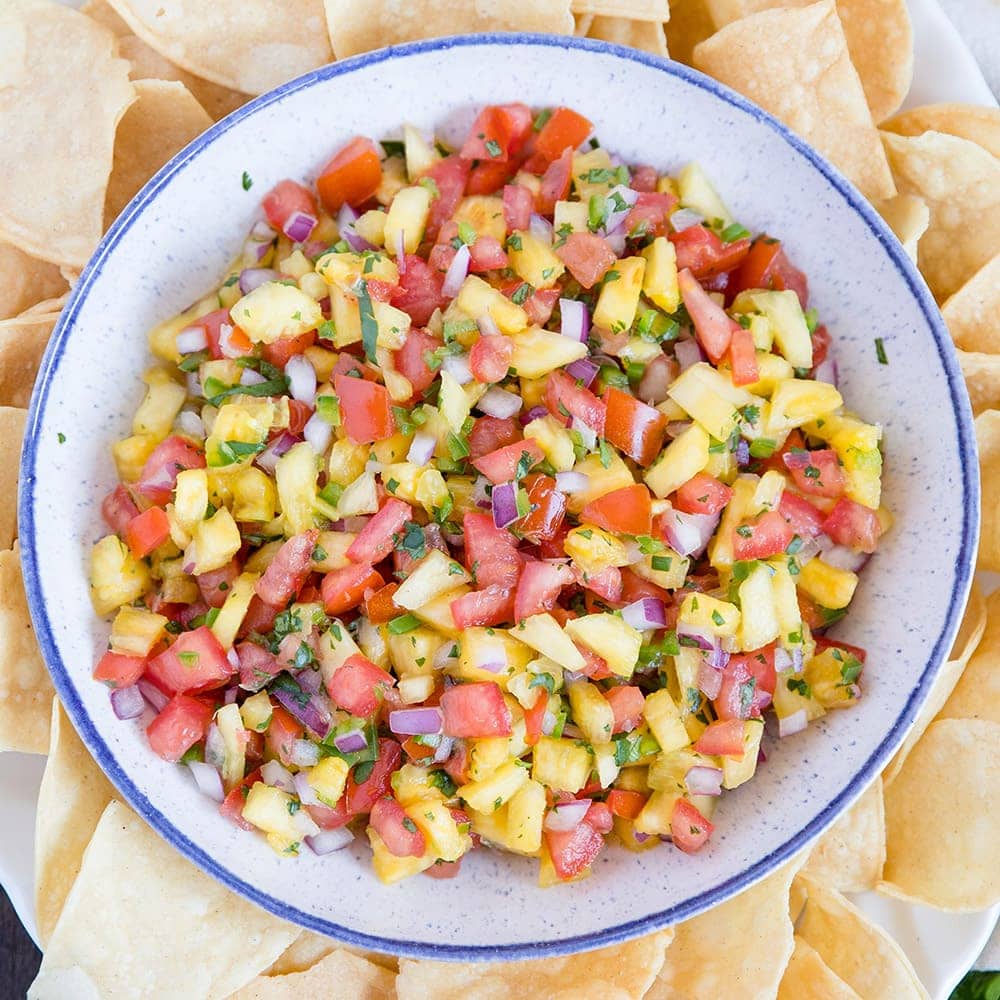
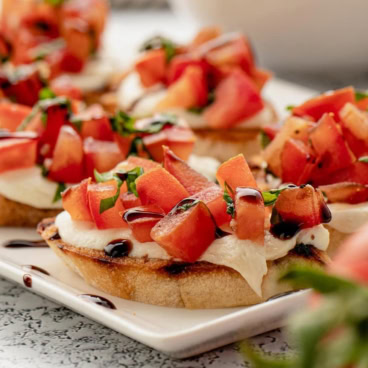
For more indulgent snacks that are perfect for game days, try my 7 Layer Dip or Bacon Crackers.
Why I Love This Recipe
- Quick & Easy – With a quick homemade chili and frozen fries, these delicious chili cheese fries come together in about 30 minutes.
- Easily Customizable – Add all your favorite nacho toppings!
- Budget-Friendly – You can heat up a couple cans of your favorite store bought chili for a more budget friendly option.
Recipe Walk-through
Main Ingredients
“Loaded fries” takes on a whole new meaning in this chili cheese fries recipe. Yes, you have chili and cheese, but then you get to add on a bevy of tasty toppings to take these totally over the top! Here’s what to grab:
- Frozen French Fries – Use any shape your heart desires: waffle, wavy, steak fries, or regular. Even tater tots will work!
- Cheddar Cheese – Make sure you grate your own cheese. The pre-grated kind is coated with starch to keep it from clumping together, so it doesn’t melt very well.
- Chili – Feel free to make any of my favorite beef chili recipes, like my Crockpot Chili, Chili con Carne, or my simple stovetop Chili Recipe. Swap in your own favorite recipe or simply use store-bought.
How To Make Chili Cheese Fries
See the recipe card below for full, detailed instructions
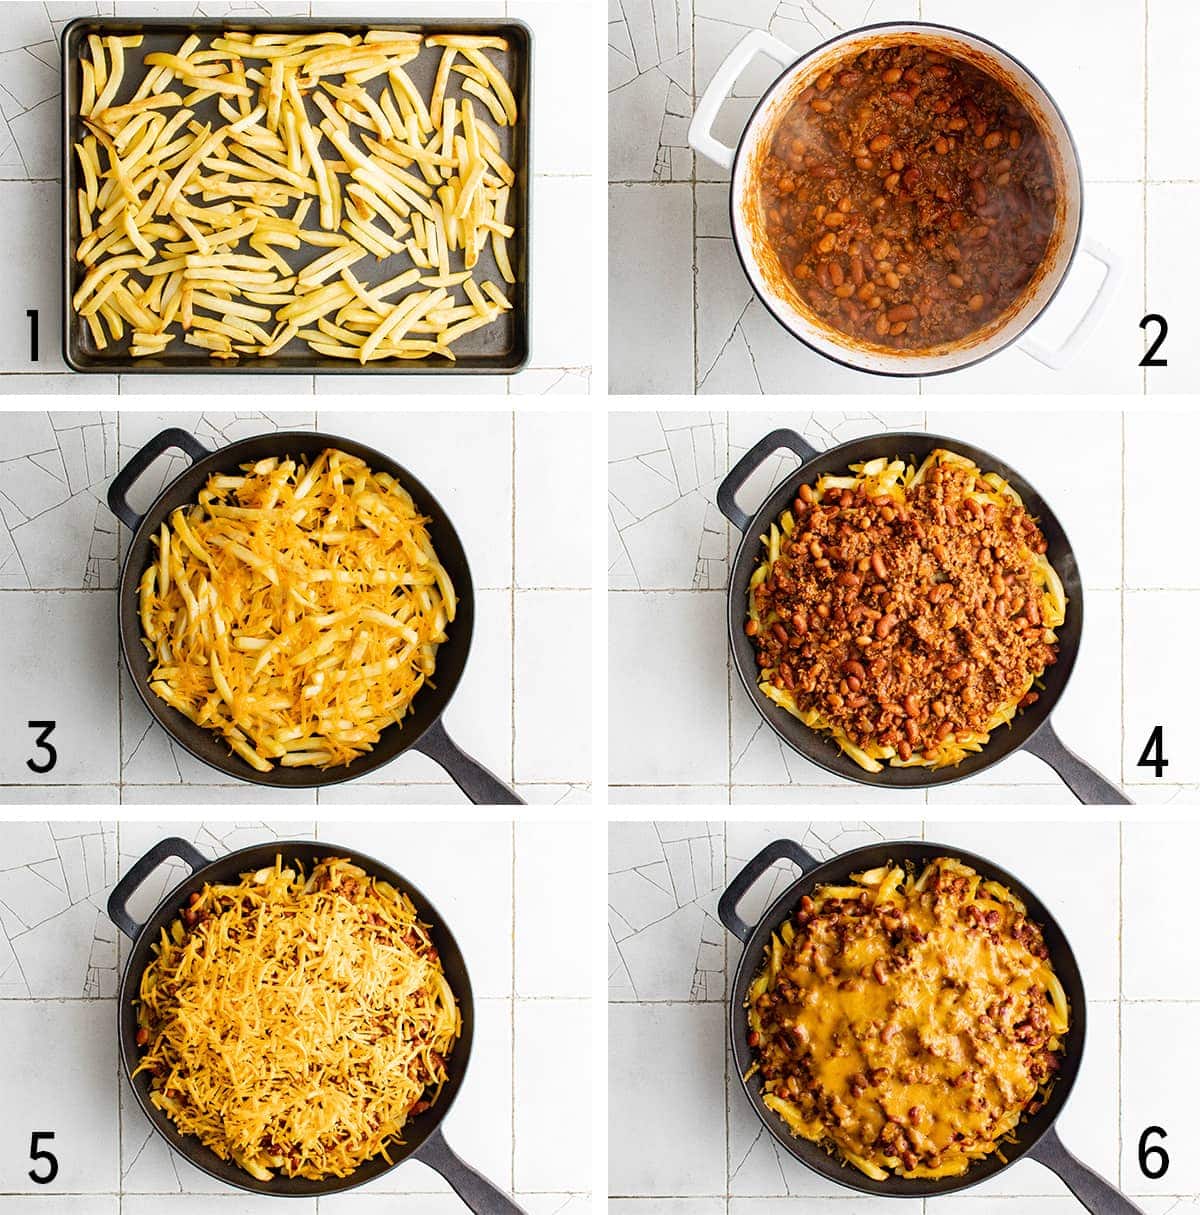
Bake French Fries – Follow the package directions to bake your fries, then season fries with salt and set aside. *Note – for crispy french fries, bake directly on the metal baking sheet.
Make or Heat Chili. Make your own favorite chili recipe (be sure to add the chili cooking time to the total cook time if you choose to make homemade chili).
Add Cheese. Line a baking sheet or a large skillet with parchment paper to keep the mess to a minimum, or use nonstick cooking spray. Arrange the fries and sprinkle with 1 cup of cheese, or more if you want the extra cheesy. Bake for 2-5 minutes, just until the cheese is melted.
Add Chili. Using a slotted spoon to drain any excess liquid, spoon chili onto the cheese fries. Top with remaining cheese and bake until the cheese is melted. *Note – use as much or as little chili as you like and save the rest for another time.
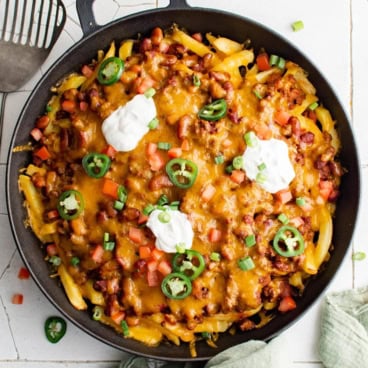
Garnish & Serve. I used sour cream, sliced green onions, diced tomatoes, and sliced jalapeños for a nacho vibe.
How To Serve
- Serve in a cast-iron skillet for restaurant-style presentation. If you only have a few folks coming over, consider making mini skillets for each guest to have their own!
- Serve on the sheet pan, with some red and white checkered paper trays to give a street fair vibe.
- Keep the extra toppings on the side for guests to serve themselves. I like to use a muffin tin to keep the toppings separate, then slide that into a 9×13 filled halfway with ice water to keep everything chilled.
Toppings
These loaded fries are your culinary playground, so just have fun with it. I went for a quasi-nachos vibe with my toppings of sour cream, green onions, and jalapeños, but feel free to use any toppings that tickle your fancy.
- Try a drizzle of ranch dressing, some chopped bacon bits, and pickled red onions.
- Freshly chopped cilantro, avocado or guacamole, and cotija cheese give some Mexican flair.
- Try using queso blanco or nacho cheese sauce in place of the cheese, or swap in spicy pepper jack in place of cheddar.
Storage Tips
The Best Way to Store Leftovers
- The best chili cheese fries come straight from the oven, so try not to make them until you’re ready to eat them.
- Keep leftovers in an airtight container in the fridge for up to 3 days. If possible, keep the ingredients separate to prevent soggy fries.
- To reheat, place on a parchment-lined tray and warm in the oven at 250℉ until heated through, about 10-15 minutes.
Recipe Tips
- Use a slotted spoon. One of the best parts about loaded french fries is the variety of flavors, textures, and temperatures you can get in one bite. To keep the fries crispy on the outside and fluffy on the inside, make sure to drain the chili as much as possible using a slotted spoon.
- Use up leftover chili. This is a fantastic way to use up leftover chili. Make a big batch, or even a double batch and save it in the fridge or freeze it so you’re ready when the craving hits.
- Make ahead – You can make the chili ahead of time, up to 3-4 days in advance, and store it in the fridge so you are always ready for cheesy fries!
- Grate your own cheese – Skip the pre-grated bags of shreds and grate your own for the best quality melt. The shredded cheese that comes in bags is coated with anti-caking agents that prevent it from sticking together, but also prevent it from melting smoothly.
- Make a big batch of chili to get two (or more) meals out of it. You don’t have to use an entire batch to make these loaded fries super tasty, so parse it out as you see fit. It’s a great way to use up leftover chili, too!
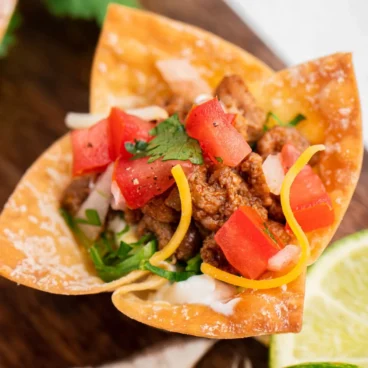
More Cheesy Appetizers
Loaded Chili Cheese Fries
Ingredients
Chili
- 1 pound Ground beef use 90/10
- 1 small Onion diced
- 2 Garlic cloves minced
- 1 tablespoon Chili powder
- 1 tablespoon Smoked paprika
- 1 teaspoon Cumin
- 1 teaspoon Black pepper
- 1/2 teaspoon Salt
- ½ cup Beef broth
- 15 ounce Can tomato sauce
- 15 ounce Can kidney beans drained and rinsed
- 15 ounce Can pinto beans
Fries
- 32 ounce Bag of frozen french fries thin and crispy, crinkle cut, or waffle fries
- 3 cups Freshly grated sharp cheddar cheese
- Toppings: Sour cream, sliced green onions, diced tomatoes, sliced jalapenos
Instructions
- Arrange frozen fries on a large baking sheet and bake according to package directions until they are nice and crispy. When the fries are done, remove the pan from the oven, season fries with salt, and set aside. Turn the oven down to 400 degrees. *Note – for crispy fries, bake directly on the metal baking sheet.
- Meanwhile, make the chili. Heat a large pot over medium-high heat and add a tablespoon of olive oil. Add the onions and saute for a couple of minutes, stirring frequently until they begin to soften.
- Add the ground beef and cook, crumbling with a spatula, until no longer pink. Drain excess grease if needed.
- Add garlic, chili powder, paprika, cumin, black pepper and salt. Stir to evenly distribute the seasonings, and continue to cook for 1-2 minutes.
- Pour in the beef broth and tomato sauce and bring to a boil, stirring occasionally and scraping up any bits stuck to the bottom of the pot.
- Stir in kidney beans and pinto beans and continue to simmer for 5-10 minutes to thicken.
- Line another baking sheet (or the same one) with parchment paper (prefered) or foil. Or you can transfer fries to a large, oven-safe skillet for a restaurant style presentation. Arrange the fries close together on the baking sheet. Sprinkle on 1 cup of the shredded cheese and bake for 2-5 minutes, just until the cheese is melted. Remove the pan from the oven.
- Using a slotted spoon to drain any excess liquid, spoon chili onto the fries. Top with remaining cheese and bake again for 5-7 minutes, or until the cheese is melted. *Note – use as much or as little chili as you like and save the rest for another time.
- Top with sour cream, sliced green onions, diced tomatoes and sliced jalapenos.
Nutrition
Nutritional Disclaimer Kristin Maxwell of “Yellow Bliss Road” is not a dietician or nutritionist, and any nutritional information shared is an estimate. For accurate calorie counts and other nutritional values, we recommend running the ingredients through your preferred online nutritional calculator. Calories and other nutritional values can vary depending on which brands were used.
This looks and sounds amazing. I know we are going to love this!
Love to here from you Deborah, thanks for stopping by.