This post may contain affiliate links. Please read our disclosure policy.
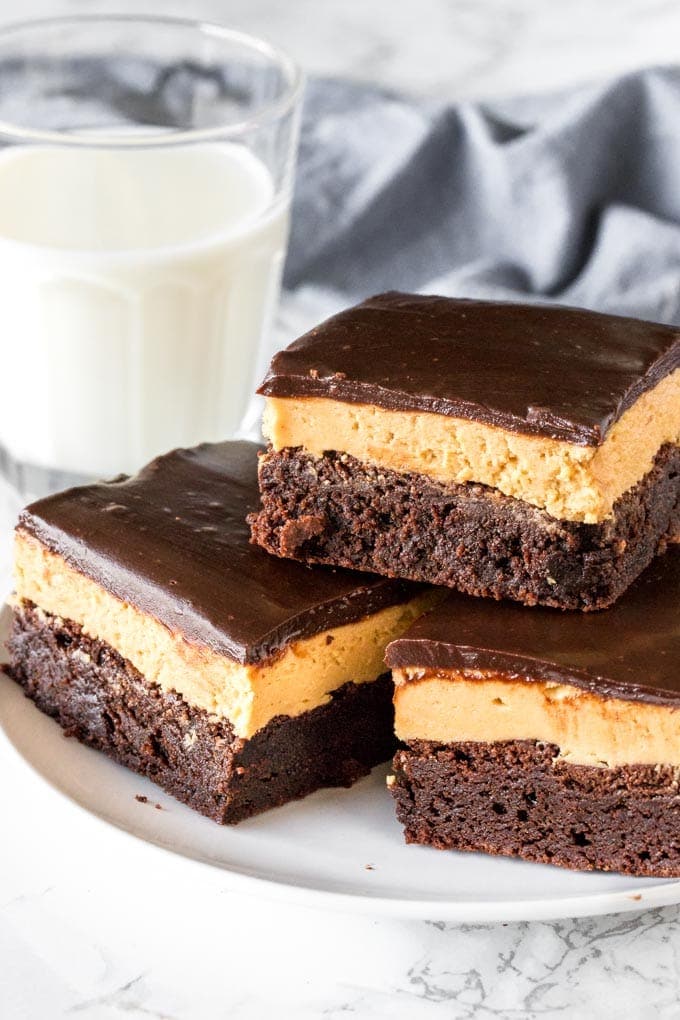
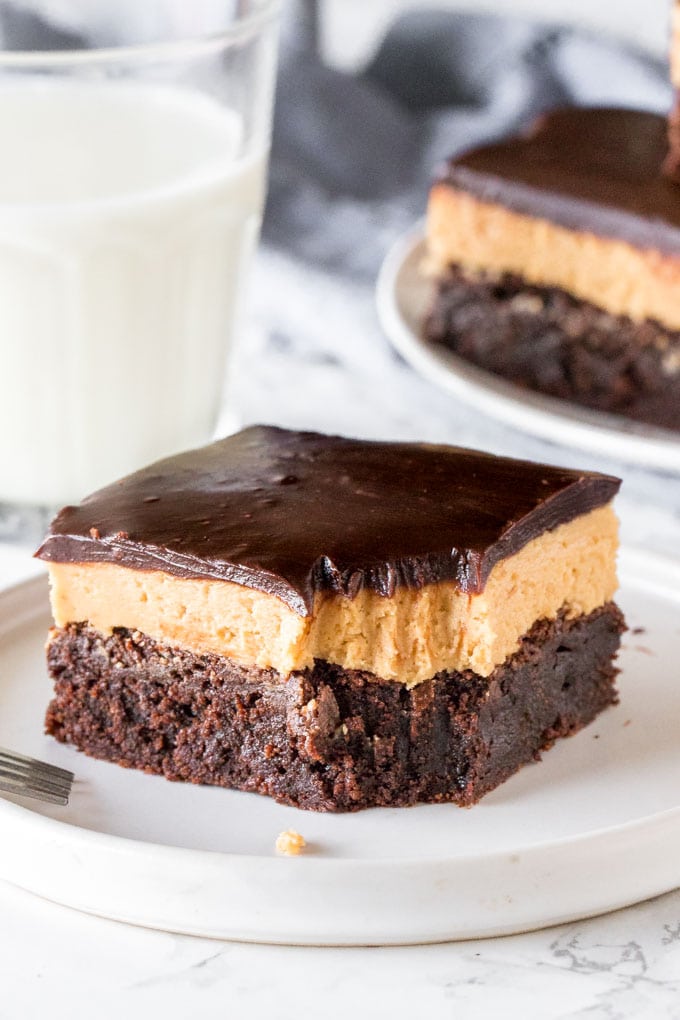
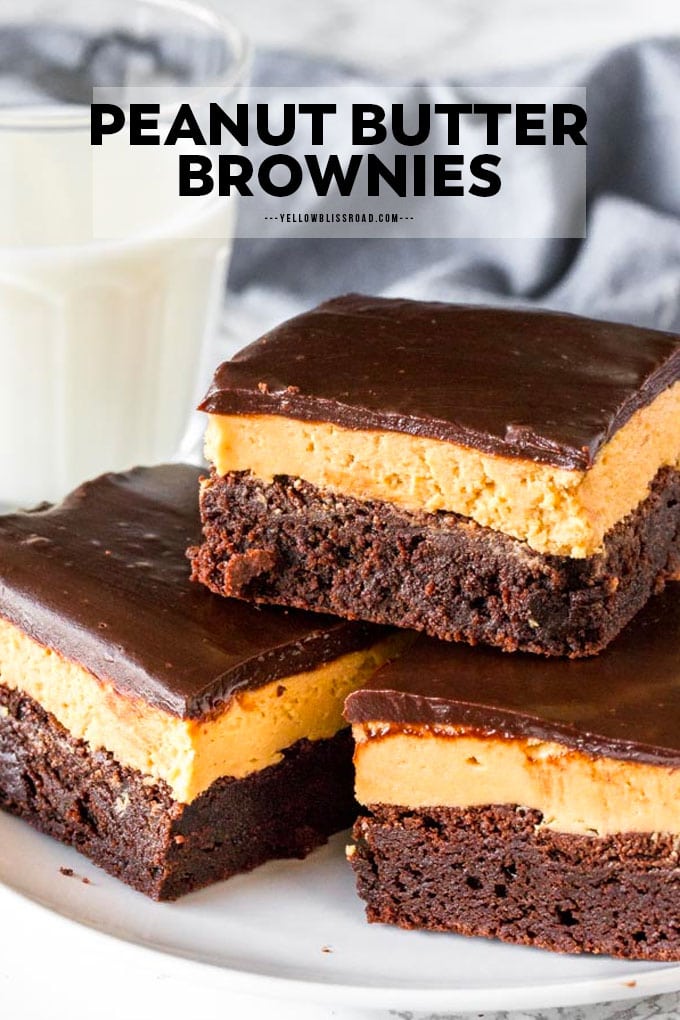
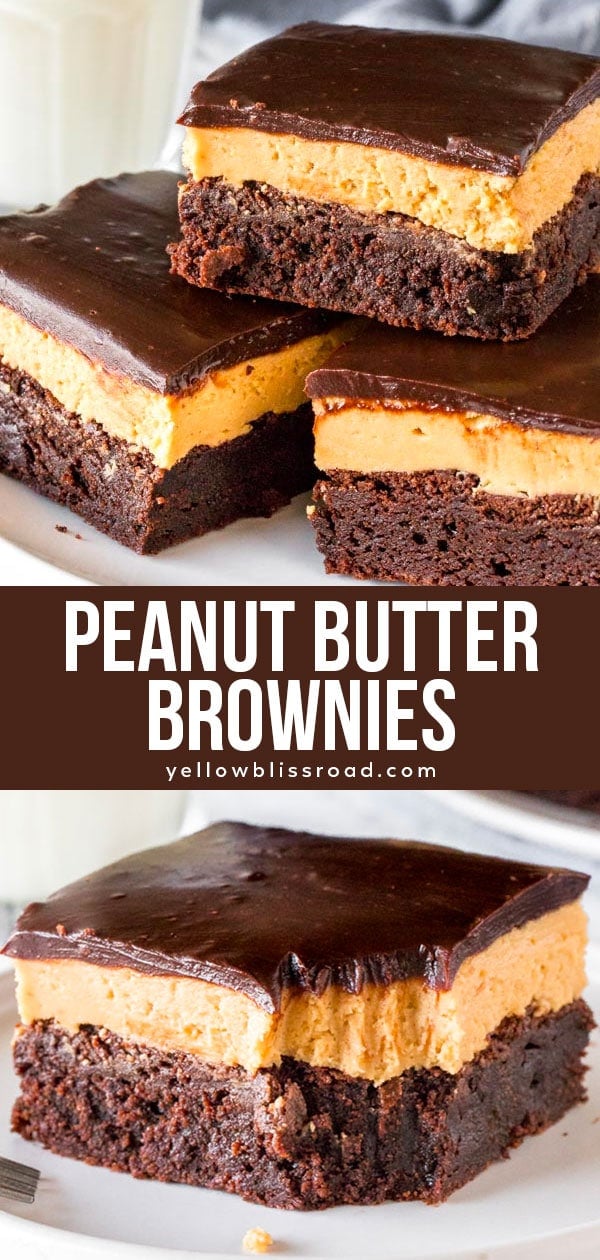
These layered peanut butter brownies have a fudgy brownie base, a delicious peanut butter middle that tastes like a peanut butter cup, and chocolate topping! You can make them from scratch, or even use a brownie mix to save time. The perfect treat for peanut butter lovers!
Peanut Butter Brownies
These peanut butter brownies combine 2 of my all-time favorite treats: fudgy brownies and peanut butter balls. They’re sometimes called buckeye brownies because the middle layer tastes just like peanut butter buckeyes (you know those delicious peanut butter truffles that are half dipped in chocolate?). But I also just like to call them delicious. They’re fudgy, peanut buttery-y, chocolate-filled, and yes, very rich.
How to Make Layered Peanut Butter Brownies
This is a layered brownie, so we prepare it in layers.
First, we make the brownie layer:
- In a large bowl, melt together the butter and semi-sweet chocolate. Always melt chocolate in the microwave on medium power. Otherwise, it can burn or bake, instead of melting.
- Then whisk in the sugar, vanilla extract and eggs to the melted chocolate mixture until it’s nice and thick.
- Gently stir in the cocoa powder, flour and salt. Stir just enough to incorporate all of the ingredients, until you can no longer see any specks of flour.
- Line a big 9×13-inch baking dish with parchment paper and pour the batter into the pan. Bake the brownie layer for 30- 35 minutes.
Next the peanut Butter Layer:
Once the brownies are fully cooled, it’s time to make the peanut butter layer. It’s basically like the middle of a peanut butter cup!
- In a large bowl, you’ll beat the butter until smooth.
- Then beat in the peanut butter, followed by the powdered sugar. The mixture should be the consistency of a very thick frosting or thicker.
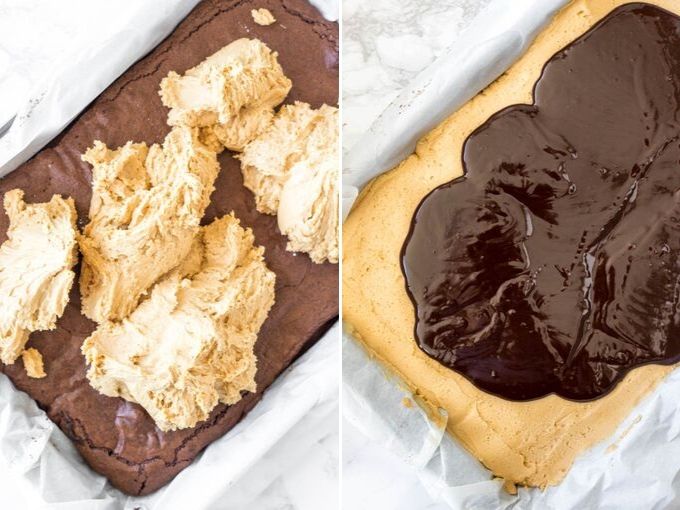
- Spoon the peanut butter filling over the cooled brownies, and then press it down smooth so it’s one even layer. I use a piece of wax paper to do this so my hands don’t get sticky and it doesn’t stick to the peanut butter filling.
- Then pop the brownies in the fridge for the middle layer to firm up.
Finally, the chocolate Layer:
Then the chocolate topping is a delicious ganache. I use a ganache on top instead of just chocolate because it makes the brownies way easier to cut and has a creamier texture.
- Place the chopped chocolate (or chocolate chips) in a glass, heat proof bowl.
- Heat the cream until almost boiling (either in the microwave or on the stove).
- Pour the hot cream over the chocolate, and then whisk until smooth.
- Then pour the chocolate topping over the peanut butter layer, and pop the bars in the fridge until the chocolate is hardened.
Tips and tricks
- If you’d like to make these brownies using brownie mix, simply bake the brownies according to the package instructions (make sure the recipe is for a 9×13 inch pan, or “family size”). Then make the peanut butter layer and chocolate topping that’s listed in the recipe below.
- I’ve developed this recipe for a 9×13 inch pan – which makes a very big batch of brownies. You can easily halve the recipe (all the components) and make them in an 8×8 or 9×9 inch pan. The bake time for the brownie layer will be about the same.
- Brownies can be frozen for up to 4 months. Wrap cooled brownies in plastic wrap, then in freezer bags or foil. Thaw in the fridge overnight before eating.
- For leftovers, store in an airtight container in the fridge. Let sit out on the counter for 10 minutes before eating to soften.
For more delicious brownie recipes, why not try:
- Layered Mint Brownies
- White Chocolate Brownies
- German Chocolate Brownies
- Cream Cheese Brownies
- Red Velvet Brownies
- Coconut & White Chocolate Blondies
Peanut Butter Brownies
Ingredients
Brownie Layer
- 1 cup unsalted butter cut into pieces
- 8 oz semi-sweet chocolate, chopped or 1 ¼ cup chocolate chips
- 2 cups white sugar
- 1 teaspoon vanilla extract
- 4 large eggs
- 1/2 cup cocoa powder
- 3/4 cup all-purpose flour
- 1/2 teaspoon salt
Peanut Butter Filling
- 1/2 cup unsalted butter
- 1 1/2 cups peanut butter
- 2 ½ - 3 cups powdered sugar
Chocolate Topping
- 10 oz semi-sweet chocolate, chopped or 1 ½ cups chocolate chips
- 1/3 cup heavy cream
Instructions
Brownie Layer
- Preheat the oven to 350F degrees and line a 9x13 inch pan with parchment so there's an overhang around the sides.
- Add the butter and chocolate to a large heatproof bowl. Microwave on medium power for 45-second intervals, stirring between each, until smooth. Do not microwave on high/regular power!
- Let the mixture cool slightly, then whisk in the sugar and vanilla extract. Whisk in the eggs 1 at a time.
- Gently fold in the cocoa powder, flour and salt.
- Pour the mixture into the prepared pan and bake for 30-35 minutes, or until an inserted toothpick comes out clean or with a few damp crumbs.
- Cool the brownies fully (keeping them in the pan).
Peanut Butter Layer
- In a large bowl, beat the butter until soft.
- Beat in the peanut butter.
- Beat in the powdered sugar, starting with 2 cups. Slowly beat in the remaining powdered sugar a little at a time until the mixture is thick and the desired sweetness is reached.
- Spoon the peanut butter mixture over the brownies. Using a piece of wax paper between your hand and the peanut butter layer, press the mixture down until it's a flat, smooth layer
- Place in the fridge for 30 minutes to firm up.
Chocolate Topping
- Place the chocolate in a large heatproof bowl.
- Heat the cream until almost boiling - either in the microwave or on the stovetop while stirring gently.
- Pour the hot cream over the chocolate and let it sit for 3 minutes. Whisk until smooth. If the chocolate isn't quite melted, microwave for 30 seconds on medium power.
- Pour the chocolate over the peanut butter layer and spread smooth.
- Place in the fridge for the chocolate to set.
- Cut into bars.
Notes
Nutrition
Nutritional Disclaimer Kristin Maxwell of "Yellow Bliss Road" is not a dietician or nutritionist, and any nutritional information shared is an estimate. For accurate calorie counts and other nutritional values, we recommend running the ingredients through your preferred online nutritional calculator. Calories and other nutritional values can vary depending on which brands were used.


Love these
Thank you Tonya!
I love this recipe!!! I usually use a box mix becasue I’m just too lazy! I want to make these for a party but I’ll already be doing lots of cooking/baking that day. Will they still be good if I store in the fridge overnight?
Yes they will be fine stored in the fridge.