This post may contain affiliate links. Please read our disclosure policy.
Hi everyone! Heather here from The Caterpillar Years sharing a fun activity for those days you’re trapped indoors because of the weather.
My kids love to play hide-and-seek, but since there’s only two of them, the game gets repetitive after a while. The last time we played, I invited my girls to pretend to be spies while they looked for each other. It added a whole new spin to the game and kept them busy, and QUIET, for about an hour. Pure weekend bliss!
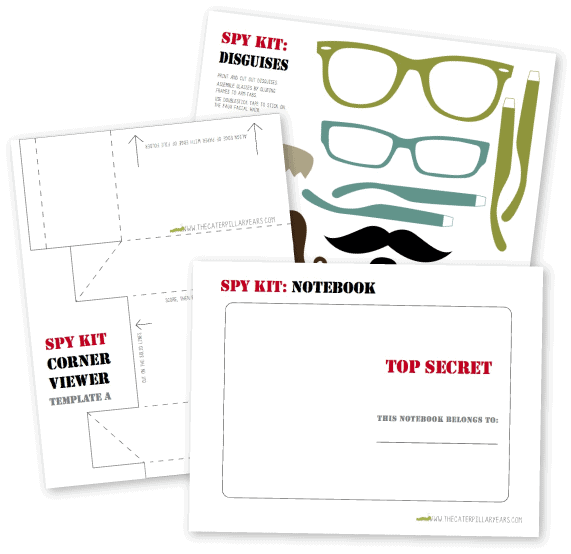
Here are some great printable pieces to help outfit your little spies!
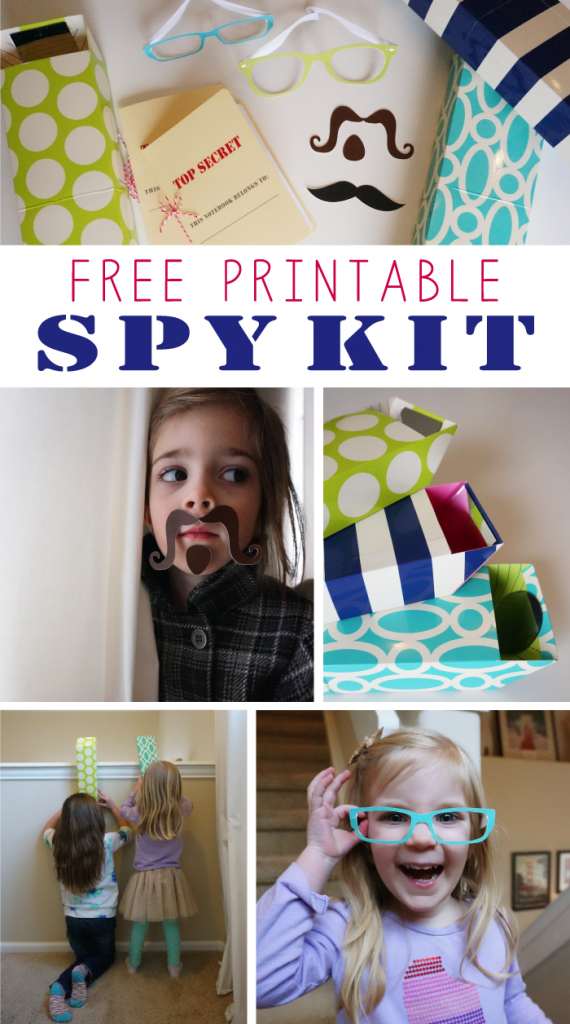
Materials
Top Secret Notebook
- Manila File folders for the covers, trimmed to 8.5″ x 11″ for printing
- Printer and printer paper, cut to size
- String and needle, or stapler, for binding
Disguises
- White 8.5″ x 11″ card-stock
- Color printer
- Scissors
- Glue Stick
- Double Sided Tape
Corner Viewer
- Printer and printer paper for template
- File Folders – You can get a 10 pack for $1 at your local dollar store, or check out an office supply store for fun colors and patterns!
- Two small mirrors – Makeup compact mirrors work great! These can also be found at your local dollar store.
- Scissors
- Ruler
- Glue Stick
- Rubber Cement (or white glue)
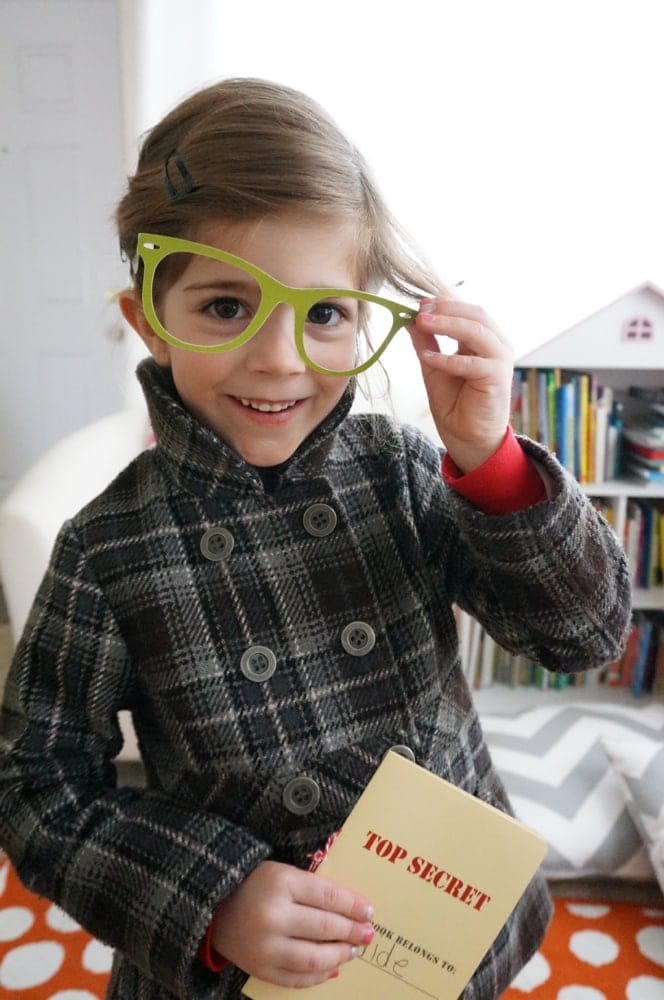
The notebook and disguises are self explanatory—print out the templates, then cut them out. If you’d like a detailed tutorial on the notebook, you can see how I used the same technique to make coloring book party favors.
For the Corner Viewers, it’s a little more involved, but still quite easy. From start to finish, they take about 10 minutes to make.
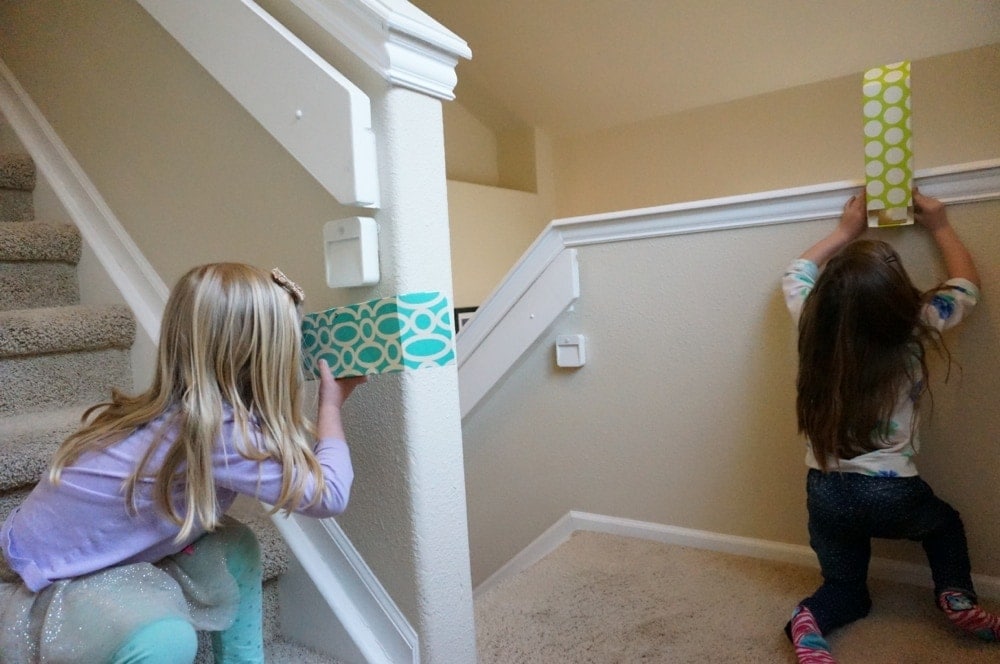
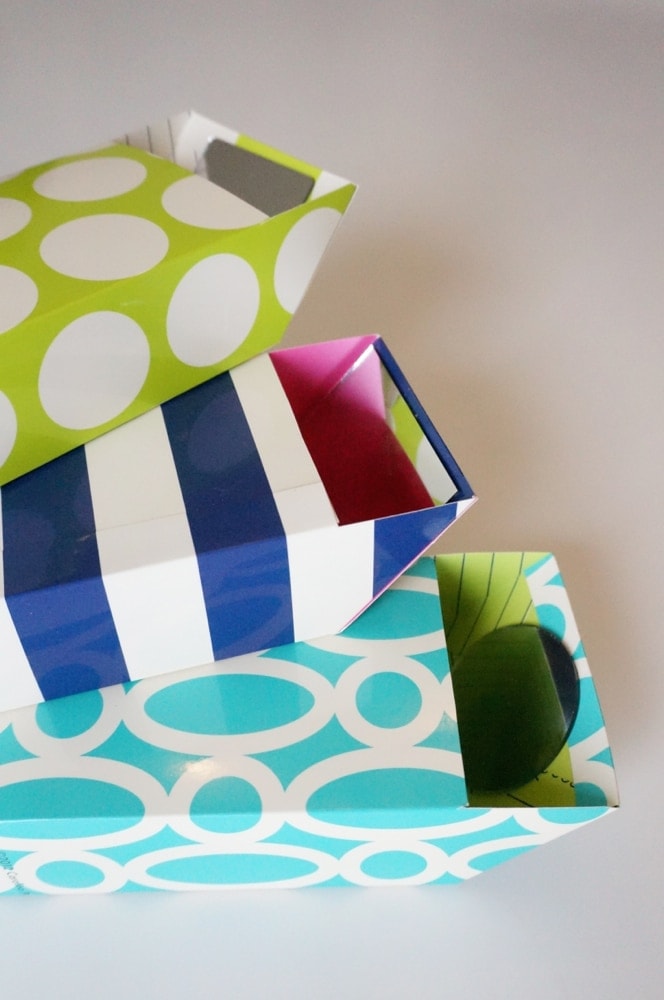
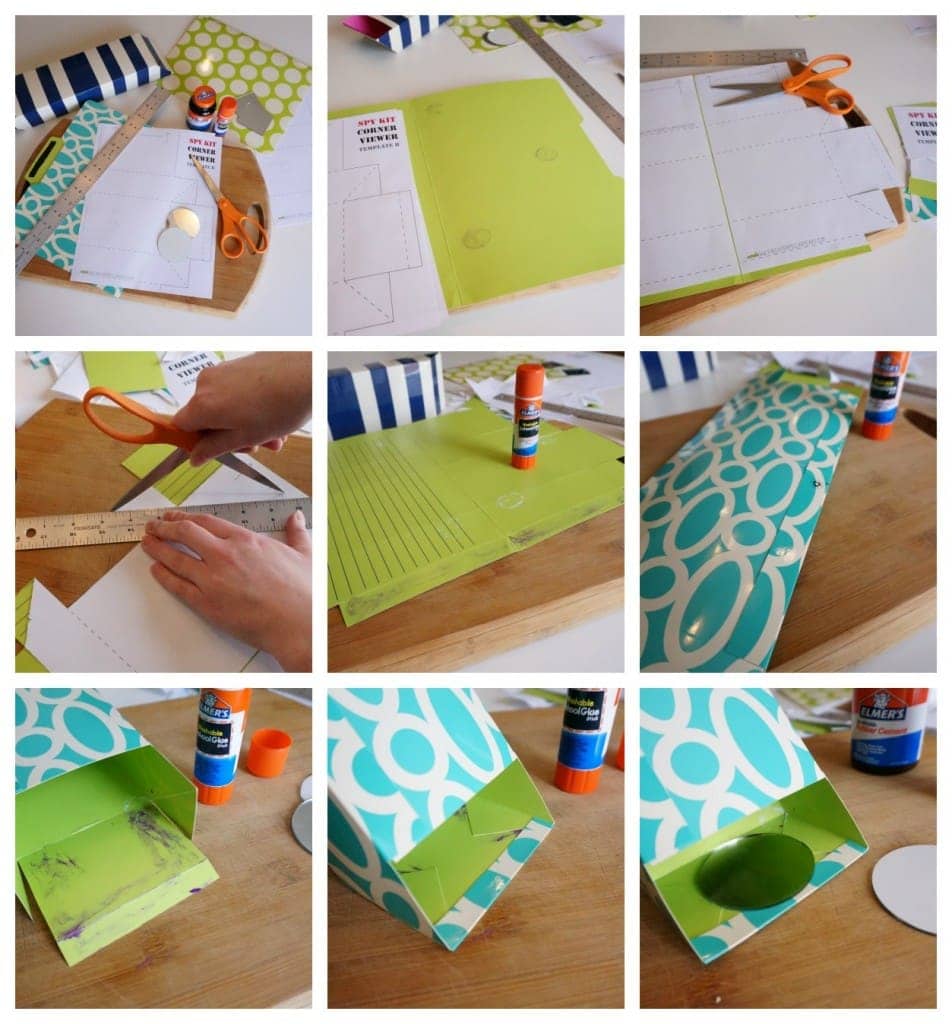
Start by printing out the templates (both A and B) on regular printer paper. Next, using your glue-stick, place a few small dots of glue on the inside of the file folder to hold your templates in place. Line up the templates with the center fold and one edge of the file folder.
Using the template as your map, cut along all of the solid lines. Then, working from the outside in, begin scoring along the dotted lines, using a ruler and one arm of your scissors. You will cut through the template paper, which is why I suggest starting at the outside and working your way inwards, leaving the full length dotted lines for last.
Once all of your folds have been scored, it’s very easy to fold along all of the vertical lines until you create a box. Glue the last (and smallest) flap to the body of the viewer.
For the ends, fold the two small triangles and the small thin flap inward, and glue in place.
Finally, using rubber cement, glue your mirrors in place.
Here are the step-by-step photos:
Download the printable spy kit!
For more adorable kids crafts and printables, be sure to check these out:
First Day of School Photo Props
