This post may contain affiliate links. Please read our disclosure policy.
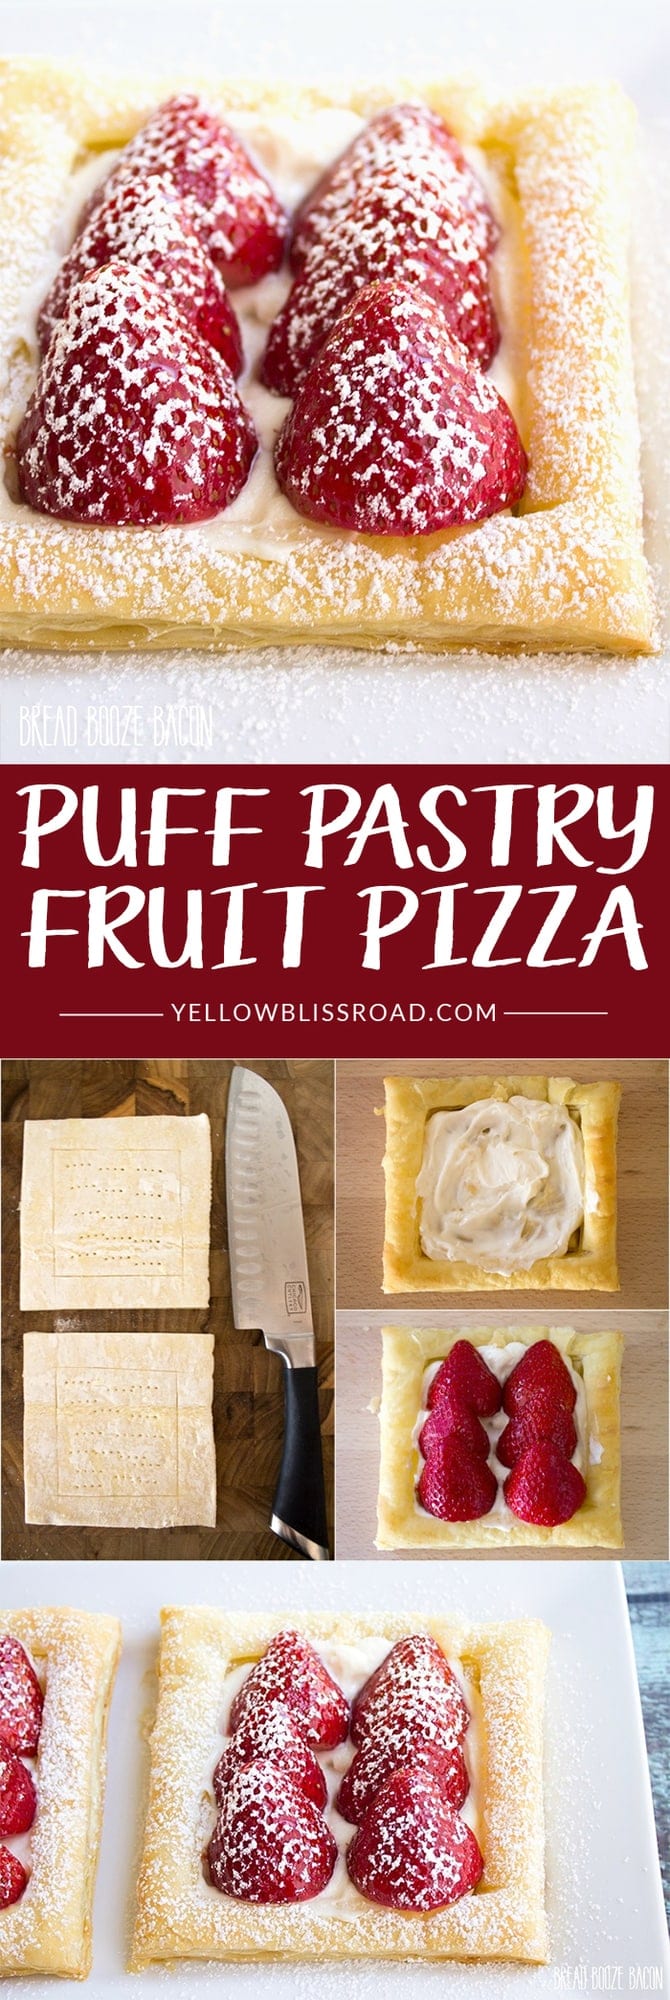
This Puff Pastry Cheesecake Fruit Pizza looks like a fancy dessert that’s perfect for company, but it’s crazy easy to make! Use fresh strawberries, blueberries, or just about any fruit you have on hand.
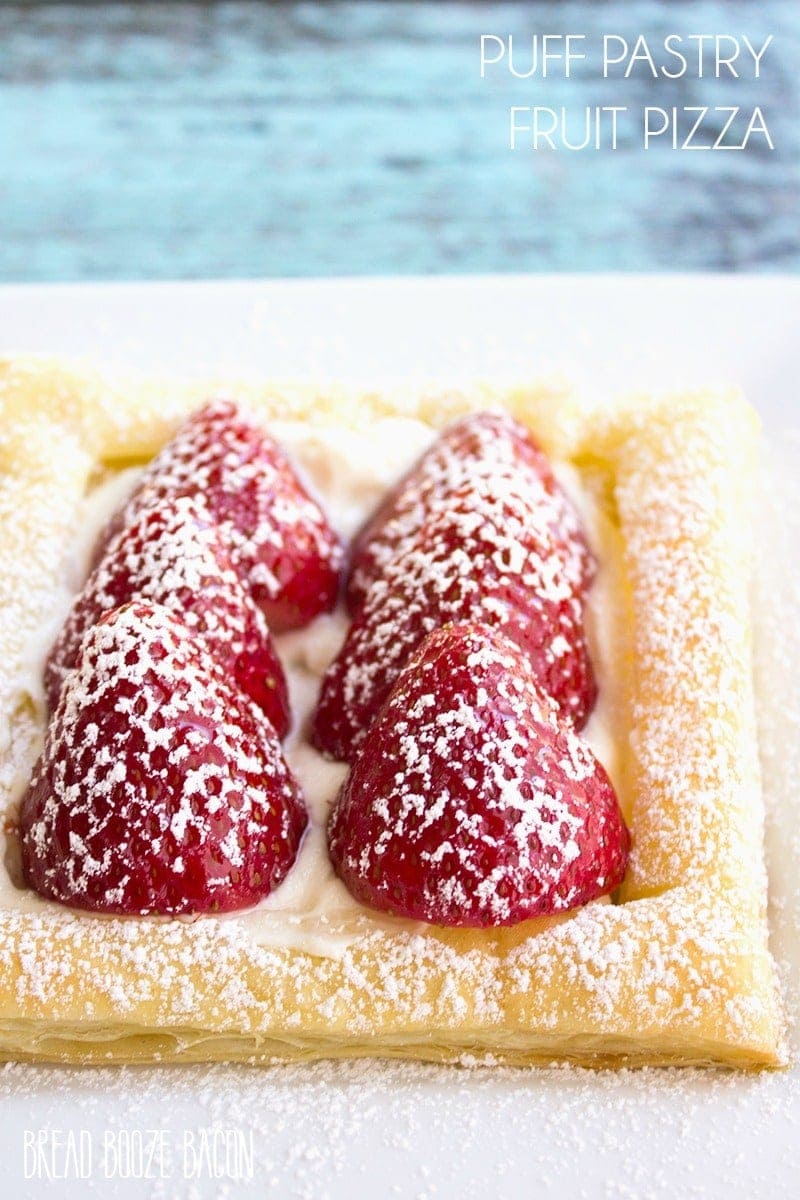
Cheesecake is one of my favorite desserts of all time. It’s been my birthday cake countless times over the years, and now I’m turning it into the easiest, prettiest dessert that you’ll want to make any time company comes over. This dessert pizza can be customized any way you like with whatever fruit is in season. This recipe is sure to become a staple in your recipe book.
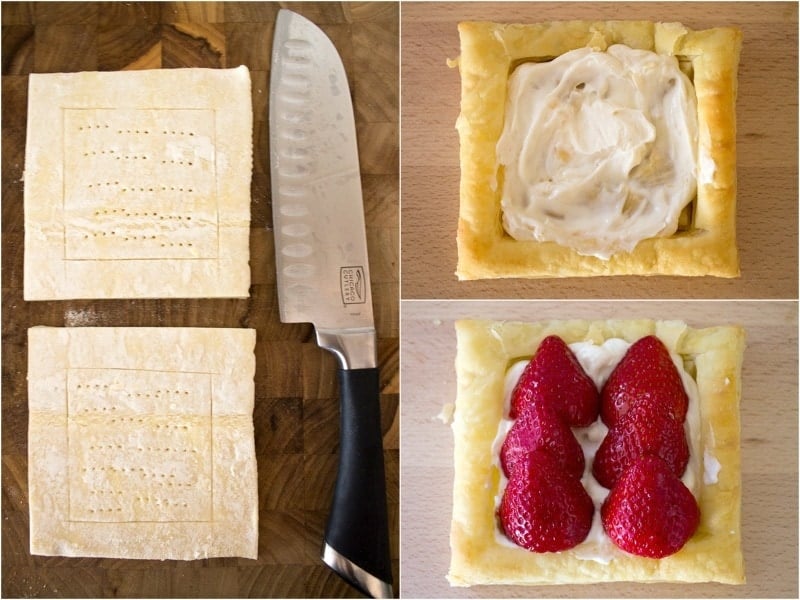
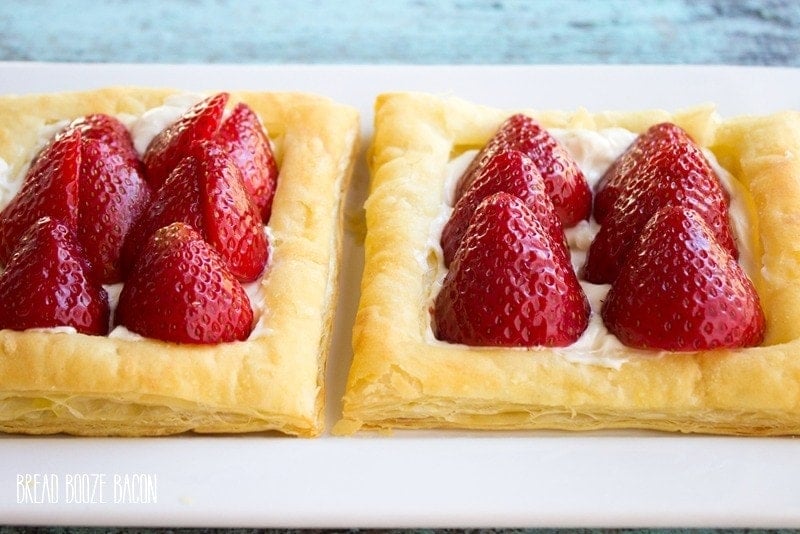
There are basically 3 parts to this dish. Puff pastry, no bake cheesecake, and fruit. Pick your favorites. I had strawberries on hand so that’s what I used. Raspberries, blueberries, blackberries, plums, peaches, and apples would all be great here too. I’ve also made these fruit pizzas with lemon curd instead of the cheesecake and it’s amazing. So bright and fresh for spring. I do like the berries better and apples or pears with the lemon curd, just a heads up.
If you keep puff pastry in the freezer, you’ll be company ready all the time with these recipe!
Looking for more delicious desserts? Try my…
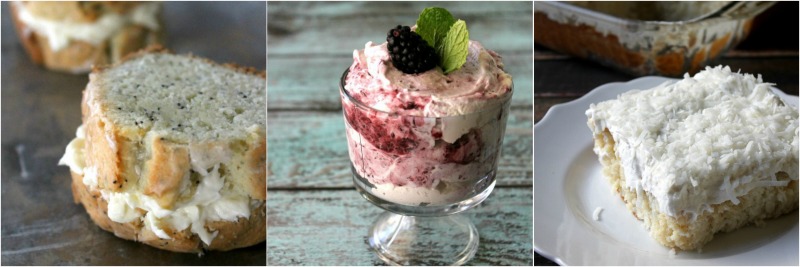
Almond Poppy Seed Pound Cake | Blackberry Mint Fool | Mom’s Best Ever Coconut Cake
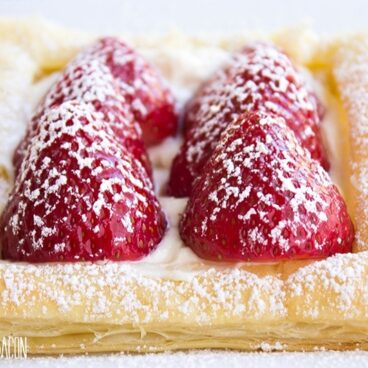
Puff Pastry Fruit Pizza
Ingredients
- 1 sheet puff pastry dough thawed according to package directions
- 2 cups strawberries stemmed and sliced
- 1 teaspoon sugar
- 4 ounces cream cheese softened
- 1/4 cup powdered sugar
- 1/2 teaspoon vanilla extract
- 1 to 2 tablespoons milk
- Powdered sugar for garnish
Instructions
- Preheat your oven to 400 degrees F (or to the temperature listed on your puff pastry sheet package). Line a baking sheet with a Sil-Pat or parchment paper.
- Place the strawberry slices in a bowl and sprinkle with sugar. Stir to combine. Allow the strawberries to macerate while the pastry bakes.
- Lay out the puff pastry dough on a cutting board so it in one, flat piece. Use a sharp knife to cut the dough into 4 equal squares.
- Using the same knife cut into the dough and run the knife down each side of the dough square until you are a 1/4-inch from the edge of the dough, Repeat this on all four sides. When done, you should have a 1/4-inch square frame around the dough. Use a fork to repeatedly pierce the center of the dough, inside the frame.
- Repeat with the remaining dough squares and then transfer the dough to your prepared baking sheet.
- Bake for 15 minutes, or until the pastry has risen and the tops are golden. Remove from the oven.
- While the pastry bakes, prepare the cheese filling. In a medium mixing bowl cream together the cream cheese, powdered sugar, and vanilla until smooth. Add 1 to 2 tablespoons of milk to thin out the filling a little to your desired consistency. Set aside.
- Once the pastry is out of the oven, transfer them to a serving platter.
- Place ¼ of the filling in the center of each pastry. Use the back of a spoon to spread out the filling until you reach the edge of the inner square. (The "frame" you cut before baking will act as a crust and keep everything in the middle.)
- Layer ½ cup of the sliced strawberries on top of each pastry so they look pretty. (Conversely, you can dice the strawberries, macerate them, and spoon ½ over the top of each pastry and top with whipped cream.)
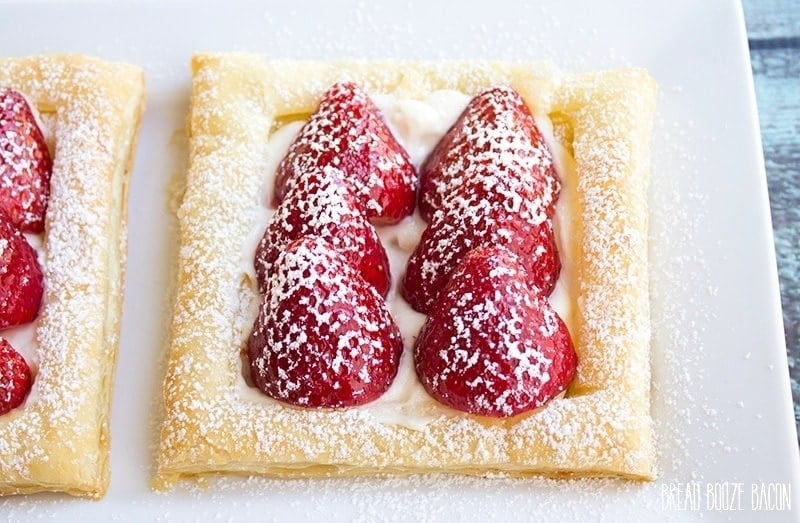
- Sprinkle the top of the strawberries with powdered sugar, if desired. Server immediately.
Notes
Nutrition
Nutritional Disclaimer Kristin Maxwell of "Yellow Bliss Road" is not a dietician or nutritionist, and any nutritional information shared is an estimate. For accurate calorie counts and other nutritional values, we recommend running the ingredients through your preferred online nutritional calculator. Calories and other nutritional values can vary depending on which brands were used.
For more easy desert ideas, try these:
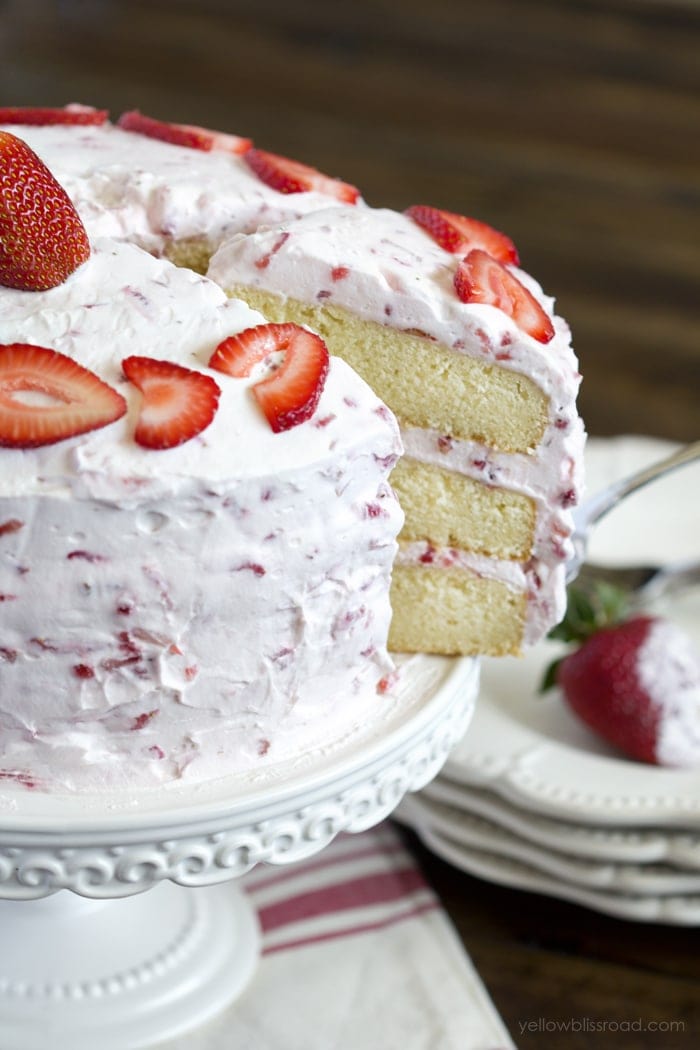
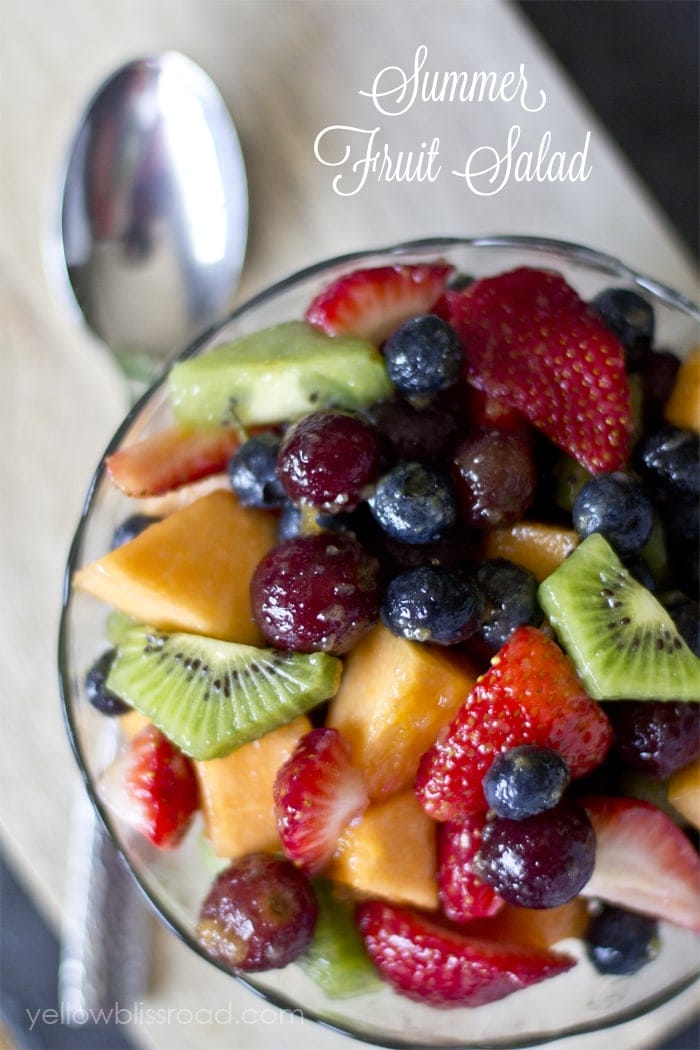
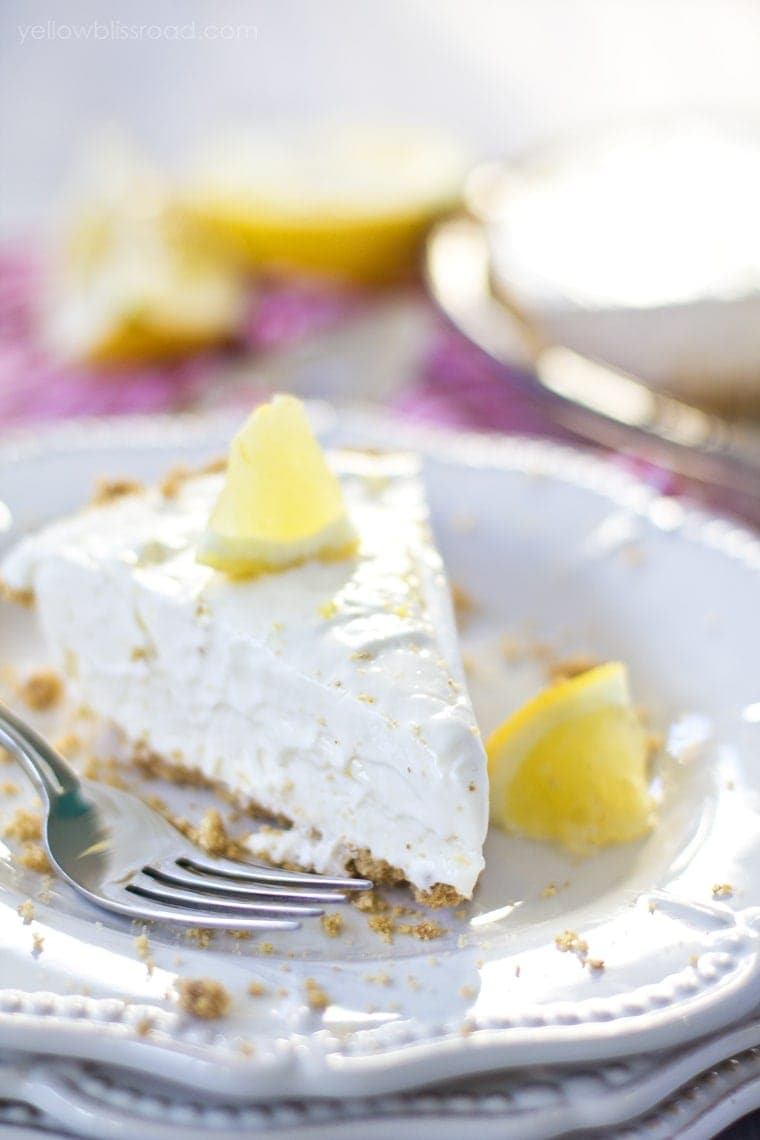
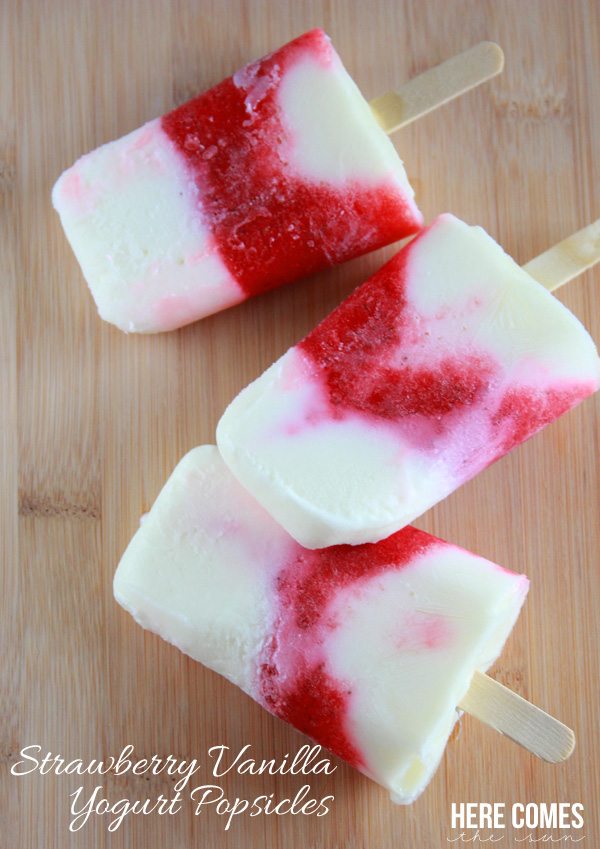
Strawberry Vanilla Yogurt Popsicles
For all desserts, go HERE and for all recipes go HERE.
Looks delicious! A simple and a perfect dish. I would try making it for Easter. Thanks for the recipe Julie 🙂