This post may contain affiliate links. Please read our disclosure policy.
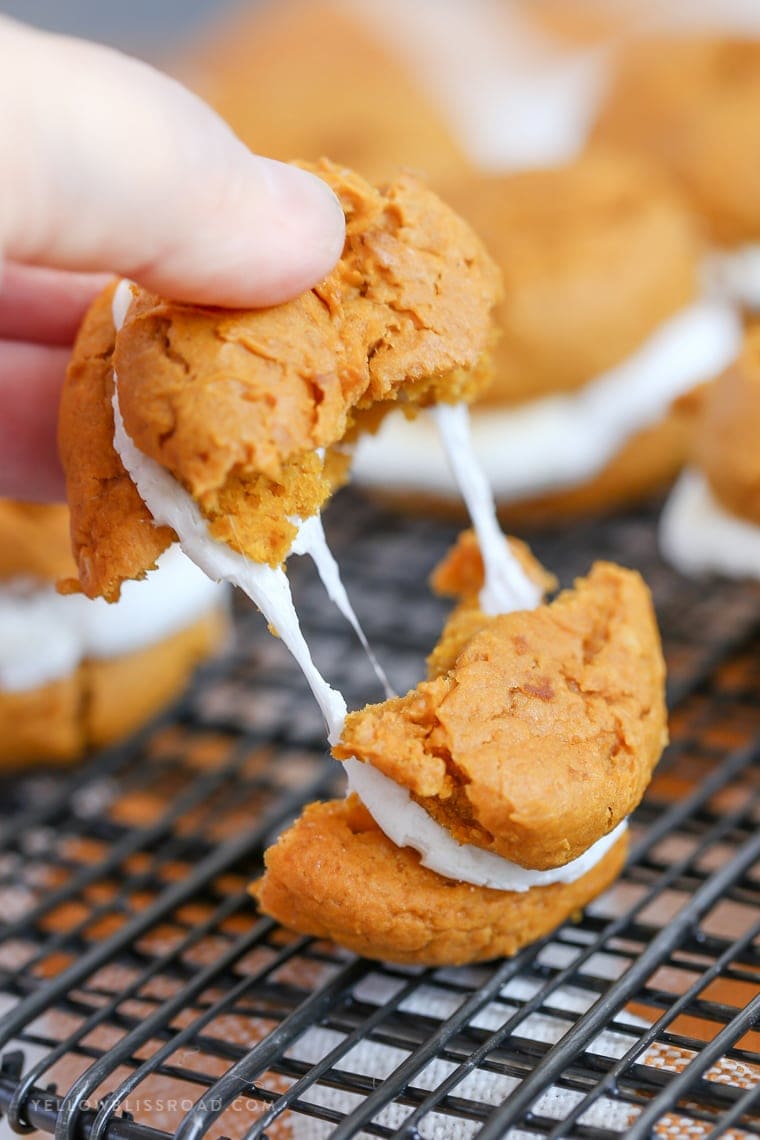
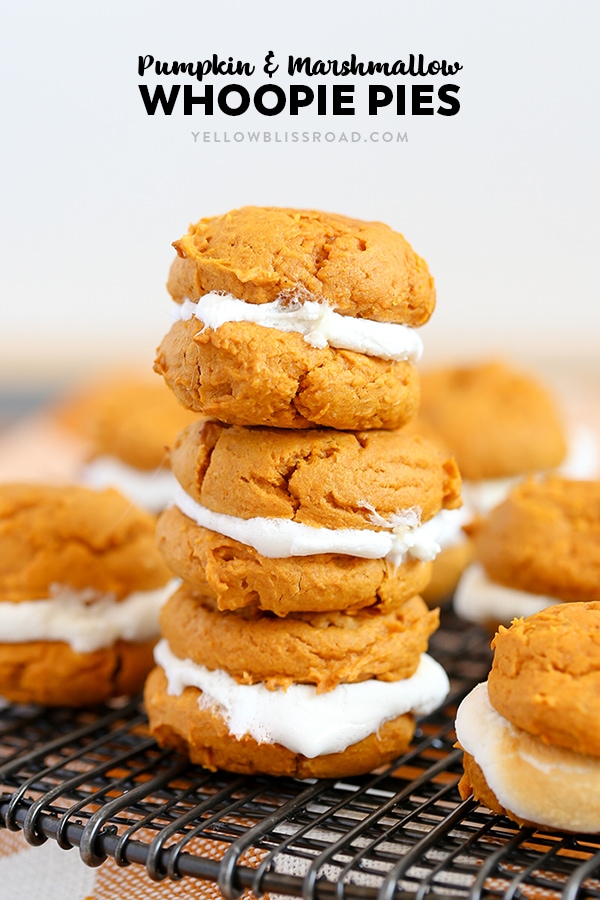
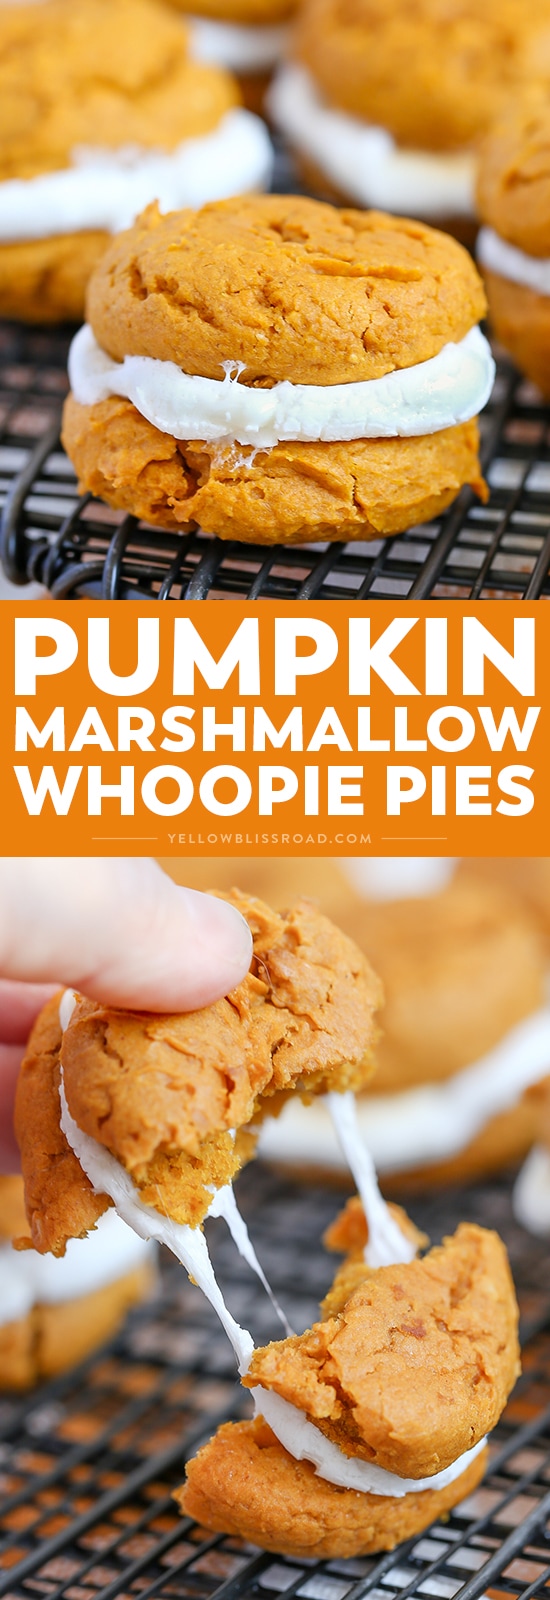
These Pumpkin Cookie & Marshmallow Whoopie Pies are a delicious and easy fall dessert. Made with a simple cake mix dough and toasted marshmallows, they will be at the top of your fall baking list!
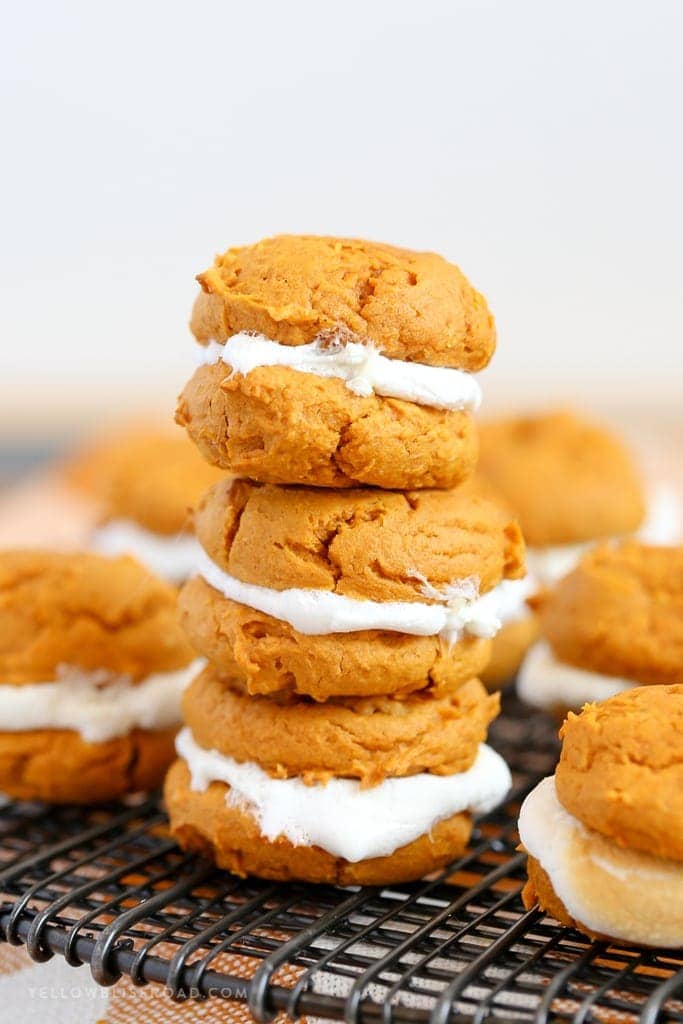
One of my first “complicated” baking ventures was making whoopie pies. Now, mind you they aren’t complicated but there are a few extra steps, plus the frosting for the center. I came across a recipe that used marshmallows instead of frosting and the simplicity intrigued me. It was one of the first recipes I shared online and I’ve been eagerly waiting for pumpkin season so I could give these Pumpkin Whoopie Pies a try.
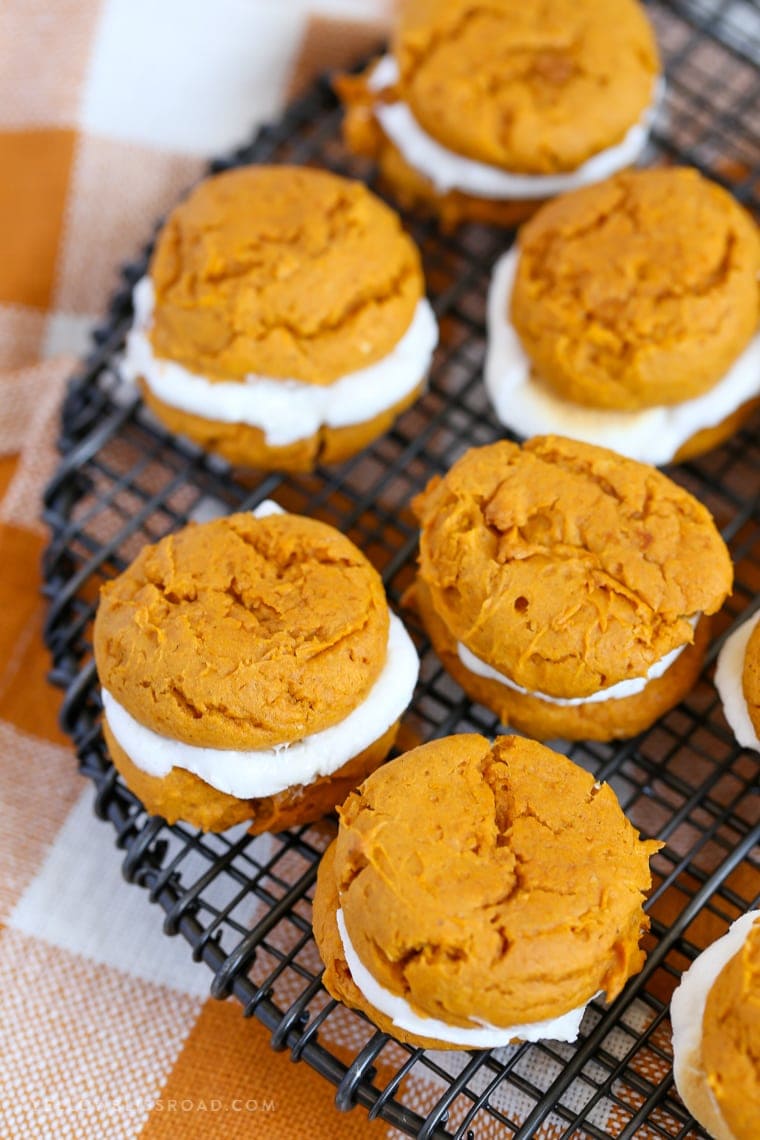
I chose to make a simple cake mix dough for my pumpkin cookies. There are many pumpkin cookie recipes floating around that you could use if you’re so inclined, like these pumpkin chocolate chip cookies from Two Twenty One.
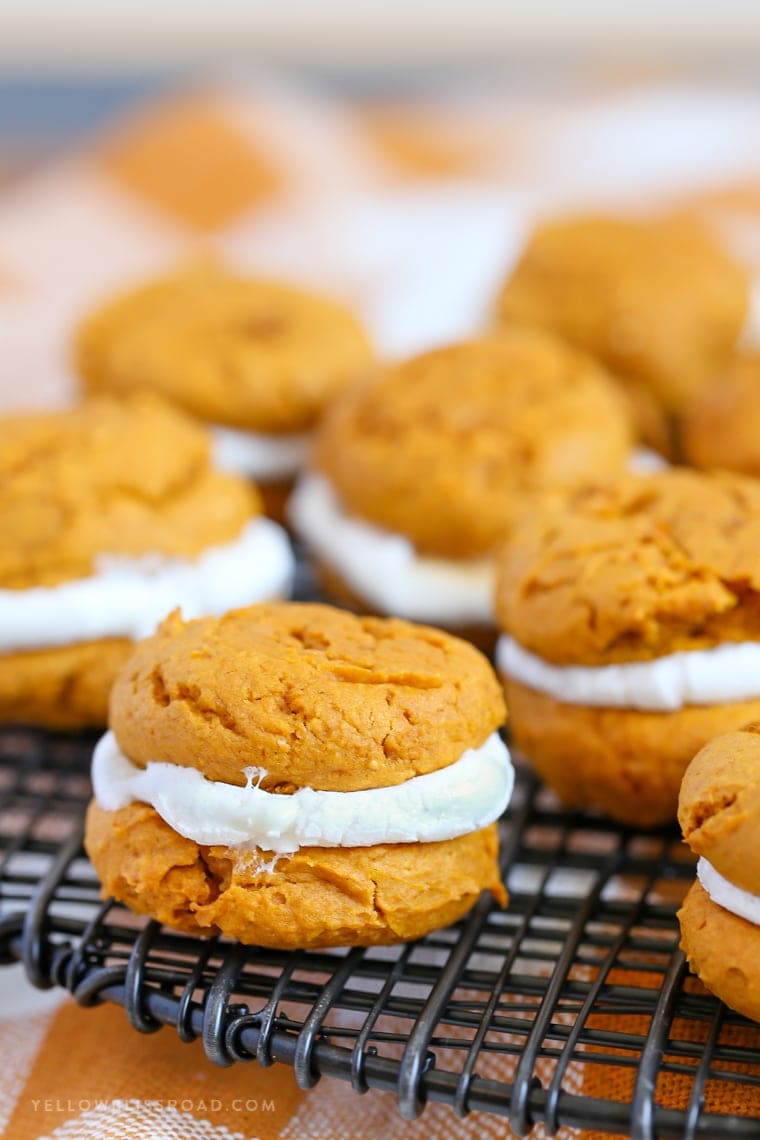
The batter is crazy easy, with just yellow cake mix, canned pumpkin (pumpkin puree, not pie filling), pumpkin pie spice and vegetable oil. The result is an incredibly tender, moist cookie that has an intense spiced flavor. You could also use a spice cake mix, I just personally like to control the spice.
Once the cookies are baked, half of them go onto a wire rack to cool while the other half are flipped over and topped with have of a large a marshmallow. The marshmallows are toasted under the broiler for a minute (just long enough to soften them). It’s important to let the marshmallows set/cool for a few minutes before topping them with one of the cooled cookies because they’ll just slip right off. The larger marshmallows were too big for these cookies, but if you use a different cookie recipe, the full marshmallow might work. I’d try it out on a few first before doing the whole batch.
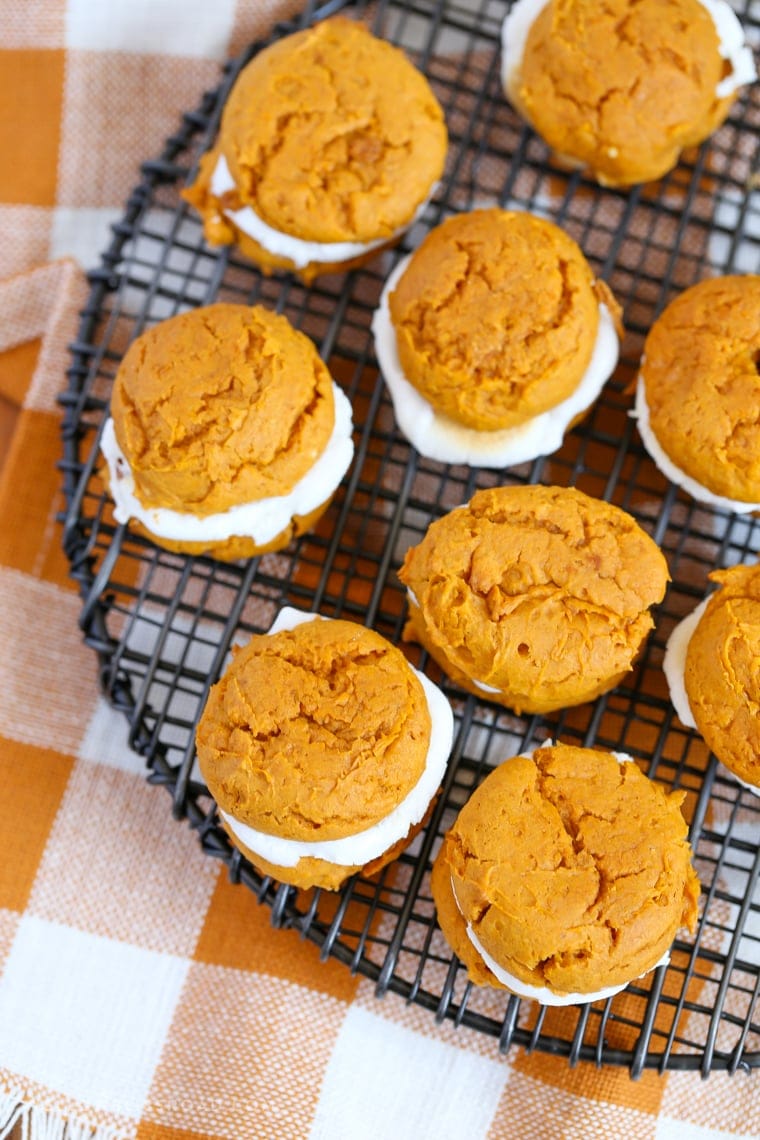
These Pumpkin Cookie & Marshmallow Whoopie Pies were thoroughly enjoyed at our house, and my daughter was quite sad when they were gone. I’m thinking we’ll see them a lot before season’s end!
Pumpkin Cookie & Marshmallow Whoopie Pies
Ingredients
- 1 box yellow cake mix
- 1 tablespoon pumpkin pie spice
- 1 15- ounce can pumpkin puree
- ½ cup vegetable oil
- 12 Large marshmallows
Instructions
- Preheat oven to 350 degrees F.
- In a medium-sized bowl, beat cake mix, pumpkin puree, pumpkin pie spice and vegetable oil until smooth.
- Using a medium cookie scoop, drop mounds of dough onto parchment lined baking sheets.
- Bake for about 12-15 minutes, or until tops spring back lightly when touched. Remove from the oven and press cookies lightly with the back of a metal spatula to flatten slightly.
- Meanwhile, cut marshmallows in half and set aside. You'll only need half as many marshmallows as you have cookies.
- Cool on baking sheets for 2-3 minutes. Transfer half of the cookies to a wire rack, and flip the other half over on the baking sheet so the bottoms are facing up.
- Place a large marshmallow on each of the overturned cookies. Slide the sheet back into the oven for 2-3 minutes, just until marshmallows start to puff up and about double in size.
- Remove from the oven and cool for 2-3 minutes. Place the cooled cookies from the wire rack on top of the marshmallow to form a sandwich, pressing lightly and twisting gently to adhere.
- Cool sandwiches completely on the wire racks. Watch them for a minute or so to make sure the tops don't slip off.
- Store in an air-tight container for up to 5 days.
Notes
Nutrition
Nutritional Disclaimer Kristin Maxwell of "Yellow Bliss Road" is not a dietician or nutritionist, and any nutritional information shared is an estimate. For accurate calorie counts and other nutritional values, we recommend running the ingredients through your preferred online nutritional calculator. Calories and other nutritional values can vary depending on which brands were used.
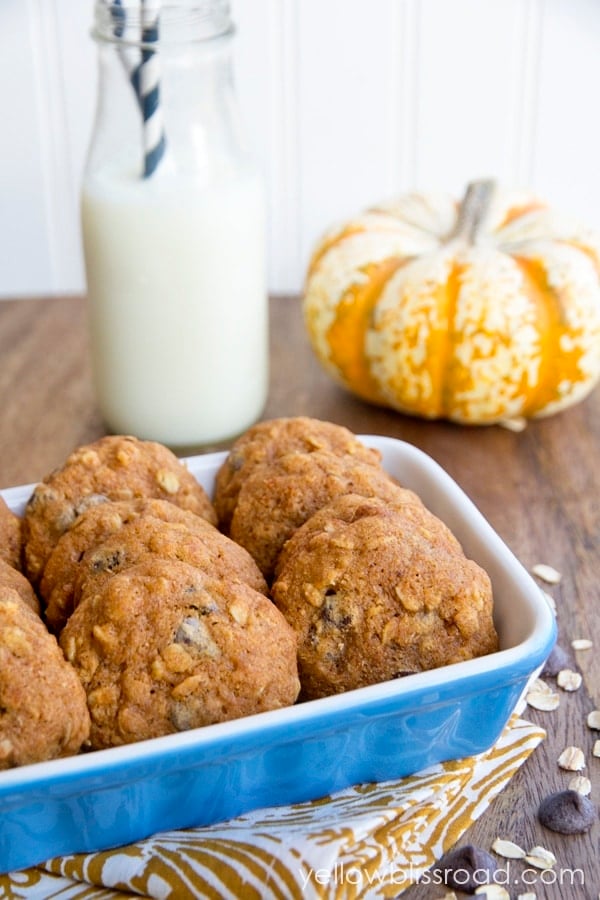
We also love these Oatmeal Pumpkin Chocolate Chip Cookies!
And for more delicious pumpkin desserts, try these:



Do you think you could make the cookies and store, then add the marshmallow a few days later when you’re ready to serve? I want to put these in lunch boxes but don’t actually need them for a few days.
You could do that. I would do it within 2 days though, to preserve the freshness of the cookies.
These look amazing and very easy! I love the idea!
Thank you Catherine!