This post may contain affiliate links. Please read our disclosure policy.
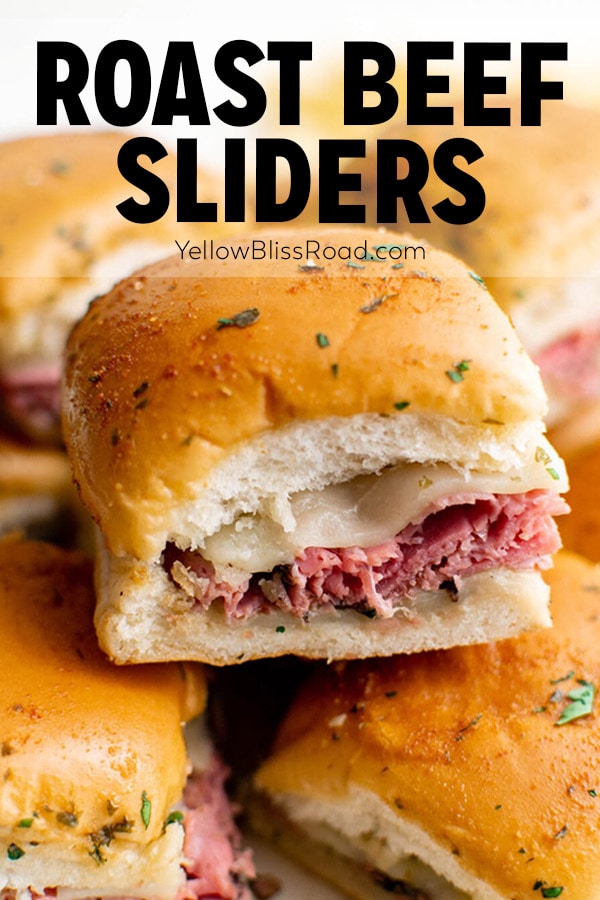
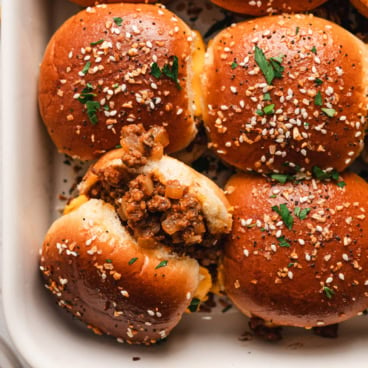
Roast Beef Sliders are dinner rolls stuffed with meat and cheese and brushed with a savory garlic butter sauce. They are perfect for parties, game night, or just an easy dinner.
If you love sliders like we do, be sure to try our Garlic Butter Ham & Cheese Sliders and Monte Cristo Sliders. Both are a huge hit on game day!
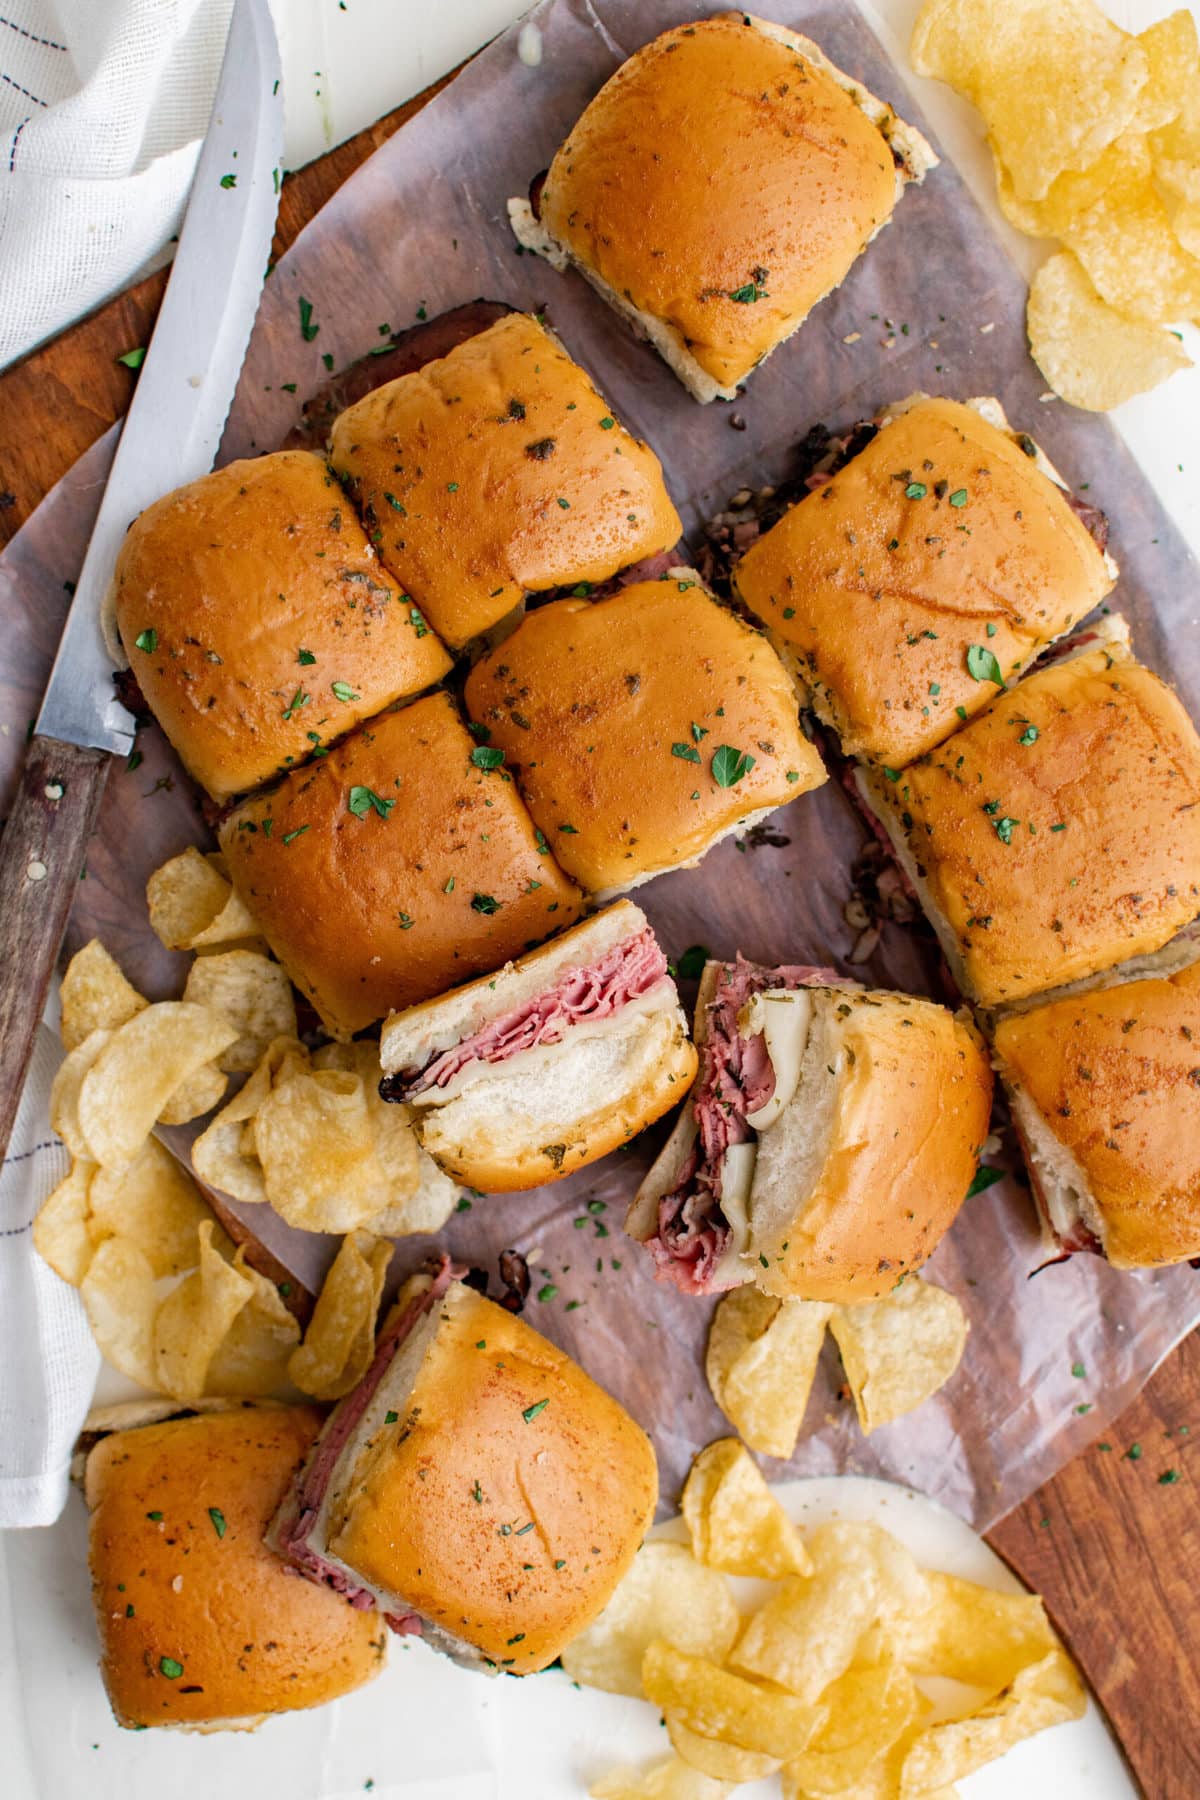
Why We Love This Recipe
- Ready in under 30 minutes – This Roast Beef Sliders recipe is really simple to whip up and takes just a few minutes to get in the oven.
- Perfect for game day – These sliders are a great handheld addition to a game day spread.
- Family friendly meal idea – Kids and adults alike love them for dinner, and the leftovers make a delicious lunch option.
RECIPE WALK-THROUGH
Ingredient Notes
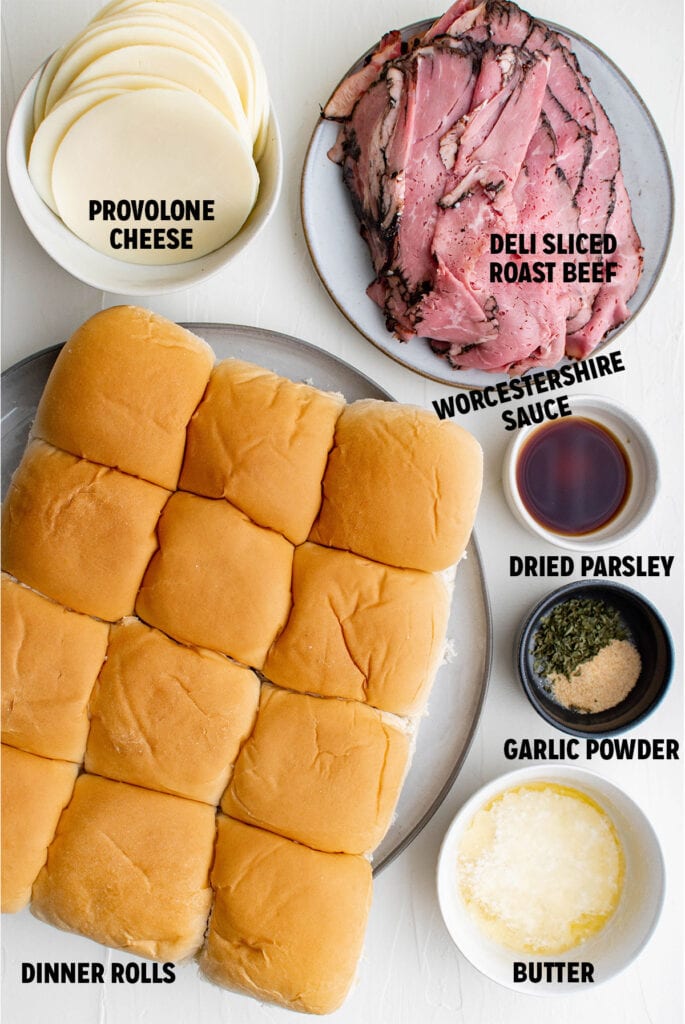
- Rolls – I like to use dinner rolls for Roast Beef Sliders because they aren’t as sweet as Hawaiian Rolls. You can usually find a 12-pack in the bakery of your grocery store.
- Roast Beef – Because it’s going to bake in the oven, I ask for the more rare cut of beef they have in the deli. I usually end up with a London Broil.
- Provolone – This is a white cheese that has a mild, nutty flavor. You can buy it pre-packaged or the deli can slice it for you. Go for a medium thickness, not too thin.
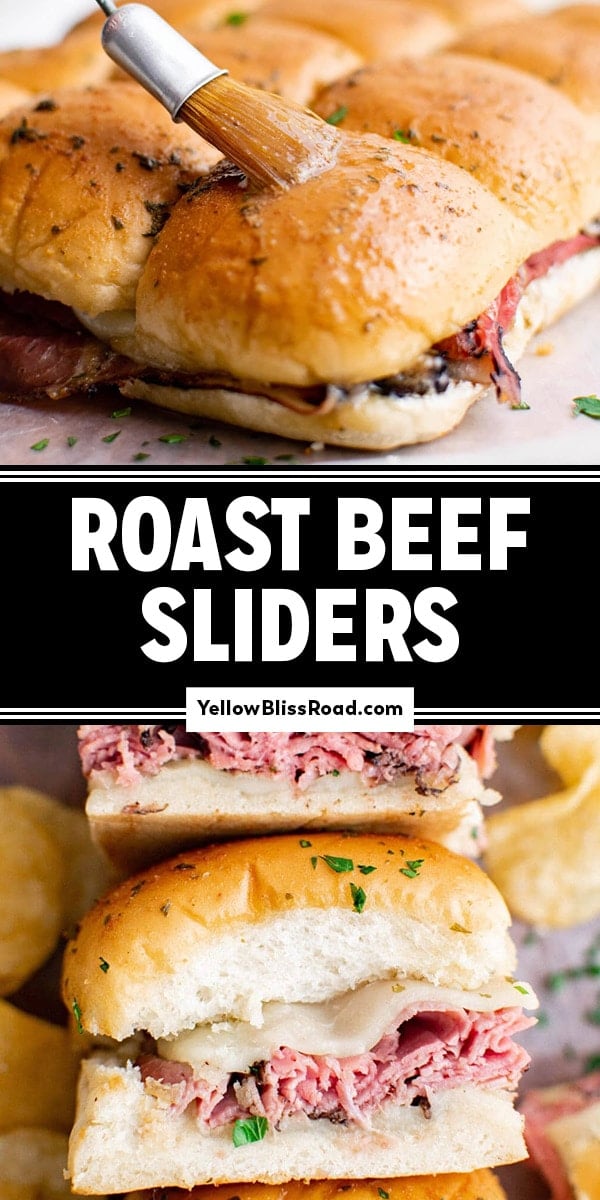
- The Sauce – To add that incredible umami flavor, I mixed melted butter, garlic, parsley, and Worcestershire sauce and brushed it all over the sandwiches. As they bake, the tops of the rolls get all crusty and garlicky and oh-so delicious.
How To Make Roast Beef Sliders
See the recipe card below for full, detailed instructions
Cut the rolls. You’re going to want to keep the rolls connected, so cut carefully through the middle with a bread knife so you have a bottom half and a top half. Split them open so the insides are side by side and laying open with the insides fain
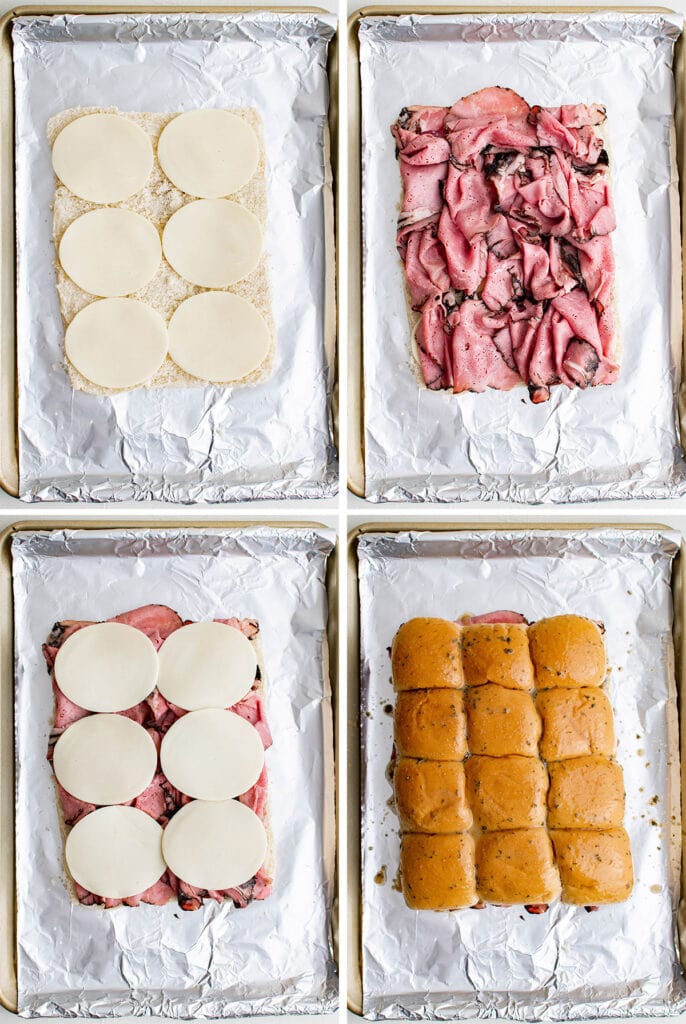
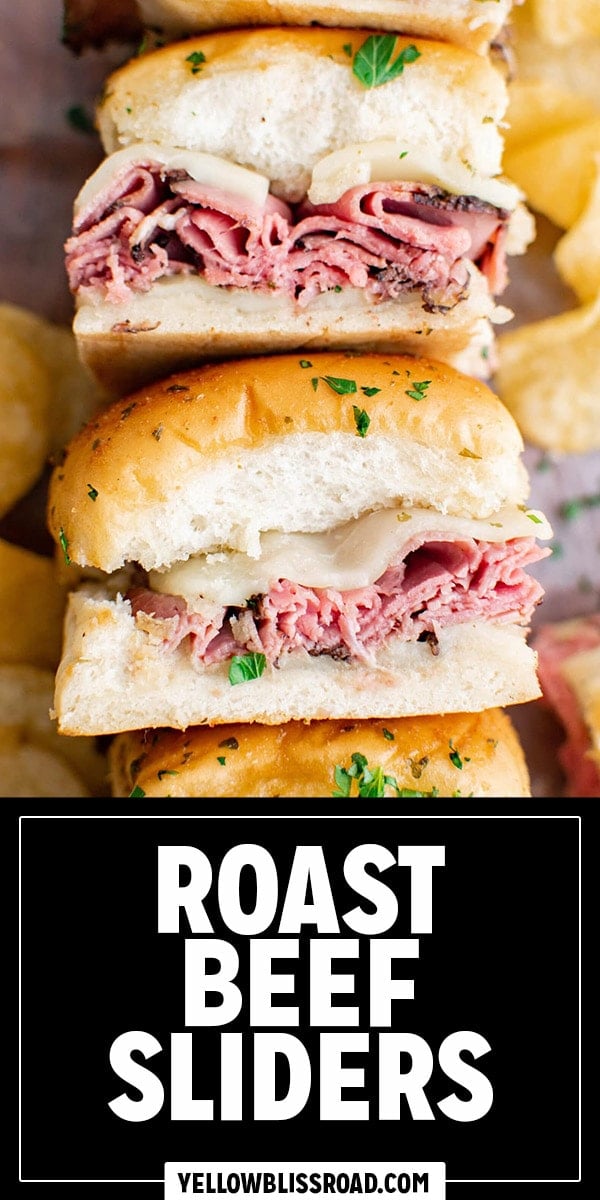
Add the meat and cheese. Place the bottom slab of slider buns on a baking sheet and arrange the cheese to cover all of the bread. It’s ok if it hangs off a little. Then add the roast beef on top of the cheese. Feel free to add more or less meat and cheese, keeping in mind that the heavier the sliders are, the more of a chance things will slide off. Place the top slab on top of the meat to form a slab of sliders.
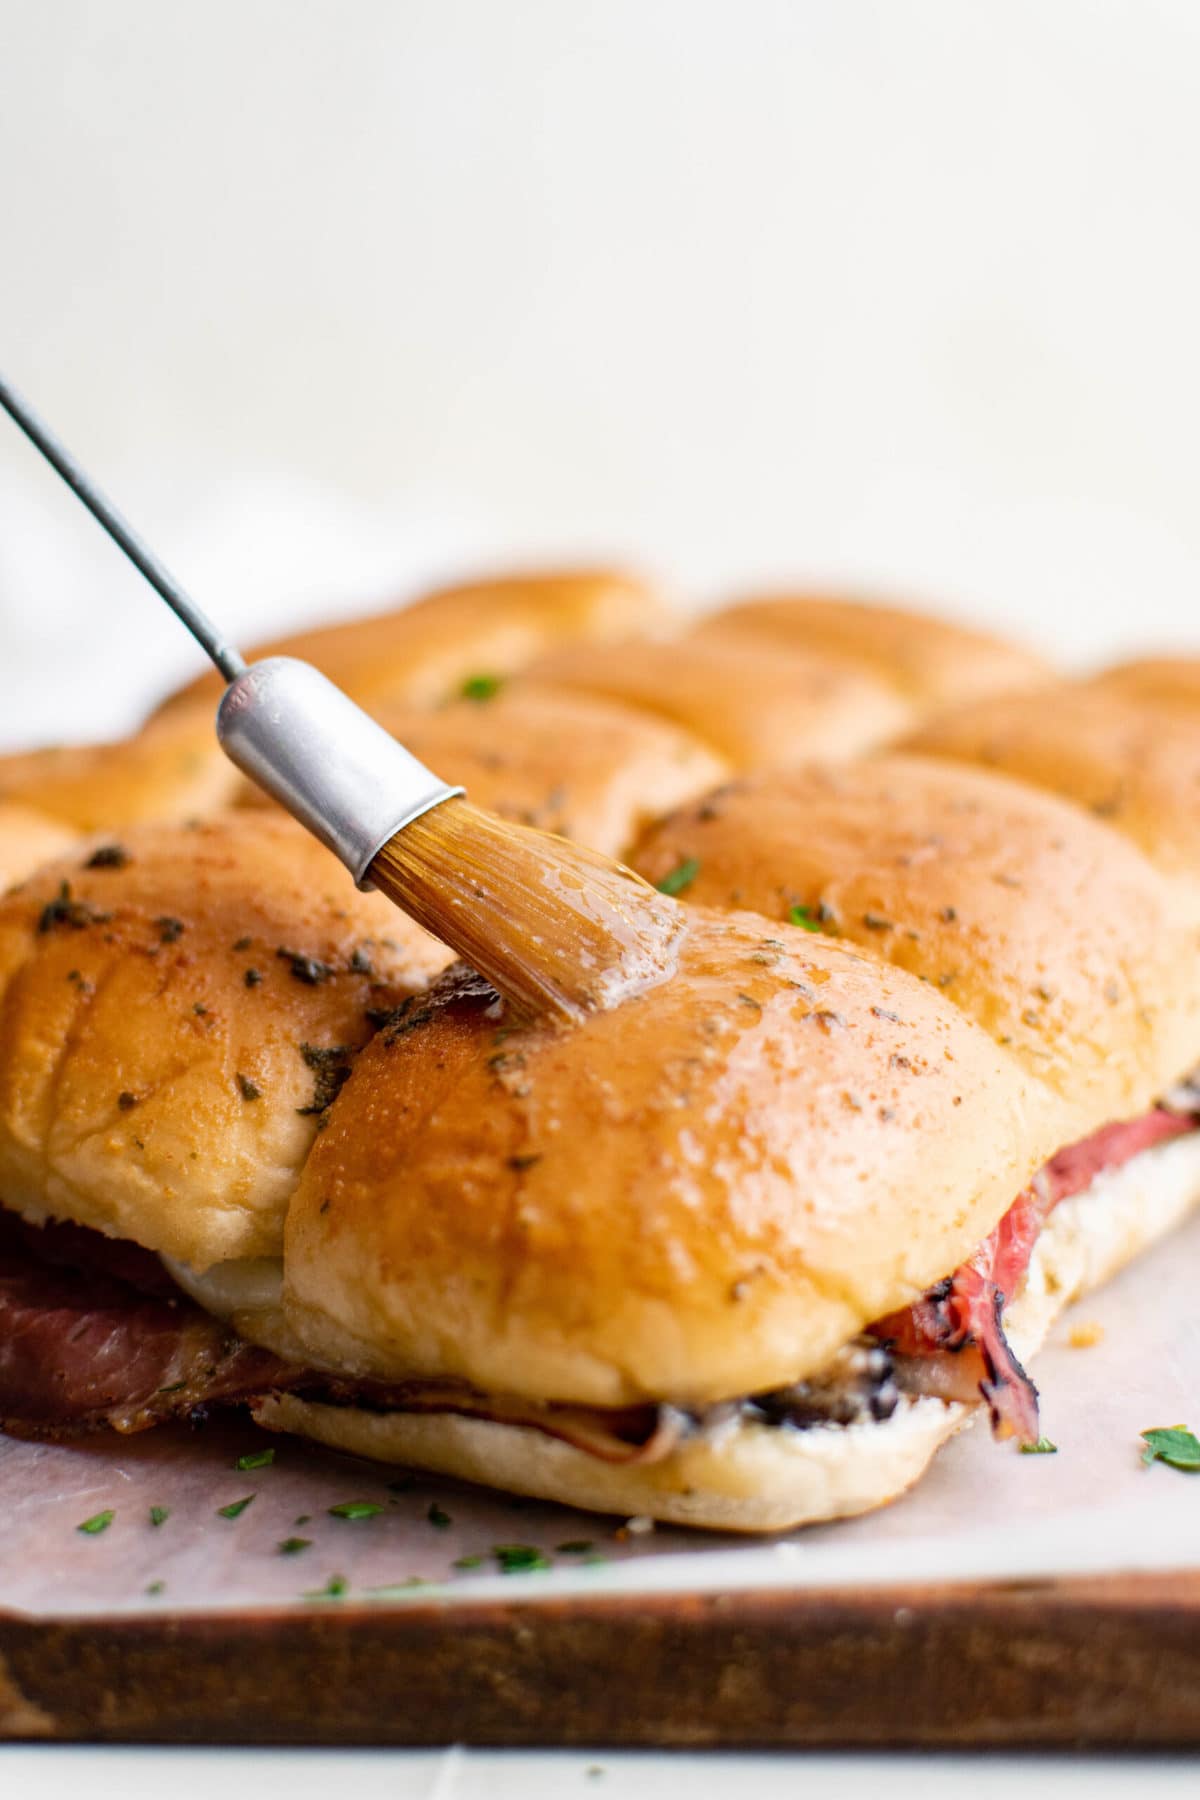
Make the buttery sauce. Melt some butter, and mix it with garlic powder, dried parsley, and Worcestershire. Brush this mixture over the tops of the rolls, letting it drip into all of the crevices.
Bake. Bake in a 375 degree oven for about 10-12 minutes. You want the tops to be golden brown but not hard, and the cheese to be melty but not sliding off.
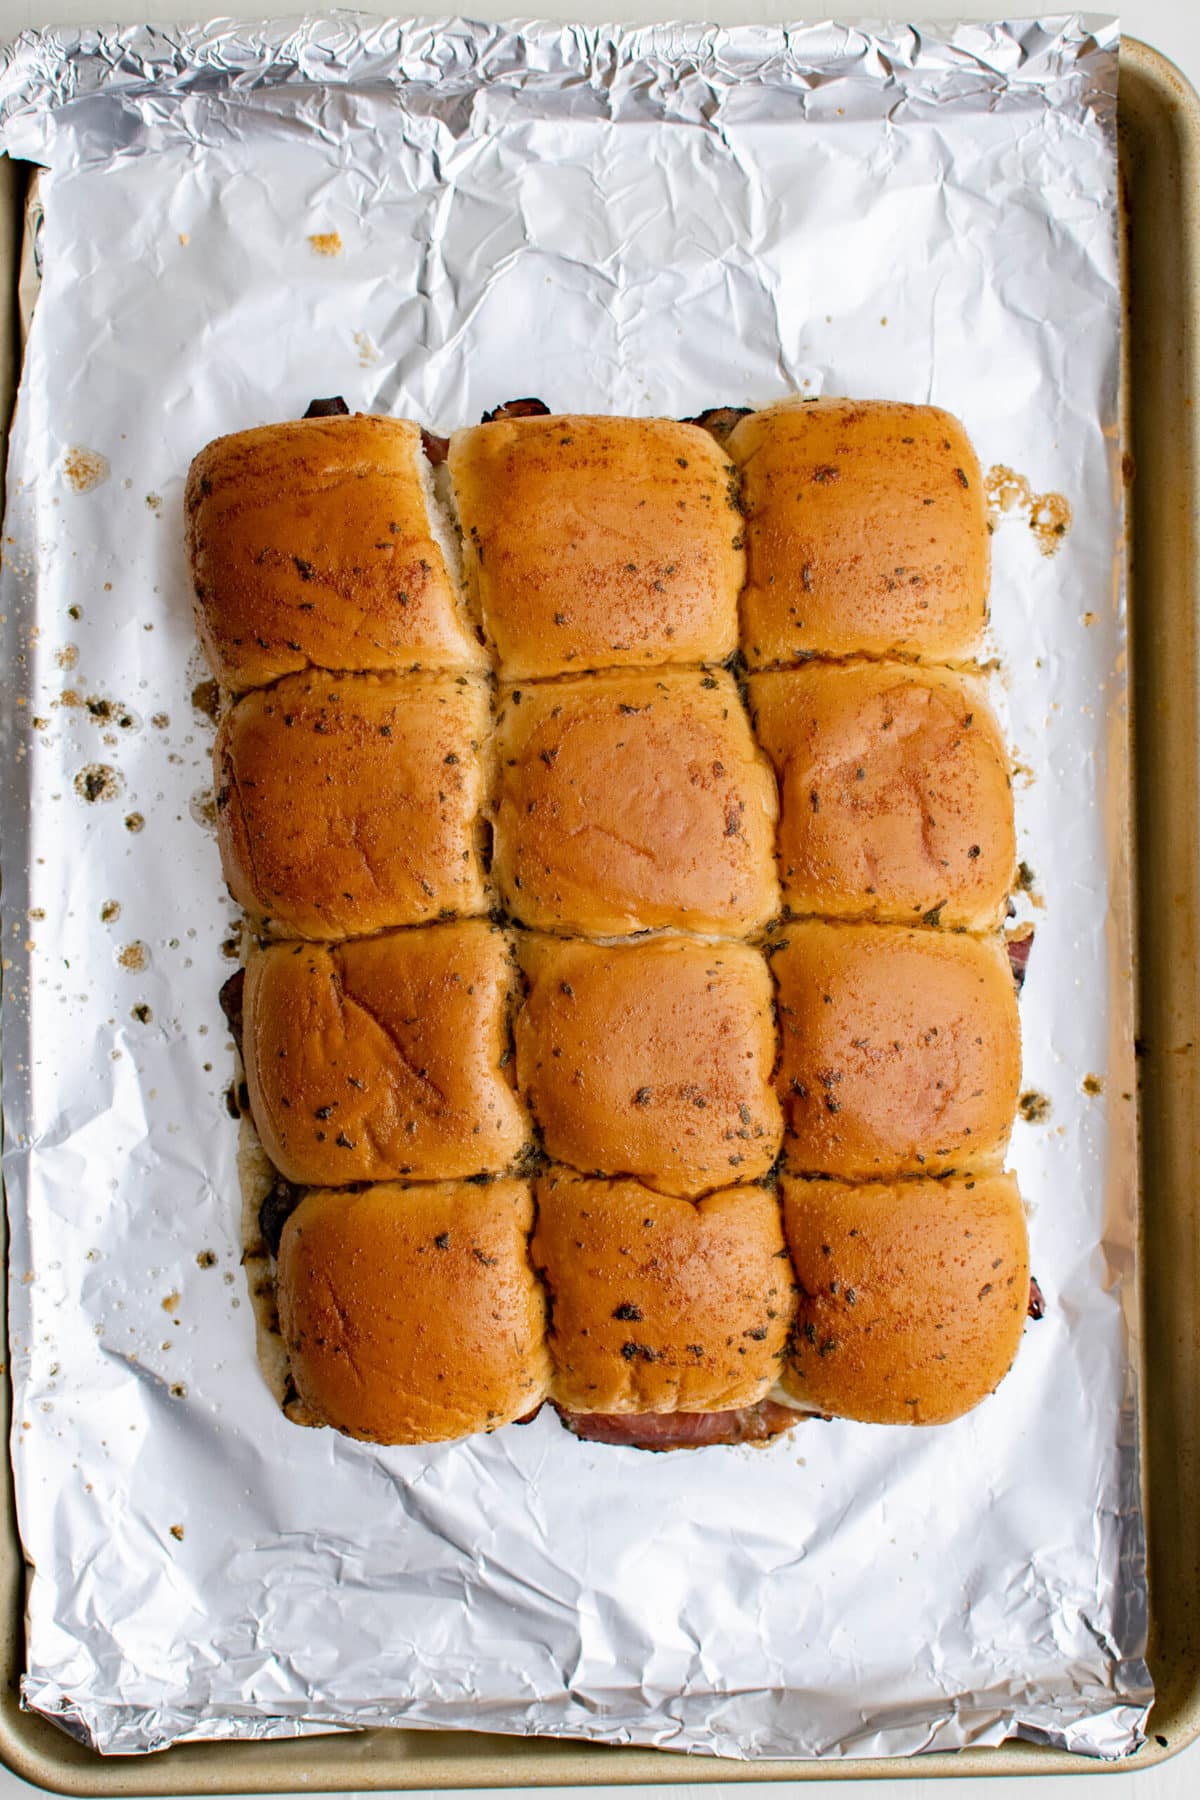
Rest. Once you remove them from the oven, your roast beef sliders will need a few minutes to rest before you cut into them. If you cut too soon, the cheese will be too melted and everything will slide out.
What cheese goes best with roast beef?
While you definitely can’t go wrong with a classic roast beef and cheddar, I love hot roast beef sliders with melted Provolone. You can also serve roast beef with parmesan cheese or blue cheese for something a little different.
Flavor Variations
- Italian-style Roast Beef Sliders: Add some pepperoncini with the meat and cheese and replace the parsley with Italian seasoning.
- French Dips: Serve with au jus on the side.
- Roast Beef and Onion: Add caramelized onions to the filling.
- Spicy: Spread horseradish or spicy mustard on the rolls before adding the meat and cheese.
- Flavor: Spread some mayo or dijon mustard on the bottom slab of dinner rolls.
- Texture: For added crunch, add some poppy seeds or sesame seeds on top.
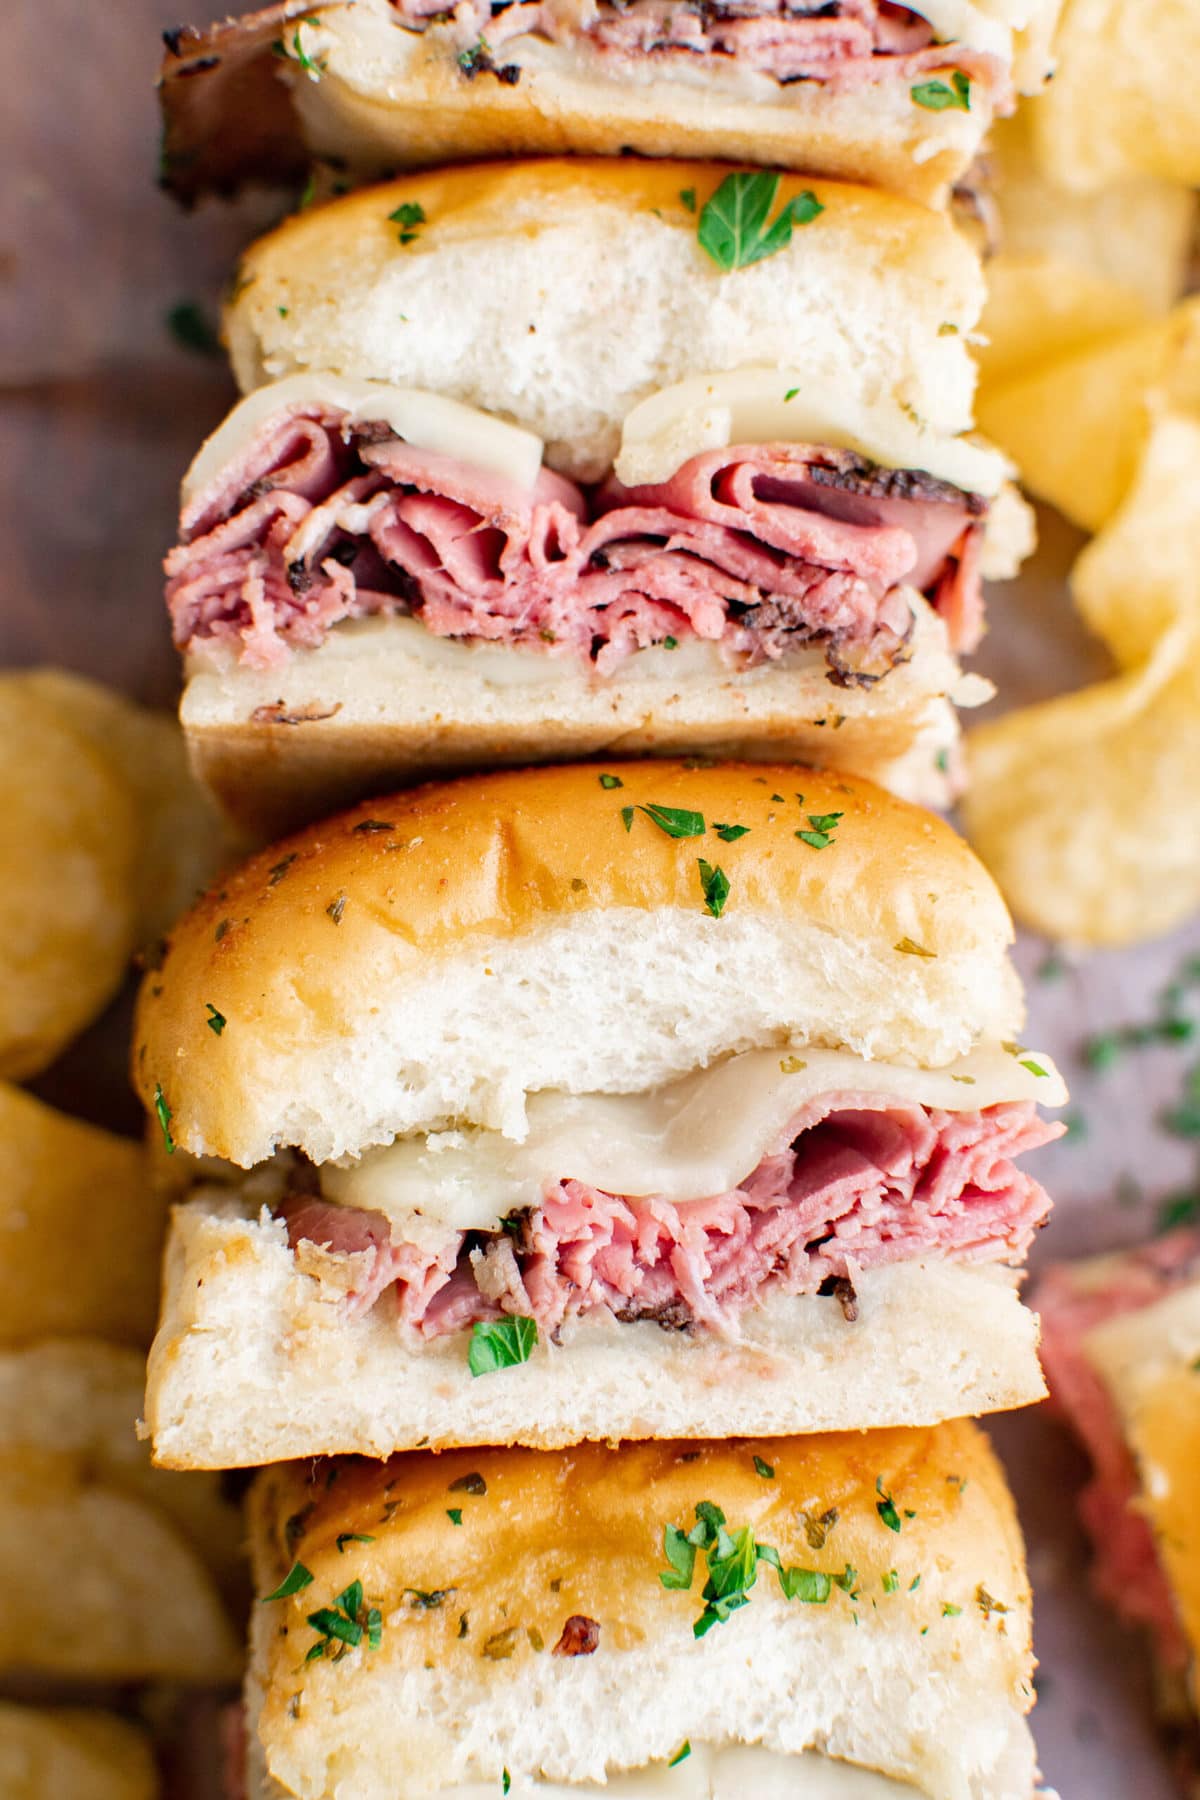
How To Serve Roast Beef Sliders
You’ve got lots of options when it comes to side dishes beyond basic potato chips. These are some of our favorites:
- Stovetop Mac and Cheese
- Macaroni Salad
- Bacon Ranch Red Potato Salad
- Easy Baked Potato Wedges
- Wedge Salad with Thousand Island Dressing
- Sauteed Mushrooms
- Slow Cooker Baked Beans
- Air Fryer Tater Tots
- Beer Battered Onion Rings
- Easy Vegetable Pasta Salad
Storage Tips
The Best Way to Store Leftovers
Keep leftovers in an airtight container in the fridge for up to 2 days.
Wrap in foil and reheat in the oven if possible, or gently microwave unwrapped. I don’t recommend freezing baked sliders.
Recipe Tips
- Use a serrated bread knife when cutting the rolls, and when cutting the sliders for serving.
- I use a baking sheet but you can also use a baking dish. Whatever you do, don’t forget to cover it with aluminum foil or you’ll have burnt butter to clean up.
- I use salted butter, but you can use unsalted if you wish.
- Feel free to use this method and recipe with different meats and cheeses.
More Slider Recipes
Roast Beef Sliders Recipe
Ingredients
- 12 dinner rolls connected – regular or Hawaiian rolls
- ¾ pound deli roast beef more or less as desired
- 8 ounces sliced provolone cheese 12 thin slices (more or less as desired)
- 3 tablespoons butter melted
- ½ teaspoon garlic powder
- ½ teaspoon dried parsley
- 1 teaspoon Worcestershire sauce
Instructions
- Preheat the oven to 375 degrees F. Line a baking sheet with foil.
- Cut dinner rolls in half lengthwise, keeping them connected so you have two slabs. Place the bottom half on the baking sheet. Remove the top slab and layer half of the cheese slices, then all of the roast beef, then the remaining half of cheese slices. Replace the top slab.
- In a small bowl, combine melted butter, garlic powder, parsley and Worcestershire sauce. Brush over the tops of the rolls.
- Bake for 10-12 minutes, or until tops are golden and cheese is melted.
- Remove from the oven, then let sit for 5 minutes. Transfer to a cutting board, then use a serrated knife to cut sliders apart.
Nutrition
Nutritional Disclaimer Kristin Maxwell of “Yellow Bliss Road” is not a dietician or nutritionist, and any nutritional information shared is an estimate. For accurate calorie counts and other nutritional values, we recommend running the ingredients through your preferred online nutritional calculator. Calories and other nutritional values can vary depending on which brands were used.

These are so delicious! Cook time was a bit off for me however, after their 12 min cook time I took them out allowed them to sit in the pan for a few minutes and then cut them up. The ones on the middle the meat was still cold and cheese not melted. Next time I’ll probably cover them with foil for the initial cook time then remove the foil and do another 10 minutes.
Thank you Amy! Awesome feedback, thanks for stopping by.
Can I eat these as is? Really don’t want to put them in the oven
You could leave off the garlic butter and just eat the sandwiches. But if you use the garlic butter you really do want to bake them.