This post may contain affiliate links. Please read our disclosure policy.
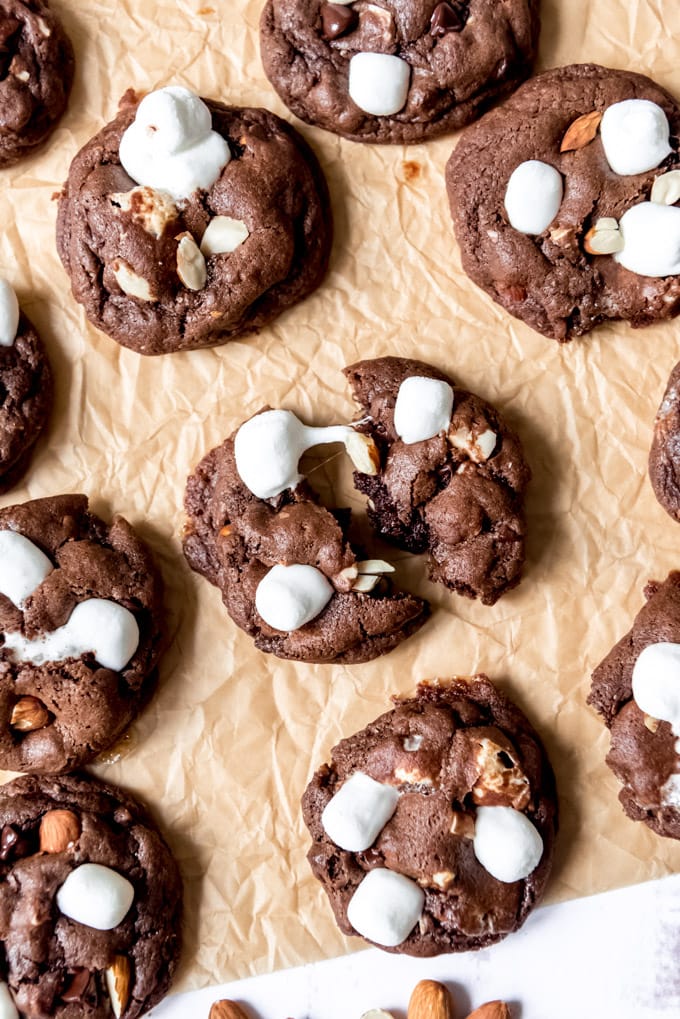
Loaded with marshmallows, nuts, and chocolate chips, these Rocky Road Cookies are soft and chewy and so much fun! Perfect for bake sales, cookie swaps, and dunking in a cup of milk!
Want more cookie recipes? Try my 3 Ingredient Peanut Butter Cookies next!
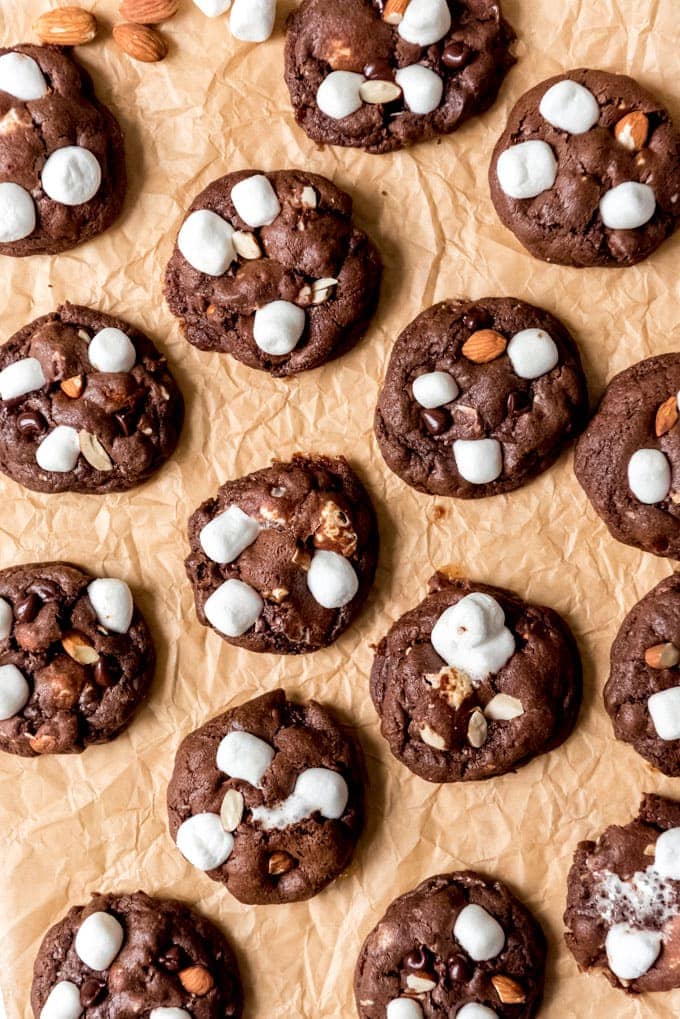
Rocky Road Cookies Recipe
- Textures and flavors – Rocky Road has that classic combination of marshmallows, nuts and chocolate. The cookies are chewy and crisp around the edges for the perfect texture.
- Go zero to cookie in under 30 minutes! The chocolatey base of this cookie recipe takes about 10 minutes to make and they bake up in about 10 minutes, too. Let them cool for 5-10 minutes (if you can resist!).
- No chilling necessary – I love that these cookies come together fast and you can put the dough right into the oven. No need to chill in the fridge!
Recipe walk-through
How To Make Rocky Road Cookies
See the recipe card below for full, detailed instructions
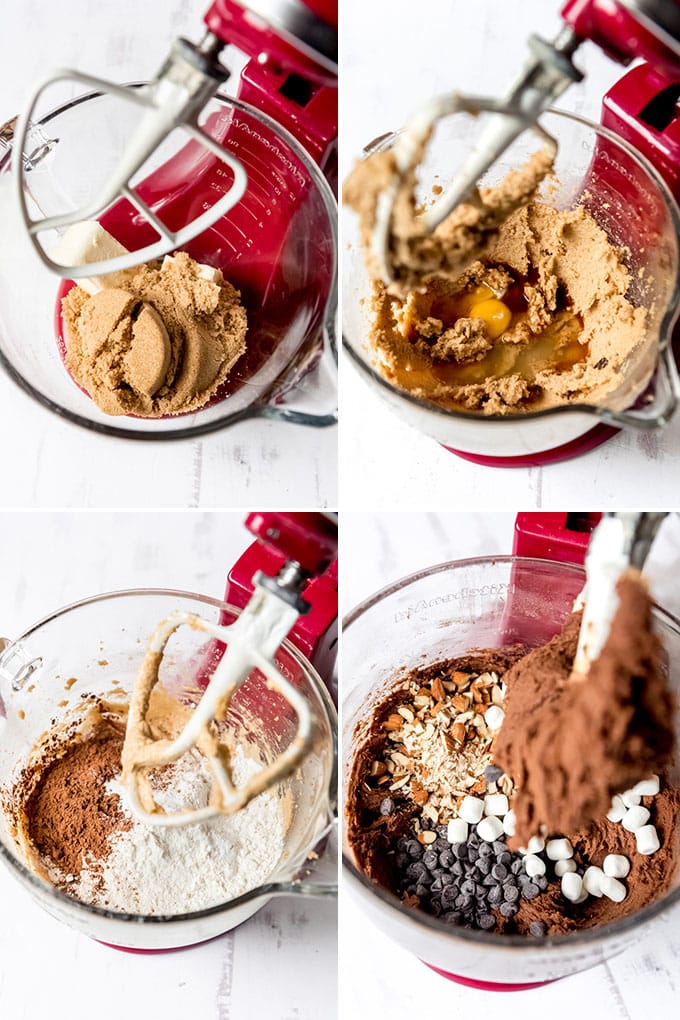
Cream butter and sugar – Start by creaming the butter and brown sugar by beating on medium-high speed until the mixture is light in color and fluffy in texture. An electric hand mixer totally works for this cookie dough, but I find a stand mixer to be easier.
Add in the eggs and vanilla and mix again. Make sure to scrape the sides of the bowl so the batter mixes evenly, and mix until everything is well combined.
Add dry ingredients – Slowly mix in the flour, cocoa powder, baking soda, and salt. Take your time so you don’t end up with a cloud of flour and cocoa powder that dusts all of your kitchen surfaces!
Add mix-ins – Now the fun part! Stir in chocolate chips, chopped nuts, and marshmallows just until they are evenly spread throughout the cookie dough. You don’t want to over mix your cookie dough or you could end up with a dry and crumbly cookie.
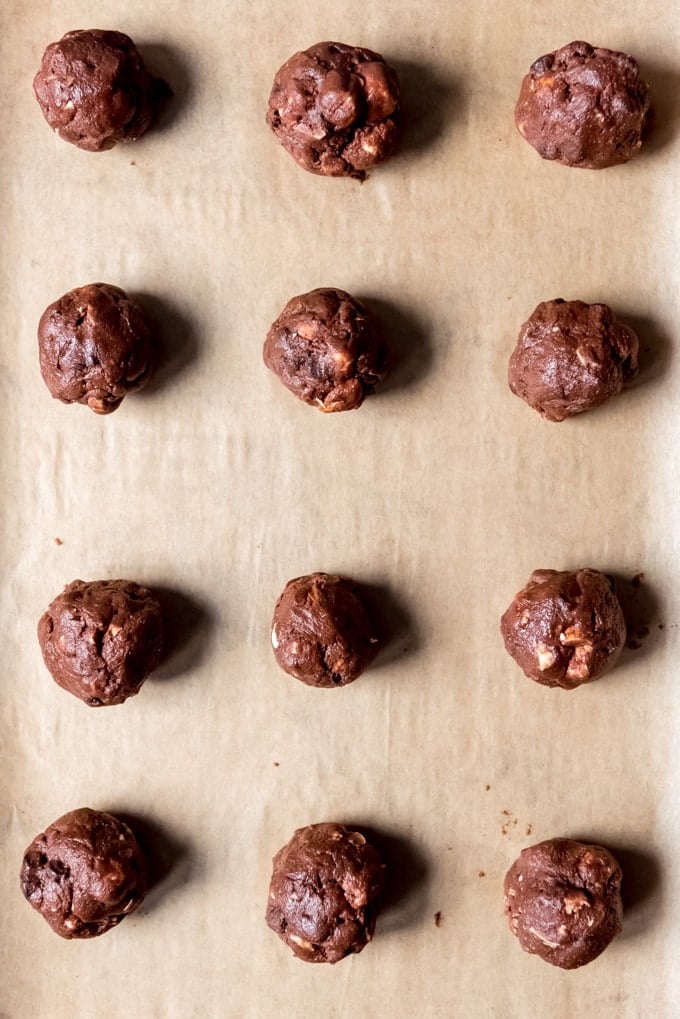
Form the cookies – Use a medium cookie scoop to scoop out evenly-sized balls of dough. You can drop them right onto a parchment-lined baking sheet, or roll them lightly between your hands for perfectly round, uniform cookies. If you don’t have a cookie scoop, you can eyeball it, but I definitely recommend investing in one if you love to bake cookies. They are really affordable (around $10-$15) and come in super handy.
Bake – Bake your cookies just until they are mostly set up, but still a little doughy in the middle. Then, and this is a total vanity step to make the cookies look pretty, stick a few marshmallows, chopped almonds, and chocolate chips into the tops of each cookie, pressing a bit so they stay put.
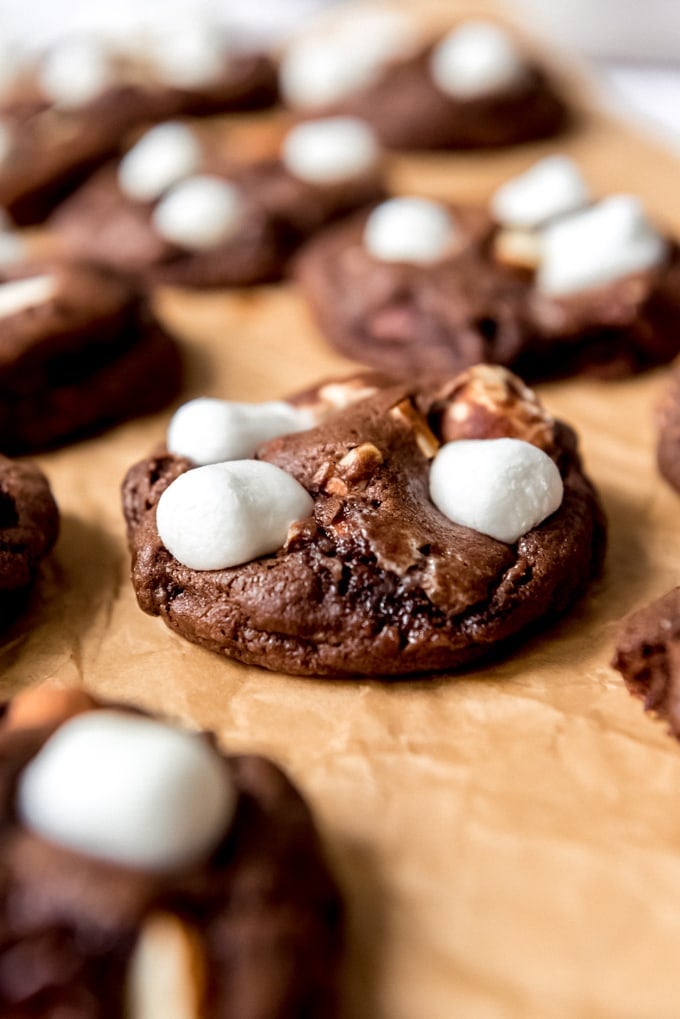
Bake for 1 more minute, just so the marshmallows puff but don’t completely lose their form. Remove from the oven and cool completely on a wire rack.
Storage Tips
How to Store Cookies
- How to store: These cookies will keep on the counter in an airtight container for up to 5 days.
- How to freeze cookies: Place in an airtight container in a single layer, then add a layer of parchment paper in between the layers. Stick them in the freezer for up to 1 month.
Recipe Tips
- Be sure to use parchment paper or a silicone mat on your baking sheet for these cookies. Sometimes the marshmallows in the dough will melt and stick to the pan, so it’s much easier to remove the cookies when they are baked on parchment paper.
- You can use almonds or walnuts in rocky road cookies. I don’t think there is one right answer about whether rocky road uses one nut over the other. We like both, but I love the extra crunch of the almonds with the gooey-ness of the marshmallows.
- Don’t skip adding the marshmallows on top. Not only does it make the cookies more attractive, but it really boosts the marshmallow element that is needed for rocky road and balances out the cookie.
More Cookie Recipes
- Nutella Cookies
- Fudgy Dark Chocolate Brownie Cookies
- Cool Whip Cookies
- Chocolate Cheesecake Cookies
- Monster Cookie Bars
- Frosted Sugar Cookies

Rocky Road Cookies
Ingredients
- 2/3 cup Salted butter, softened
- 1 1/2 cups Brown sugar
- 2 teaspoons Vanilla extract
- 2 Large eggs
- 1 1/2 cups All-purpose flour
- 1/3 cup Unsweetened cocoa powder
- 1/2 teaspoon Baking soda
- 1/2 teaspoon Salt
- 1 cup Semisweet chocolate chips plus more for the top of the cookies
- 1 cup Almonds, coarsely chopped plus more for the top of the cookies
- 1 cup Mini marshmallows plus more for the top of the cookies
Instructions
- Preheat oven to 375℉. Line a baking sheet with parchment paper.
- In a large bowl of a stand mixer, cream butter and sugar together until light and fluffy, about 3-4 minutes.
- Add eggs and vanilla and mix well.
- Add flour, cocoa powder, baking soda, and salt, mixing on medium-low speed just until combined.
- Stir in chocolate chips, almonds, and marshmallows. Scoop balls of cookie dough onto the parchment-lined baking sheet using a medium cookie scoop.
- Bake for 9-11 minutes, until mostly set, but still underbaked in the middle. Remove from the oven and immediately place a few extra marshmallows on top of each cookie, along with a few extra chopped almonds and chocolate chips, if desired. Return to the oven and bake for 1 minute longer, until marshmallows have puffed slightly.
- Cool for 2 minutes on the baking sheet, then transfer to a wire rack to finish cooling. Store in an airtight container on the counter for up to 5 days.
Notes
Nutrition
Nutritional Disclaimer Kristin Maxwell of “Yellow Bliss Road” is not a dietician or nutritionist, and any nutritional information shared is an estimate. For accurate calorie counts and other nutritional values, we recommend running the ingredients through your preferred online nutritional calculator. Calories and other nutritional values can vary depending on which brands were used.




Just made these yesterday for a co-worker’s birthday. I was a little hesitant because of the amount of brown sugar and, lack of granulated sugar. But, I followed the recipe and they came out great. They were a big hit with family and co-workers.
Nice! Love the feedback Irene. Thanks for stopping by.
These turned out perfect!! I tweaked the recipe a little and it was perfect for cleaning out my pantry! The recipe is very forgiving for mixing in additional ingredients. I added chocolate no bake cookie crumbles, sprinkles, and waffle cone pieces in the batter and swapped the almonds for macadamia nuts. They baked perfect and I’m sure will be a hit at our family open house this weekend.
Love the feedback Mrs.Zebra! Thanks for stopping by.
I have made these cookies twice and each time the marshmallows have melted and run on the pan. The cookies spread like crazy in the pan, especially the ones with marshmallows. What am I doing wrong? My husband says they taste fine but they certainly don’t look like yours in the pictures. Mine really spread out. Thanks for your help.
Don’t add the marshmallows on the top of the cookies until right at the very end of the baking time. I just pull the cookies out about a minute before they are truly done and stick a few in to make them pretty. As for the cookies spreading like crazy, was your butter really soft when you added it? It should be softened enough to mix in, but not melted, and you can always try chilling the dough for an hour before scooping and baking the cookies if you need to, although I’ve never bothered with chilling this dough. But if it’s spreading significantly, you might try adding another tablespoon or two of flour and seeing if that helps.