This post may contain affiliate links. Please read our disclosure policy.
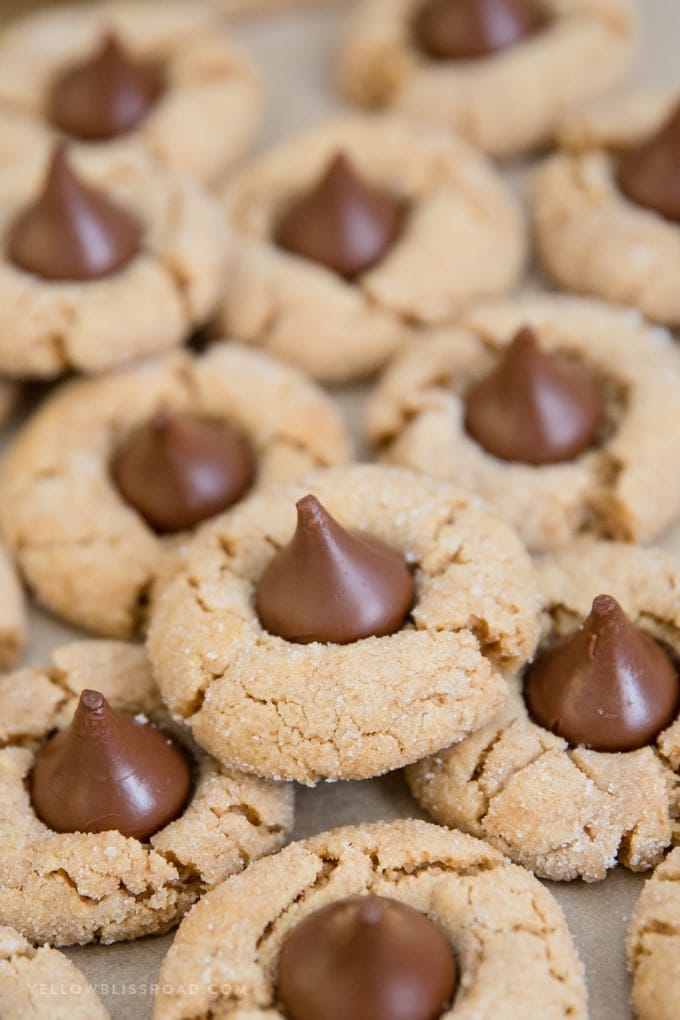
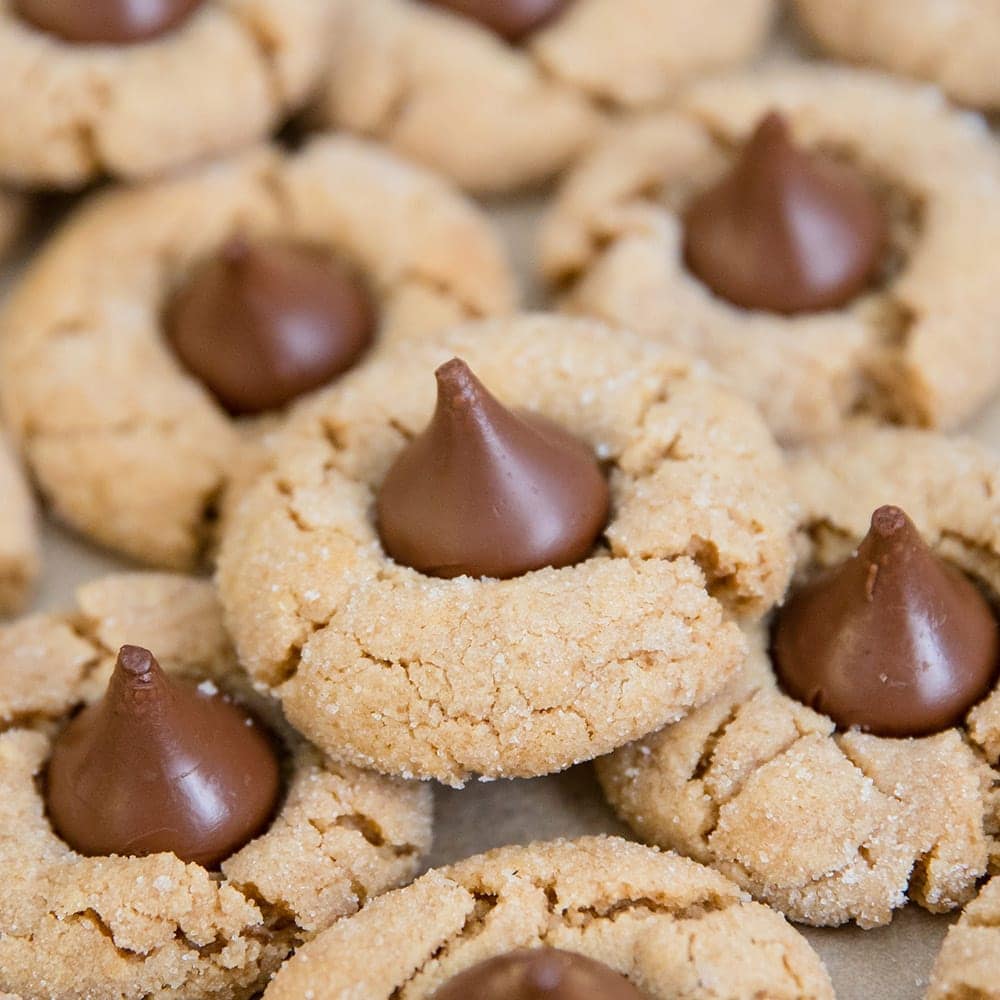
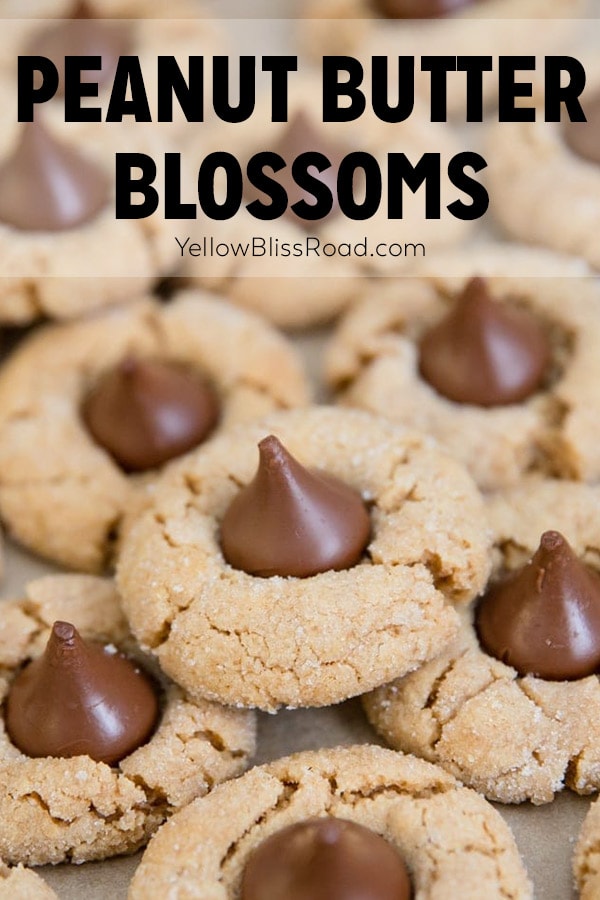
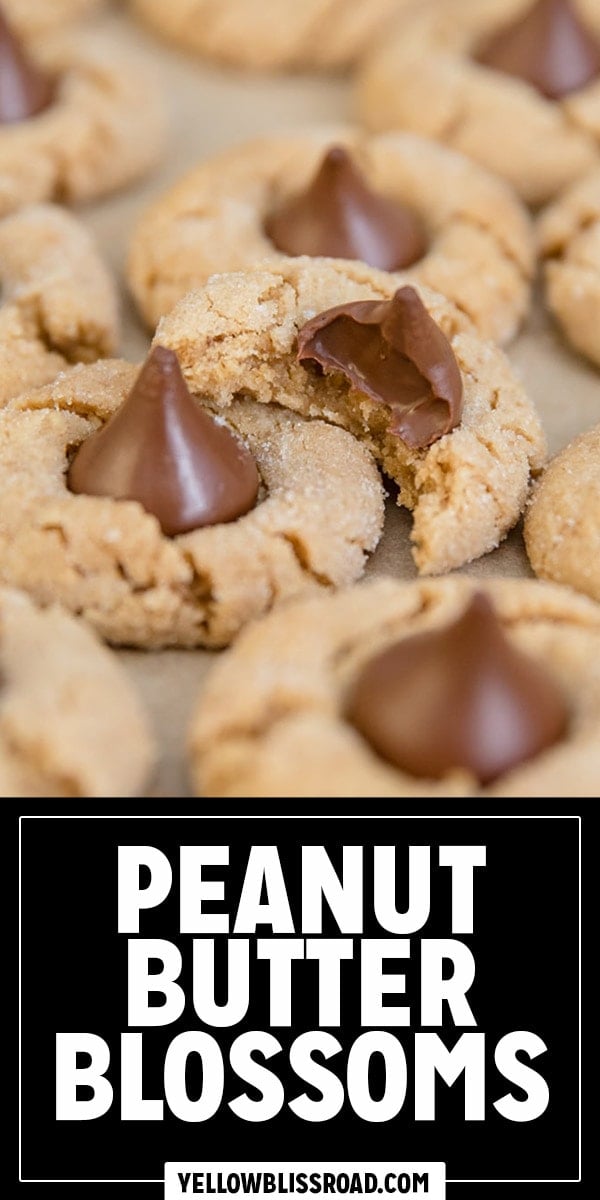
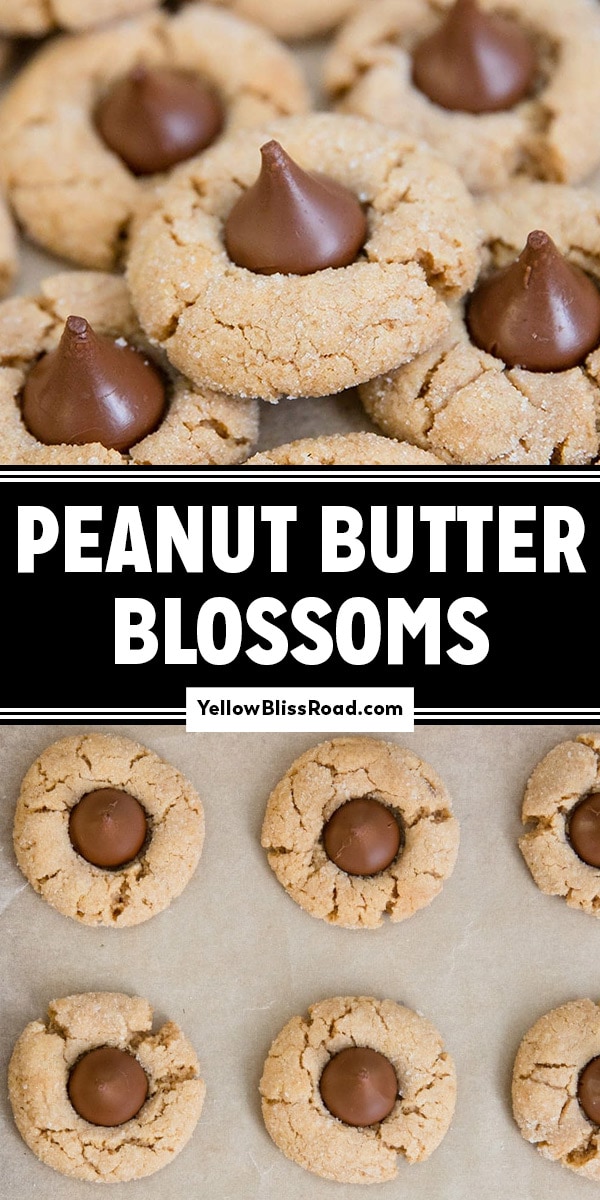
Peanut Butter Blossoms are a thick and chewy peanut butter cookie with a Hershey’s Chocolate Kiss on top. They are perfect for cookie trays and gift-giving for the holiday season.
These classic Christmas cookies will look beautiful and festive on your holiday cookie trays! After you make these, try my Chocolate Crinkle Cookies next!
Why I Love This Recipe
I have spent a lot of time perfecting this recipe over the past 40 years, and I’ve learned a few things. Here’s what I absolutely love about this peanut butter blossom cookies recipe.
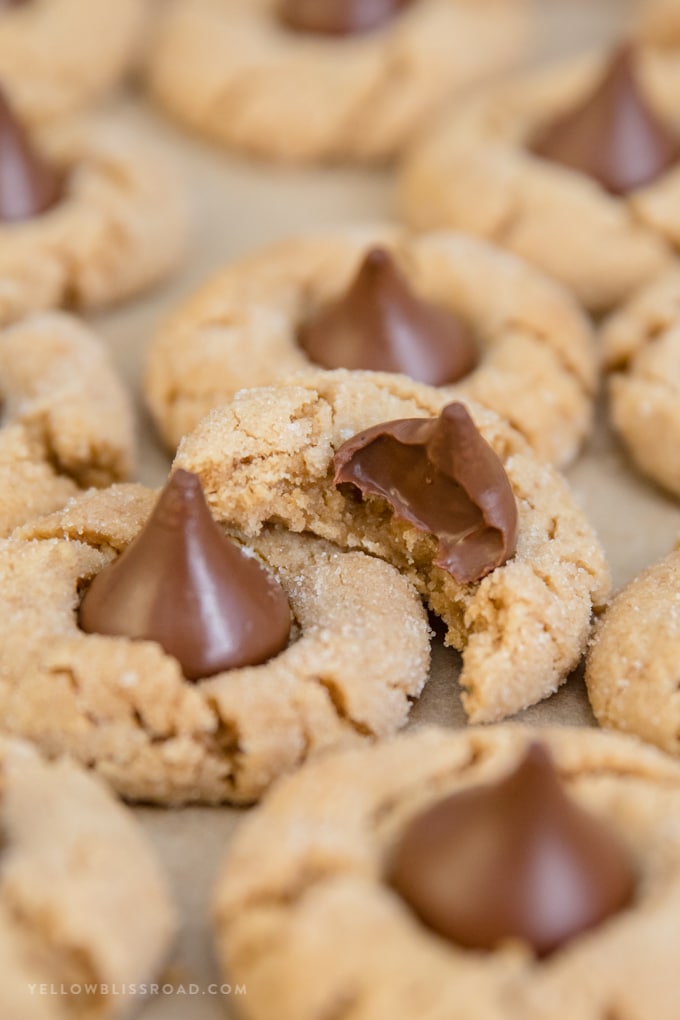
- The perfect peanut butter cookie – This cookie is creamy, chewy and very delicious. It cracks ever so slightly and beautifully when the chocolate is pressed down into it.
- Peanut Butter and Chocolate Combo – Is there really anything better?
- Freeze beautifully – Flash freeze on baking sheets so the chocolate stays in place, then pop into freezer bags.
- Perfect for Gifting – Package these up and hand out to neighbors, teachers, family and friends.
How to Make Peanut Butter Blossoms
- Mix the dough. Cream together butter and sugars, then add the vanilla and egg. In another bowl mix together the dry ingredients, then combine wet ingredients with the dry to form the dough.
- Scoop the dough. Use a cookie scoop to form balls of dough, then roll the dough balls in granulated sugar and place on a baking sheet.
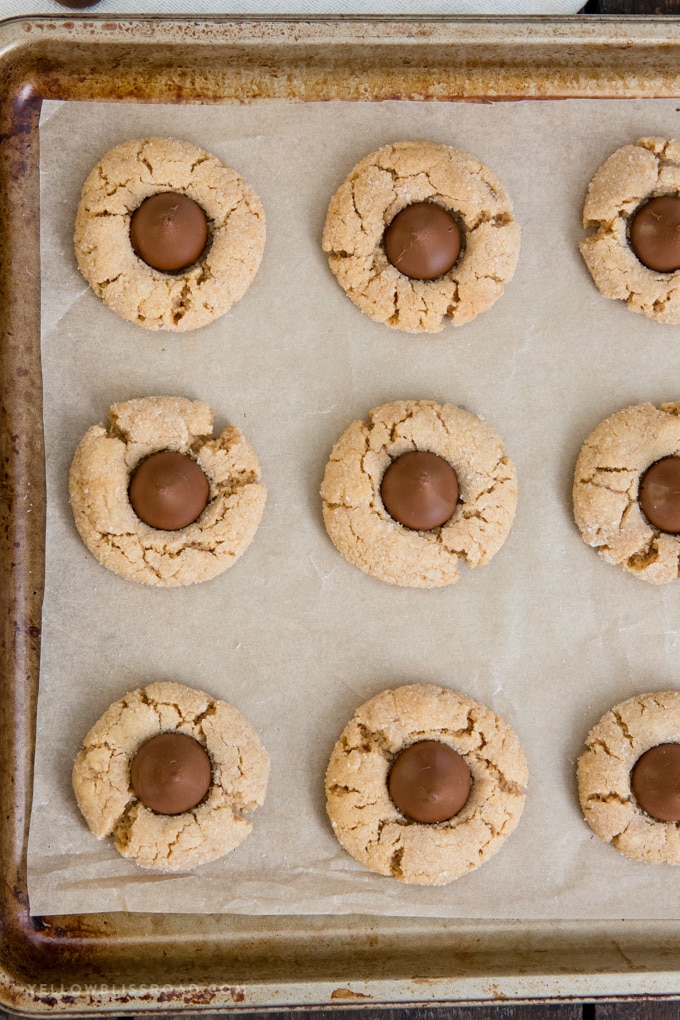
- Bake cookies. Bake the cookies in a 350℉ oven for about 8 minutes, then comes the fun part! Remove the cookies from the oven and press a chocolate kiss into the center of each cookie just until it begins to crack around the edges. You want the cookie to stay thick and chewy but also for the kiss to be able to melt into it just slightly so it sticks. Then back into the oven for no more than 2 minutes.
- Cool completely on a wire cooling rack before storing.
What Type of Peanut Butter Should I Use?
You should only use creamy peanut butter for these cookies. I do not recommend using a natural or a crunchy peanut butter. I am not usually super picky about my peanut butter but I definitely prefer Jif Brand Creamy.
Storage and Freezing
Storing cookies – Once the cookies are completely cooled and chocolate is set you can either store the cookies in an airtight container at room temperature for up to 3 to 4 days or in the freezer for up to 6 months.
Freezing baked cookies – Store cookies in an airtight, freezer-safe container for up to 6 months.
Freezing cookie dough balls – Unbaked cookie dough balls will freeze well for up to 3 months. Add a minute to the baking time – frozen cookie dough balls can be baked as is, without defrositng.
Gifting – If you plan to gift these cookies, keep that time frame in mind. After a couple of days the cookies will begin to lose their freshness, and after about 4 days they will begin to harden.
Expert Tips
- Prep all of your ingredients ahead of time. This helps the cookie baking process go smoothly.
- Unwrap the kisses ahead of time. While the cookies are in the oven for their initial baking, begin unwrapping the Hershey kisses so they are ready when the cookies come out of the oven.
- Use an electric mixer. Using a stand mixer or hand mixer will make easy work of the mixing.
- Use real butter. I have tried swapping out for margarine or shortening and the results are just not the same.
- Don’t overbake. If anything you will want to slightly underbake these cookies (or at least it may look that way). Otherwise they can become hard and not soft and chewy. Once you add the chocolate, watch them closely and check them at the 2 minute mark. The chocolate should move slightly when you lightly press on the tip, but not look burnt.
- Keep the balls of dough to a uniform size. I recommend using a medium cookie scoop (1.5 tablespoons).
Try These Cookie Recipes Next
- Oatmeal Pumpkin Cookies
- Oatmeal Peanut Butter Cookies
- Chocolate No Bake Cookies
- Red Velvet Cookies
- Monster Cookie Dough Truffles
- Cheesecake Cookies
We hope you enjoy our Peanut Butter Blossoms recipe! Be sure to leave us your feedback!
Peanut Butter Blossoms
Ingredients
- 1 ¾ cup all-purpose flour
- 1 teaspoon baking soda
- ½ teaspoon salt
- ½ cup butter
- ¾ cup peanut butter
- ½ cup granulated sugar
- ¾ cup brown sugar
- 1 egg
- 1 teaspoon vanilla
- 1 cup granulated sugar for rolling
- 3 dozen milk chocolate candy kisses
Instructions
- Heat oven to 350 degrees F. Line 2 large cookie sheets with parchment paper or silicone mats.
- Sift together flour, soda and salt and set aside.
- In a stand mixer with the paddle attachment (or by hand), beat together softened butter and peanut butter until light and fluffy.
- Gradually add sugars and beat until well blended.
- Beat in egg and vanilla until well blended.
- Stir in flour mixture just until incorporated. Form into 1-inch balls using about a tablespoon of dough for each. Roll in granulated sugar and place on ungreased cookie sheets. Bake at 350° for 8 minutes then remove from the oven and gently place a chocolate kiss on top of each cookie until it cracks around the edges.
- Bake 2-3 minutes more until golden.
- Cool for several minutes on the baking sheet before transferring to a rack to cool completely.
- Store cooled cookies in an air-tight container for up to 3 days for maximum flavor and texture. Freeze in an airtight container for up to 6 months.
Notes
Nutrition
Nutritional Disclaimer Kristin Maxwell of “Yellow Bliss Road” is not a dietician or nutritionist, and any nutritional information shared is an estimate. For accurate calorie counts and other nutritional values, we recommend running the ingredients through your preferred online nutritional calculator. Calories and other nutritional values can vary depending on which brands were used.

Would this recipe work if the kiss was put jn the middle of the cookie dough, made a ball, baked and when done, press a pecan on top?
I haven’t tried that but if you do, let us know how it turns out.
These are definitely the best peanut butter blossoms I’ve made!!!! I used a different recipe for years but wanted to find one that used butter instead of shortening for health reasons. So I found this recipe I wish I would’ve found it years ago. Thank you!!!
Oh I’m so glad you found us Jen! This recipe is a family favorite!!