
This post may contain affiliate links. Please read our disclosure policy.
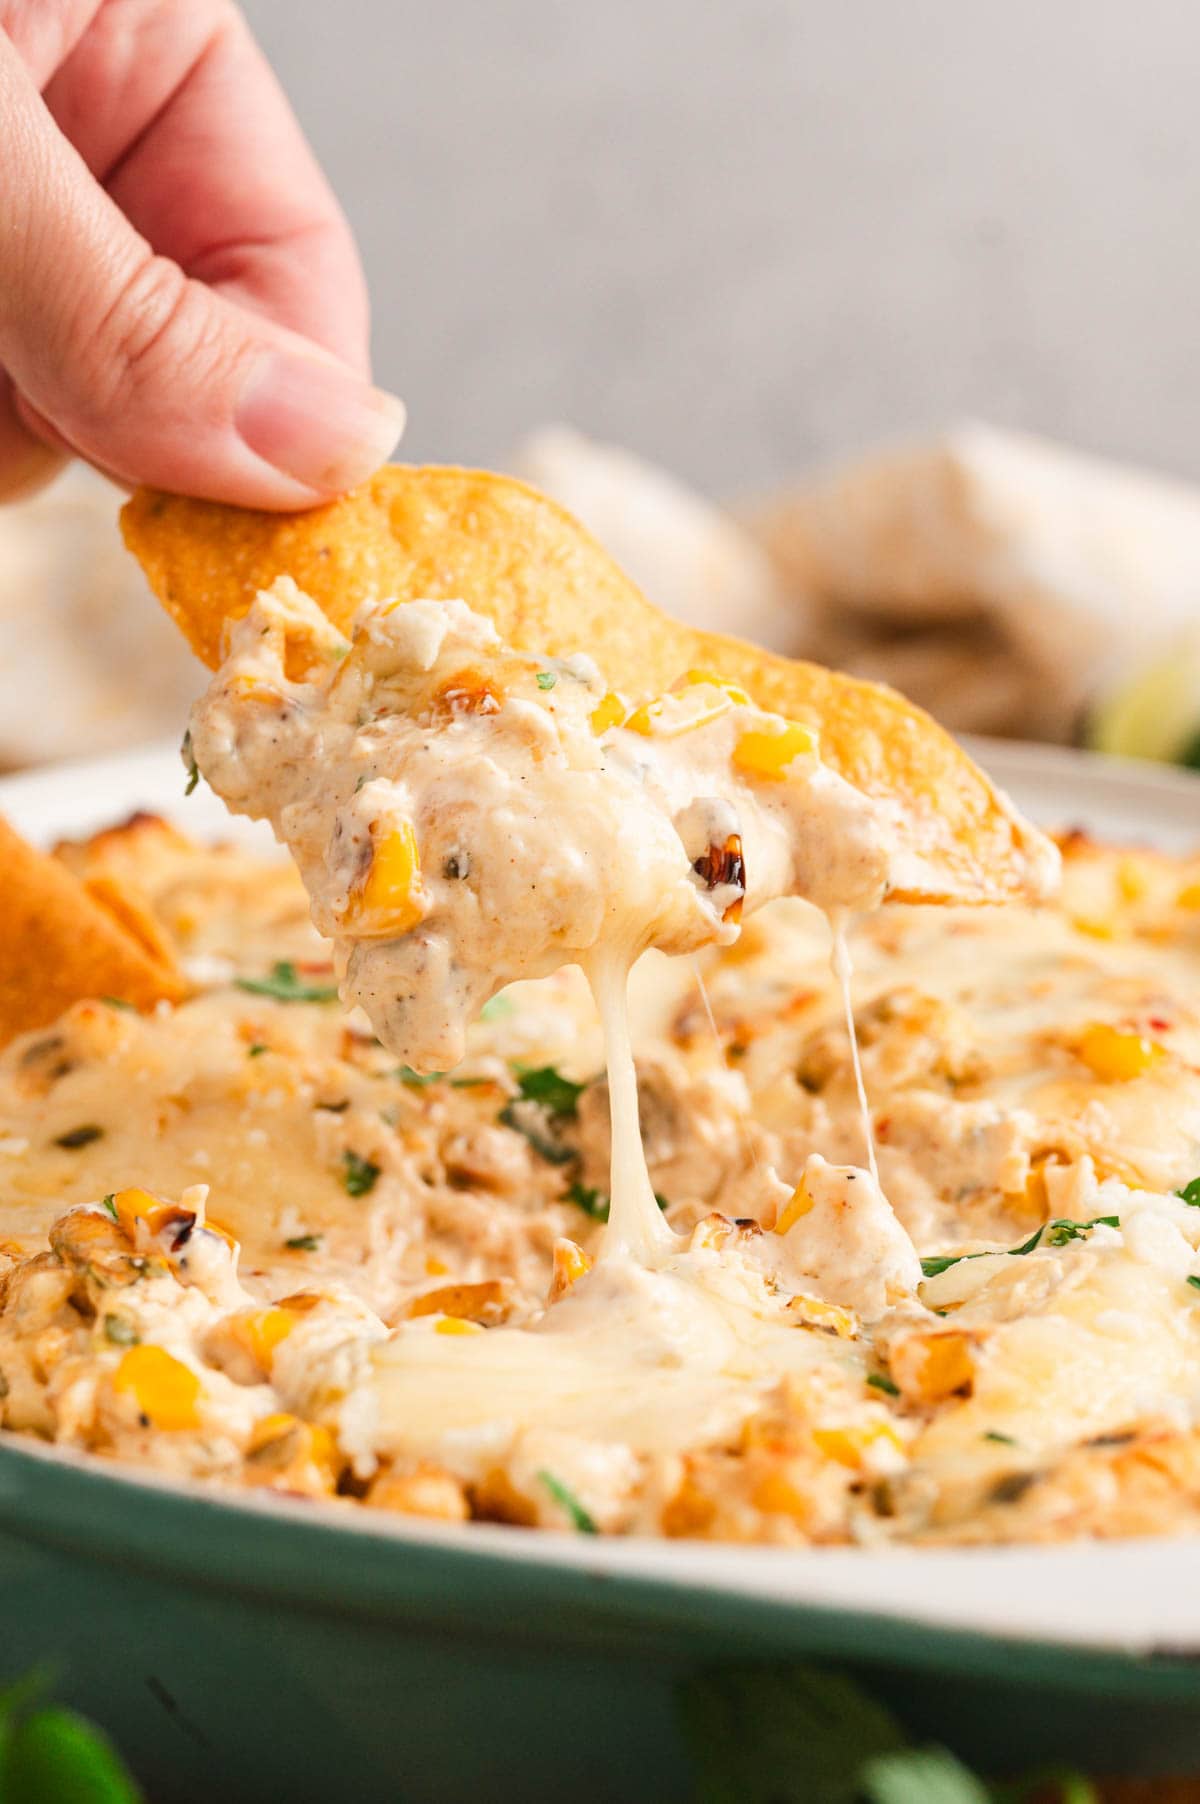
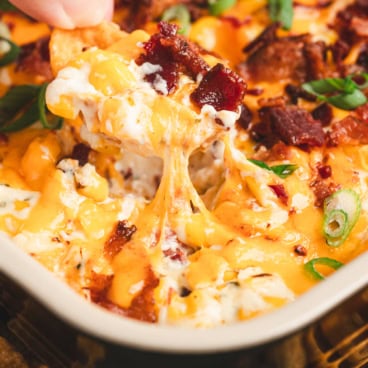
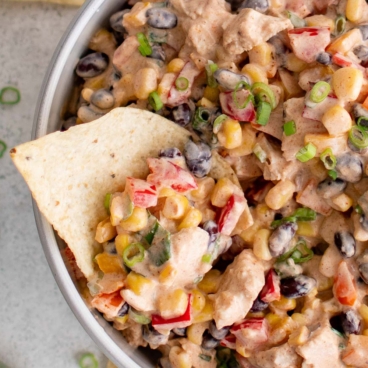
Hot Mexican Street Corn Dip has all the flavors of elote in a creamy, cheesy, dippable form. Charred corn, melty cheeses, and a hint of lime make it the appetizer that disappears first at every party. It comes together in about 30 minutes, start to finish.
More Mexican Corn Favorites: Elote | Street Corn Salad | Corn Salsa
Before You Get Started
A few small things separate a good corn dip from the one people can’t stop scooping.
- Char the corn hard. Let it sit undisturbed in the hot skillet between stirs so it builds real color. That char is where the flavor comes from.
- Drain canned or thawed corn well. Extra moisture thins the dip and waters down the flavor.
- Soften the cream cheese fully. Cold cream cheese leaves lumps that won’t bake out smoothly.
recipe walk-through
How to Make Mexican Street Corn Dip
See the recipe card below for full, detailed instructions
This dip mixes together in one bowl, then bakes until hot and bubbly. The base is cream cheese, sour cream, and a little mayo, the same creamy, tangy combo that gives elote its signature flavor. Fresh, frozen, or canned corn all work, so use what you have on hand.
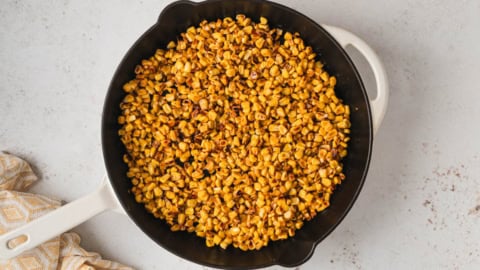
Step 1: Char the corn
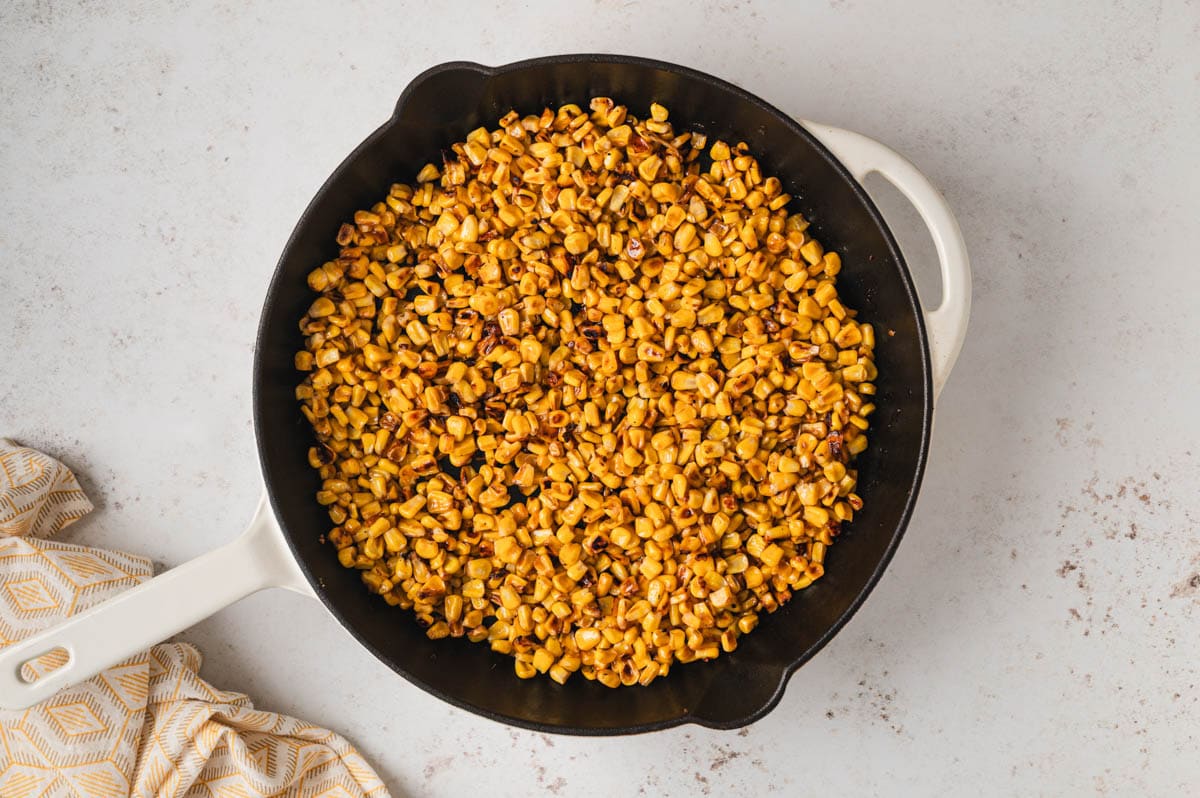
Melt the butter in a large cast iron skillet over medium-high heat. Add the corn and let it sit for a couple of minutes before stirring, so it develops a deep char.
Repeat until most of the kernels are spotted brown, working in batches if the pan gets crowded.
- No cast iron? Roast it in the oven. Spread the corn on a sheet pan, toss with a little oil and salt, and roast at 400°F for about 20 minutes. For fresh corn off the cob, use my How to Cook Corn on the Cob method, then slice the kernels off.
Step 2: Mix the base
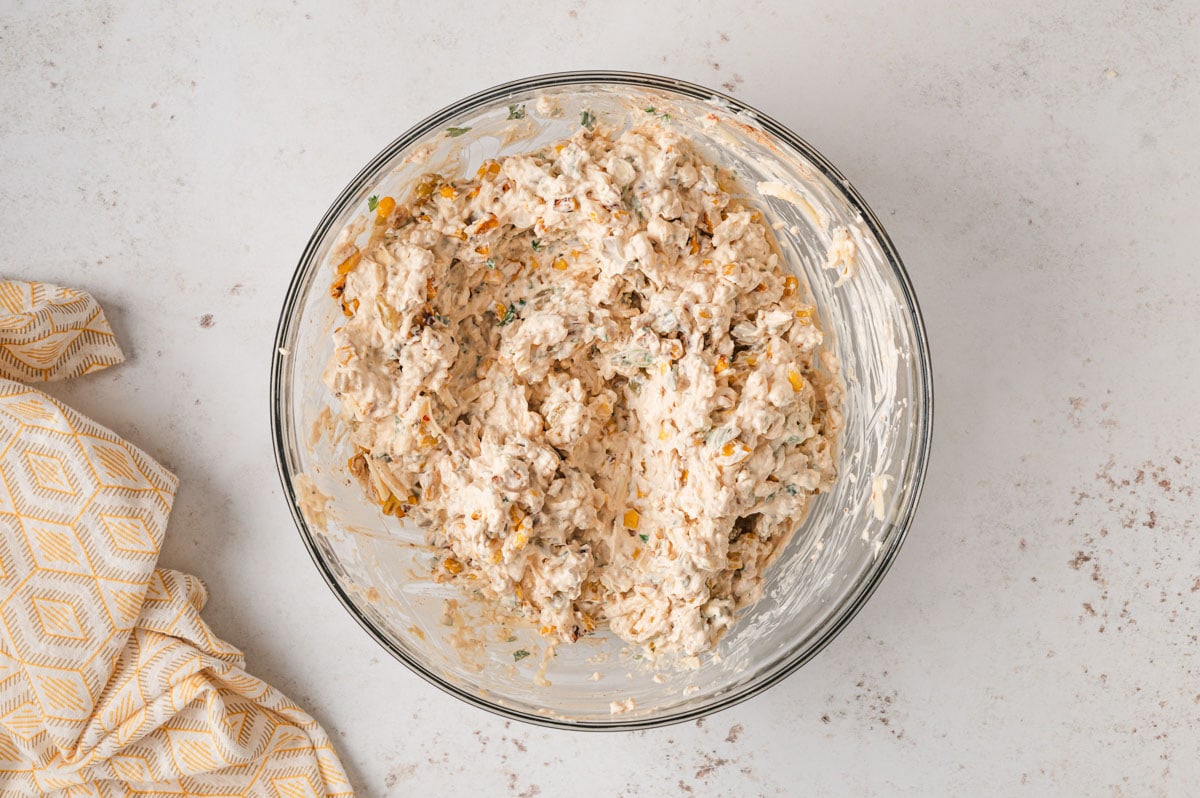
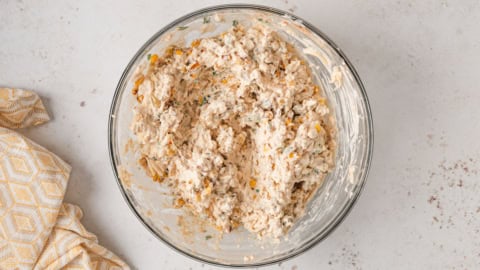
In a large bowl, stir together the cream cheese, sour cream, mayonnaise, lime juice, garlic powder, and chili powder until smooth.
Fold in the charred corn, green chiles, most of the pepper jack, the green onions, and the cilantro.
Want more heat? Add a diced jalapeño, a few dashes of hot sauce, or a pinch of cayenne with the green chiles.
Switch up the cheese. Queso fresco or Monterey Jack work well in place of, or alongside, the pepper jack.
Step 3: Bake until bubbly
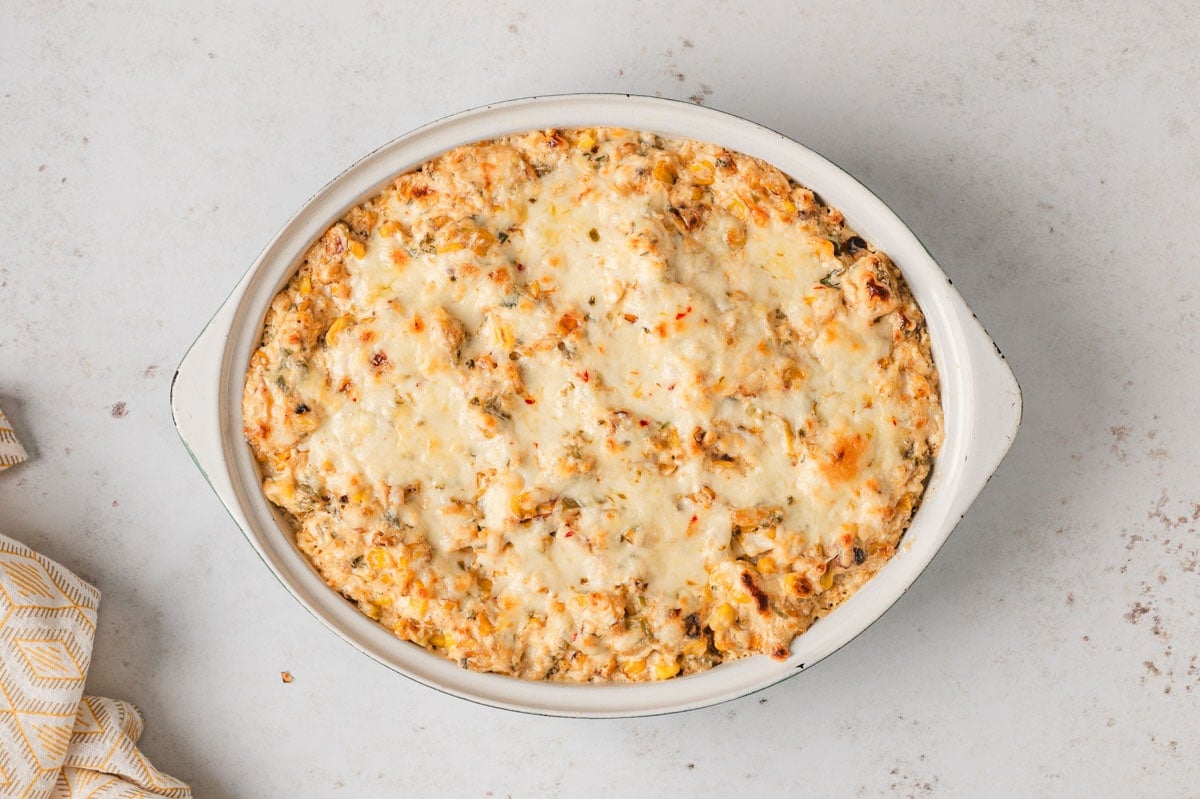
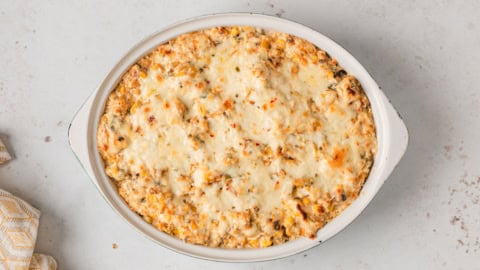
Spread the mixture into a greased baking dish and top with the remaining pepper jack. Bake at 350°F for 15 to 20 minutes, until hot and bubbly.
For a golden top, finish with a minute or two under the broiler.
Step 4: Garnish and serve
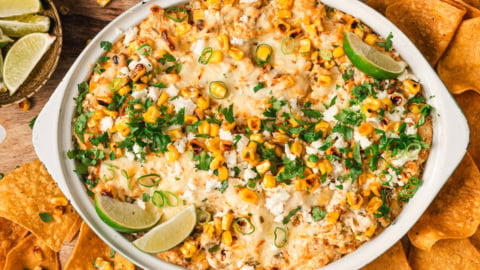
Top with cotija, a little reserved corn, fresh cilantro, and green onion. Serve it warm with plenty of tortilla chips.
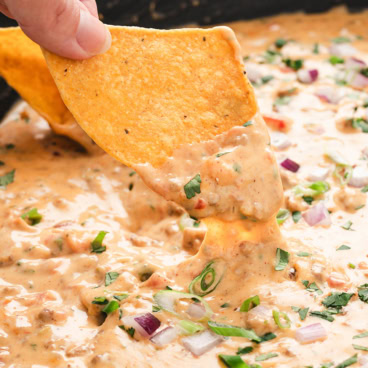
A batch of crispy Air Fryer Tortilla Chips makes the perfect scoop, and a bowl of Chile con Queso alongside rounds out the whole spread.
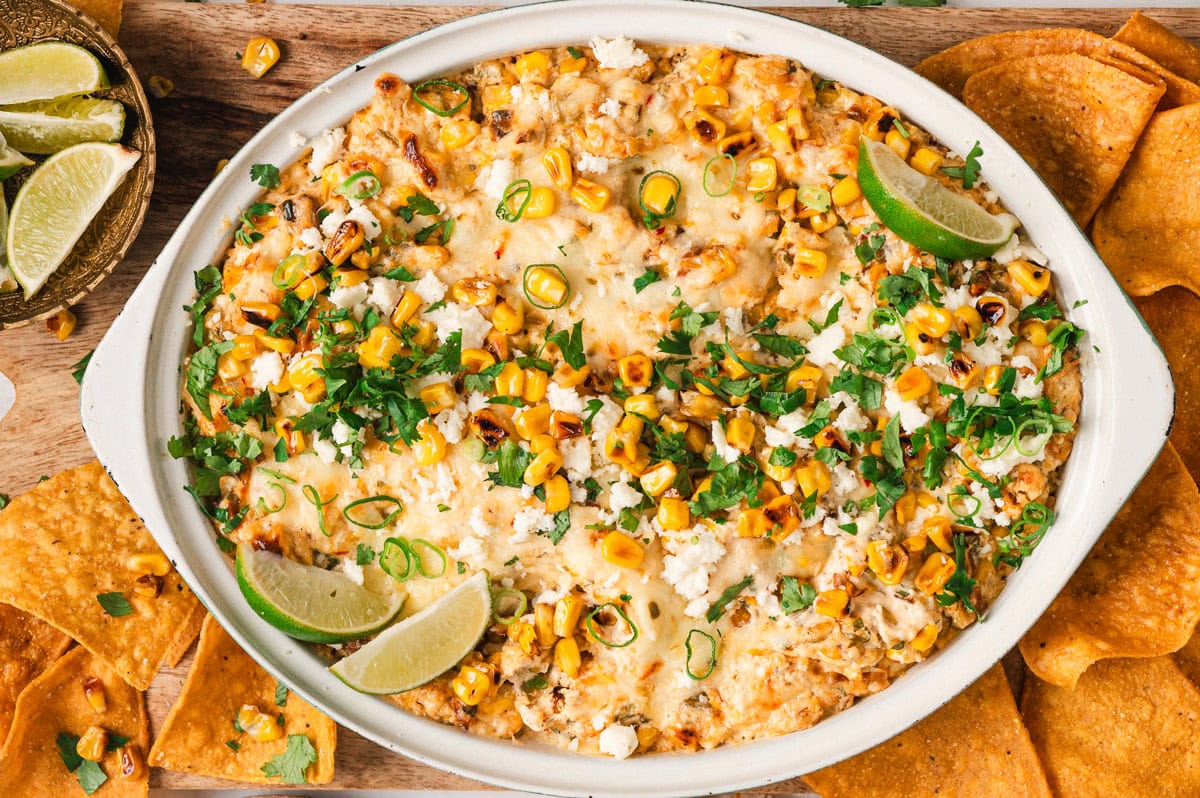
- This dip is made for taco night. Find the whole spread in my collection of Taco Night Ideas.
Storage Tips
Storage and Reheating
Make ahead: Mix everything together, cover, and refrigerate for up to 24 hours before baking.
Storage: Keep leftovers tightly covered in the fridge for 3 to 4 days. Freezing isn’t recommended.
Reheating: Warm in a 350°F oven, covered, for 10 to 15 minutes, or microwave a portion for 45 to 60 seconds.
Frequently Asked Questions
Can I bake and serve this in a cast iron skillet?
Yes. Char the corn, then build the dip right in the same oven-safe skillet and bake it there. It saves a dish and looks great on the table.
How do I keep it warm for a party?
Transfer the baked dip to a slow cooker set to warm. It holds for a couple of hours so guests can keep scooping without it firming up.
Why did my dip turn out runny?
Usually it’s extra moisture from the corn. Drain canned or thawed corn well and pat it dry before charring, and avoid overbaking, which can pull liquid out of the cheese.
More Mexican Dips and Appetizers
Mexican Street Corn Dip

Ingredients
- 1 tablespoon butter
- 3 cups corn kernels 2 cans (drained) or frozen or fresh
- 12 ounces cream cheese 1 ½ blocks, softened
- ⅓ cup mayonnaise
- 1 cup sour cream
- ½ teaspoon garlic powder
- 1 teaspoon chili powder
- Juice from 1 lime
- 1 ½ cups shredded pepper jack cheese divided
- 4 ounce can green chiles drained slightly
- ¼ cup cilantro leaves finely chopped, plus more for garnish
- 3 green onions thinly sliced (1 tablespoon reserved for garnish)
- ½ cup cotija cheese for garnish if desired
- Hot sauce a few dashes for heat if desired
Instructions
- Preheat the oven to 350°F. Spray a 2-quart oval baking dish with nonstick cooking spray.
- In a large cast iron skillet, melt the butter over medium-high heat. Add the corn and cook, stirring occasionally, for several minutes until most of the kernels develop a char. Set aside. Work in batches if needed. (No cast iron? See the oven method in the notes.)

- In a large bowl, combine the cream cheese, mayo, sour cream, lime juice, garlic powder, and chili powder. Gently mix in the charred corn, green chiles, 1 cup of the pepper jack, the green onions, and the cilantro.
- Spread into the prepared baking dish and sprinkle the remaining pepper jack on top.
- Bake for 15 to 20 minutes, until golden and bubbly. For a more golden top, add a few minutes under the broiler.
- Garnish with the reserved cilantro, corn, and cotija. Serve hot with tortilla chips.
Notes
- Oven-roasted corn: Spread 3 cups of corn on a baking sheet, toss with a tablespoon of olive oil and a little salt, and roast at 400°F for about 20 minutes. Frozen vs. thawed corn may need slightly more or less time.
- Drain well: Pat canned or thawed corn dry before charring to keep the dip from going runny.
- Make ahead: Mix and refrigerate up to 24 hours before baking.
- Keep it warm: Hold the baked dip in a slow cooker set to warm for parties.
- Storage: Fridge for 3 to 4 days, tightly covered. Freezing isn’t recommended.
- Cast iron option: You can bake and serve the dip in an oven-safe cast iron skillet.
Nutrition
Nutritional Disclaimer Kristin Maxwell of “Yellow Bliss Road” is not a dietician or nutritionist, and any nutritional information shared is an estimate. For accurate calorie counts and other nutritional values, we recommend running the ingredients through your preferred online nutritional calculator. Calories and other nutritional values can vary depending on which brands were used.


If you have a large enough cast iron skillet , can you bake the dip in it instead of a baking dish?
Absolutely!I love the rustic look of a cast iron skillet.
Excited to take this to our friends “Dipmas” party tomorrow! Do you think it would work to cook the corn and combine all of the ingredients today, leave in the fridge, and then bake tomorrow?
Yes you can definitely prepare the dip beforehand and then bake the next day.
Can this be made in a crockpot?
Yes, just keep it on warm in the crock pot.
Made this for a work potluck, it was GONE quickly. SO many people told me it was amazing! Definitely keeping this recipe for whenever I need to bring something to an event
Nice! Thanks for the awesome feedback Sarah.