This post may contain affiliate links. Please read our disclosure policy.
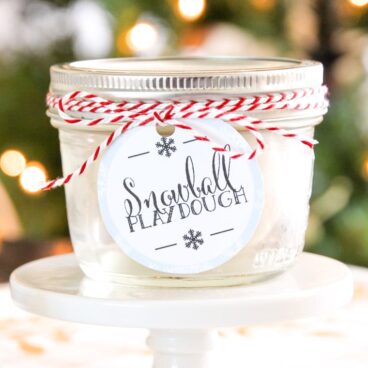
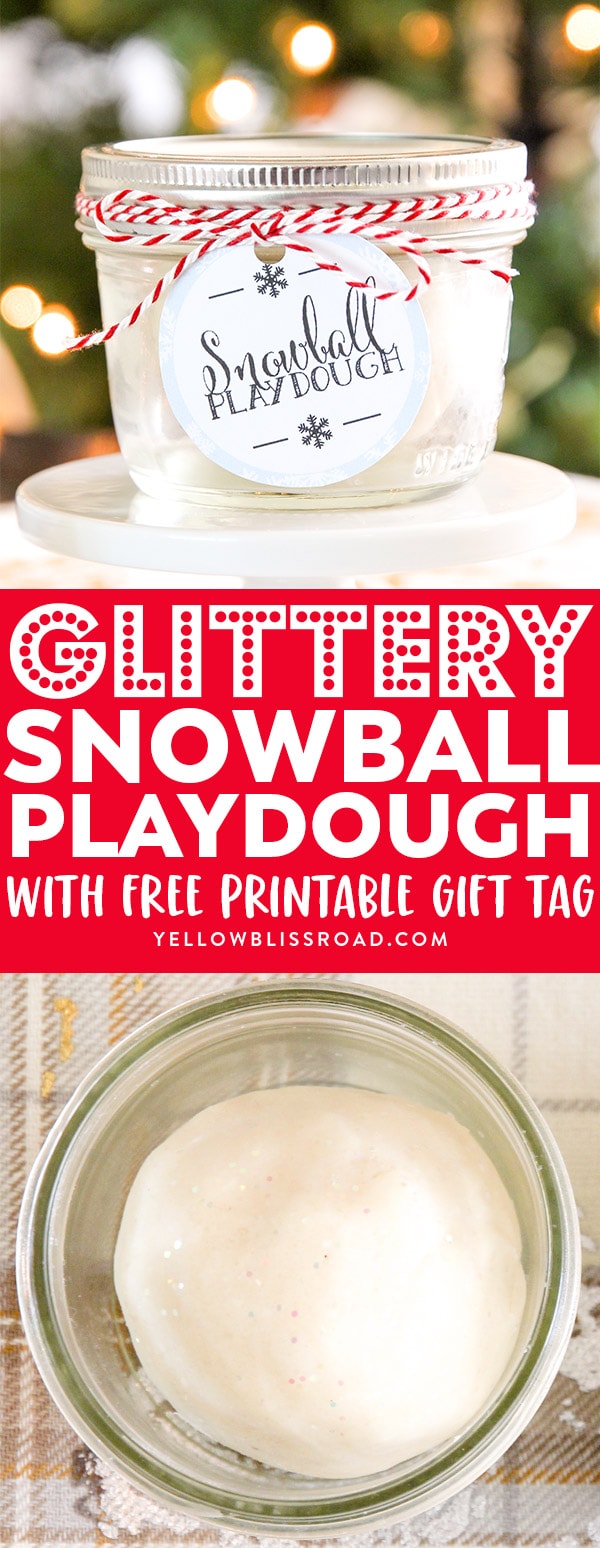
Have some fun with your kids this holiday making Snowball Playdough! This homemade playdough recipe is easy and great for party favors or stocking stuffers. The printable tag is great for adding to packages for neighborhood or classroom gifts. If you’ve ever wondered how to make playdough for your kids, I’m going to show you how!
This post has been updated from 2013.
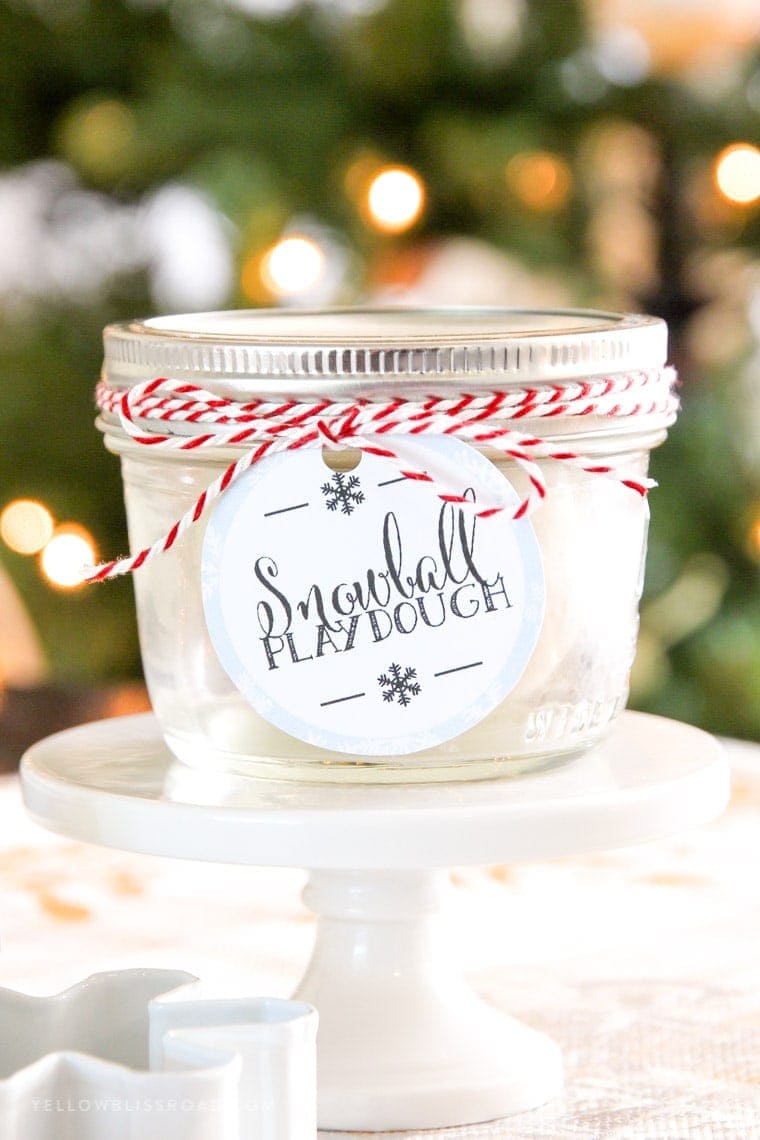
On a recent rainy day, my kids were going crazy having to be cooped up inside, so I thought I’d make them some playdough. I haven’t made homemade playdough for some time, not since my preschool teaching days, in fact. But the recipe is so incredibly easy that pretty much anyone can make it.
HOW TO MAKE PLAYDOUGH
Since we were having our snow party the next day, I thought it would be perfect to make some snowball playdough, and make enough for each of the kids to take home a little jar of dough and a snowflake cookie cutter!
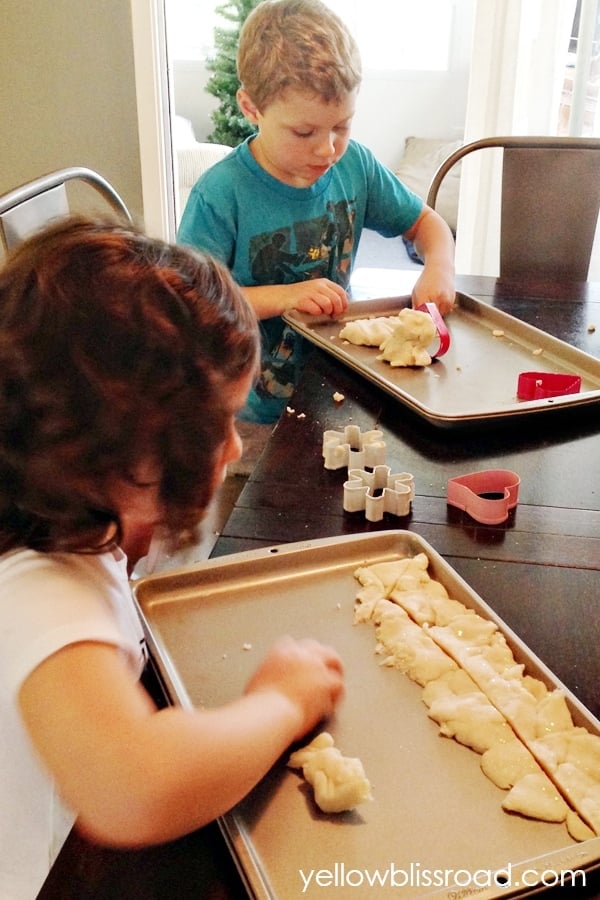
My kids had fun playing with the leftovers – it’s really a great rainy day activity, especially if they have a part in making it. I put enough of the dough for each of them on cookie sheets to help contain the mess in my dining room. My daughter, no joke, sat at the table for two and a half hours playing with her little tray.
INGREDIENTS NEEDED TO MAKE PLAYDOUGH:
- All-purpose flour
- Cream of Tartar – This is an acid and is acts as a stabilizer, thickening the dough.
- Vegetable oil
- Salt – Yes, there is an obscene amount of salt in the recipe, but it is a preservative that keeps bacteria from growing.
- Water
- Add-ins: glitter, food coloring, scented oils or extracts
EASY PLAYDOUGH RECIPE:
Playdough is made in a pot on the stove, cooked at a medium heat to form the dough. It can also be cooked in an electric griddle (as I recall from my preschool teacher days!).
- Start by mixing the first five ingredients together in a large, 5 quart pot.
- Once the mixture is combined, continue to stir often with a wooden spoon or silicone spatula.
- Once the mixture is thickened and no longer seem “wet,” transfer the dough to a flat surface. If you are adding food coloring or extracts, do that before removing the playdough from the pot. I recommend using a silicone spatula to avoid color transfer with food coloring. It will be hot, so you’ll want to let it cool for several minutes after which time you can begin kneading it and adding the glitter.
Playdough is one of those versatile recipes that you can change up to suit your tastes. (Just remember that this particular recipe is NOT edible. There are several edible dough recipes out there, but this ain’t it!). To the basic white dough recipe, I added a splash of vanilla for a yummy scent, and some white, iridescent glitter, but you can add other scented extracts, like Peppermint, or Kool-Aid for color and scent, or food coloring.
WHAT CAN I USE INSTEAD OF CREAM OF TARTAR?
Cream of Tartar is an acid that works as a stabilizer. You can replace this with 3 tablespoons of lemon juice or leave it out completely.
HOW TO STORE PLAYDOUGH
Store your dough in an airtight container or zip-top bag. It will last seemingly forever with proper storage. Do have your kids wash their hands before playing with it to avoid spreading germs.
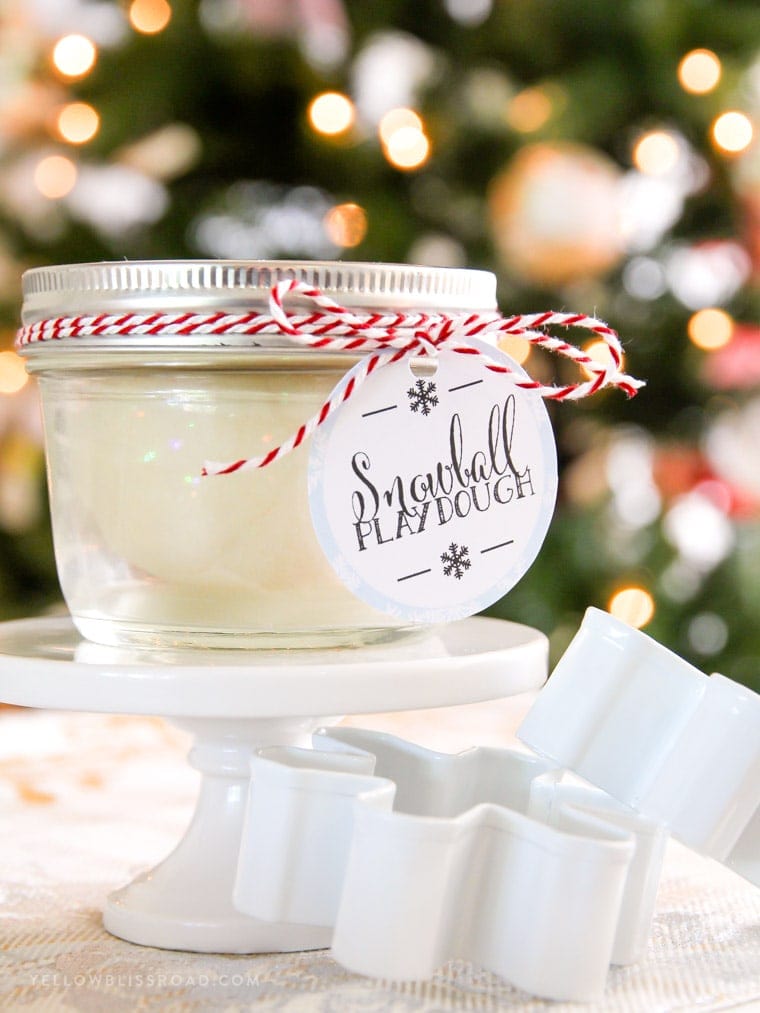
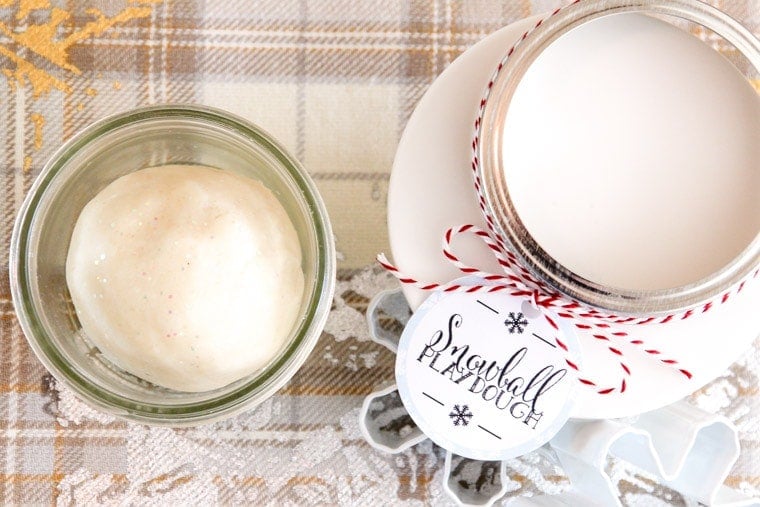
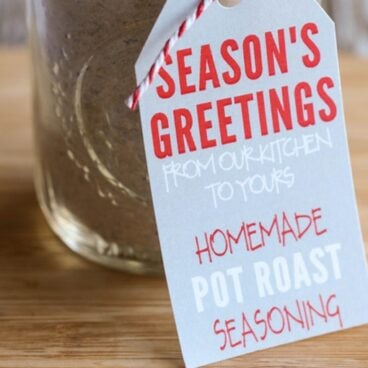
Here’s the free printable tag so you can make your own homemade playdough gift!
Here are some more fun Christmas ideas and free printables for kids:
- Christmas Countdown Calendar
- DIY Advent Calendar with Activities and Scripture
- Free Printable Advent Calendar Treat Bag Kit
- How to Plan a Christmas Movie Night (with Free Printables)
- 65 Stocking Stuffers for Kids
- Cookie Cutters with Free Recipe Printable Gift Idea
- Mrs. Claus Cookie Company Free Christmas Printable
- Free Printable Christmas Gift Tags with Watercolors
Homemade playdough recipe:
Glittery Snowball Playdough
Equipment
- Saucepan
- Wooden spoon
Ingredients
- 1/2 cup salt
- 1 cup water
- 2 tablespoons cream of tartar
- 1 cup flour
- 1 tablespoon vegetable oil
- 1/2 cup iridescent glitter
Instructions
- Mix all ingredient in a 5 quart pot over medium heat and cook, stirring often, until mixture is a thick dough consistency, and no longer sticky. Scoop out on a cookie sheet to cool before playing with it.
- *Add glitter after the dough is cool: Flatten playdough into a 1/2-inch disk. Top with glitter, then knead until glitter is evenly mixed throughout the playdough.
Video
Notes
- Feel free to experiment with different colors of glitter.
- For different colors of playdough, add food coloring during the cooking process. (It's not fun to knead the food coloring in with your hands - you'll end up with very colorful hands!).
- Experiment with scents by adding extracts to your playdough. Again, this is better to do during the cooking process so it can be evenly distributed.
- Please note that while the basic recipe (sans glitter) is not toxic, it should not be eaten.
Nutritional Disclaimer Kristin Maxwell of "Yellow Bliss Road" is not a dietician or nutritionist, and any nutritional information shared is an estimate. For accurate calorie counts and other nutritional values, we recommend running the ingredients through your preferred online nutritional calculator. Calories and other nutritional values can vary depending on which brands were used.
Here’s to another great inexpensive Christmas gift idea with a free printable!


What kind of jars did you use?
I used 4-ounce ball jars.
I made this playdough with my students in my class! We had so much fun!
Thank you Jan! and thanks for sharing your experience!
HI, love this it is such a great gift idea for my kids to give their friends. I can’t seem to download the tag, I click on the yellow download square but nothing happens.
There was a glitch but it’s fixed now. Thanks for letting me know!
Ah got it thank you so much
You’re welcome Aneen!
Love this snowball idea! Do you have a free printable for the snowball playdoh tag?
I’m making these as gifts for storytime at our library
Yes there is a free printable; just scroll down to near the end of the post (after the playdough recipe) and you’ll see a graphic that says “download.”
Where’s the ham recipe??
You mean this one? https://www.yellowblissroad.com/baked-glazed-ham/
Just a quick scroll down the main page. 🙂
Just curious, is it the glitter only that makes this not edible?
How much mess is there from the glitter? They look so cute and I would to make them as favors for my daughter’s birthday party but have visions of vacuuming up glitter seven years from now!
The glitter sticks to the playdough so there’s no mess! 🙂
Hi! I’m looking forward to making this for my daughter’s FROZEN party towards the end of August. How far in advance can I make this play dough? Not wanting to wait until the last minute… 🙂
Thanks!
Jennifer
You can store it I’d say up to a week as long as it’s tightly wrapped and in an air tight container.
Hi, I stumbled on your blog via pintrest and these cute snowballs will be the perfect take home for my daughter’s frozen party this weekend!
thanks So much for your creativity!
This idea gave me another idea. What about white icing with edible glitter? It’s more expensive, but less hassle and kids can eat it!
Making this tonight for my daughters frozen party! How much will this recipe make? I need it for 20 kids
It depends on the size of the ball that you make, but I’d say each recipe would be enough for 6 kids.
Hi, I love your site! I am going to do these fabulous little snowballs as a party favouror my 7 y/o Frozen birthday party, but I was just wondering, roughly how much glitter did you use? I’ve never made play dough before!
Thanks!
Honestly, I just kept mixing it in until I was happy with the results. Maybe 1/4 cup. Good luck!
Hello!! I did have one question about this awesome idea… Is this like any playdough that you just keep it in an air right container and it will last for a while? I guess I was going to make this today to play with next weekend… Will tht work? Thanks!!!
Yes it will keep for a couple of weeks.
HI there!
love everything you have done here…so exciting as my two little girls want this for their shared party!!
Please let me know if the play dough is really that white or did you alter the picture? It looks as though the pic of your kids playing with it – it is the normal creamy beige…not crisp white like the first pic you have with the mason jar? I just don’t want to make enough for 15 kids and have it lose it’s effect by producing beige play dough – you know?! 🙂
Thanks so much for your generosity.
The image of my kids was taken with my phone under the ceiling light so the lighting is definitely off. The playdough does come out a creamy white color – it’s not bright white – but it’s definitely not beige! 🙂
Wonderful idea. I think I’m going to use this for my daughter’s third birthday party. She wants a “Frozen” themed party. Can you tell me where you found the white snowflake cookie cutter? Thanks so much!!!
The snowflake cookie cutter came from Walmart, but that was at Christmas time. You could do a Google search – I’m sure you could find a store that carries them. Or maybe try a local cake shop?
I love this! Planning to make for my daughters’ bday party next weekend as treats for the kiddos. How long does the dough stay soft? Wondering how far in advance I can make this?
So cute! Thanks for sharing! Where did you find the short mason jars? Thanks!
I actually bought that one at Goodwill. The ones I sent home with the kids were small, reusable plastic bowls, like the GLAD brand you can find at Target or any grocery store.
Think I see some little things for grands to carry home after Christmas visits. Thank you!
It’s Deonna again! I love this post too!
HI, lovely idea for a Christmas party or gift. One question, how did you get the dough to look so white? It looks more creamy on the pictures of the kids playing – whenever I make playdough it comes out a mucky beige colour, so I put food colouring in. I’m in the UK, so maybe it’s the type of flour?
I can’t say for sure. I use bleached flour. What kind are you using?
I am so doing these as party favors for my annual Snow Party I was telling you about in IG. (You’re such a fabulous momma, Kristen!)
So fun. Where did you get the white snowflake cutters?
This is such a cute idea, Kristin…and I love the tags! Thanks so much for sharing!
Thanks Linda!